

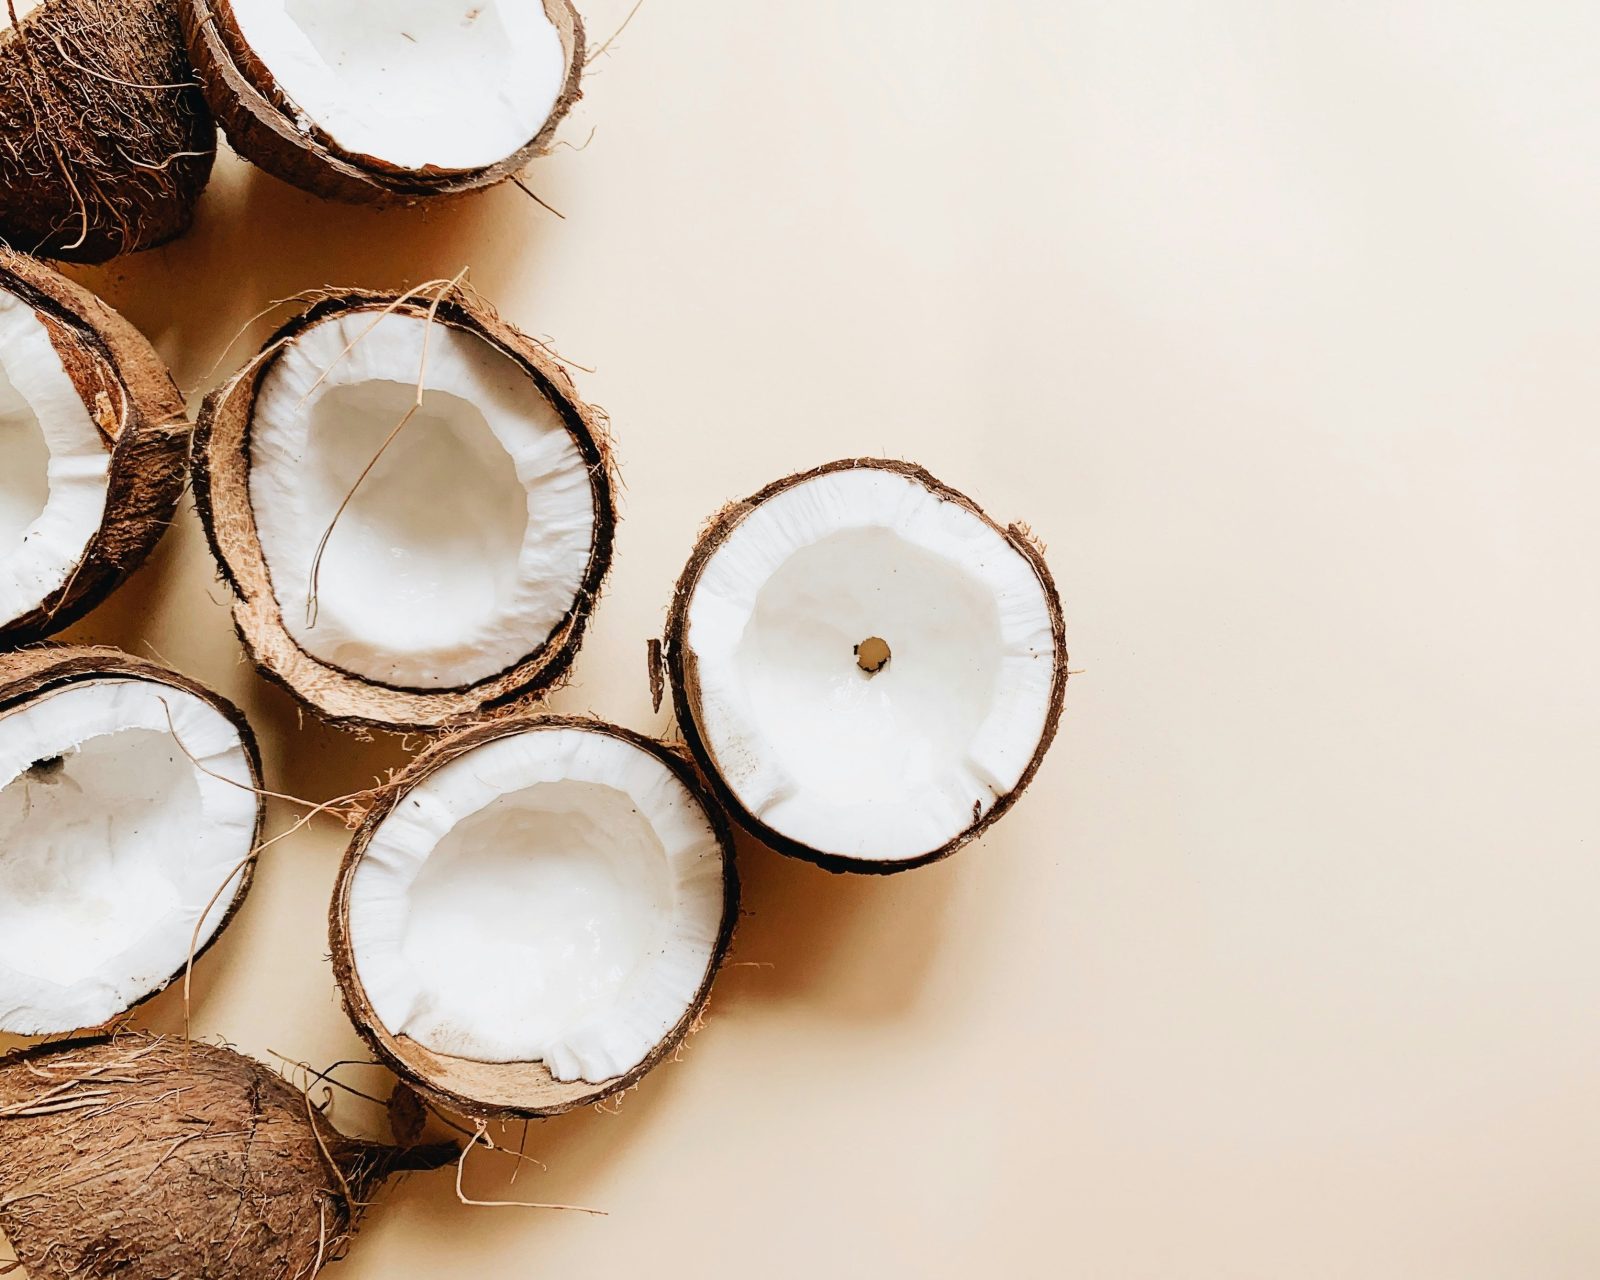
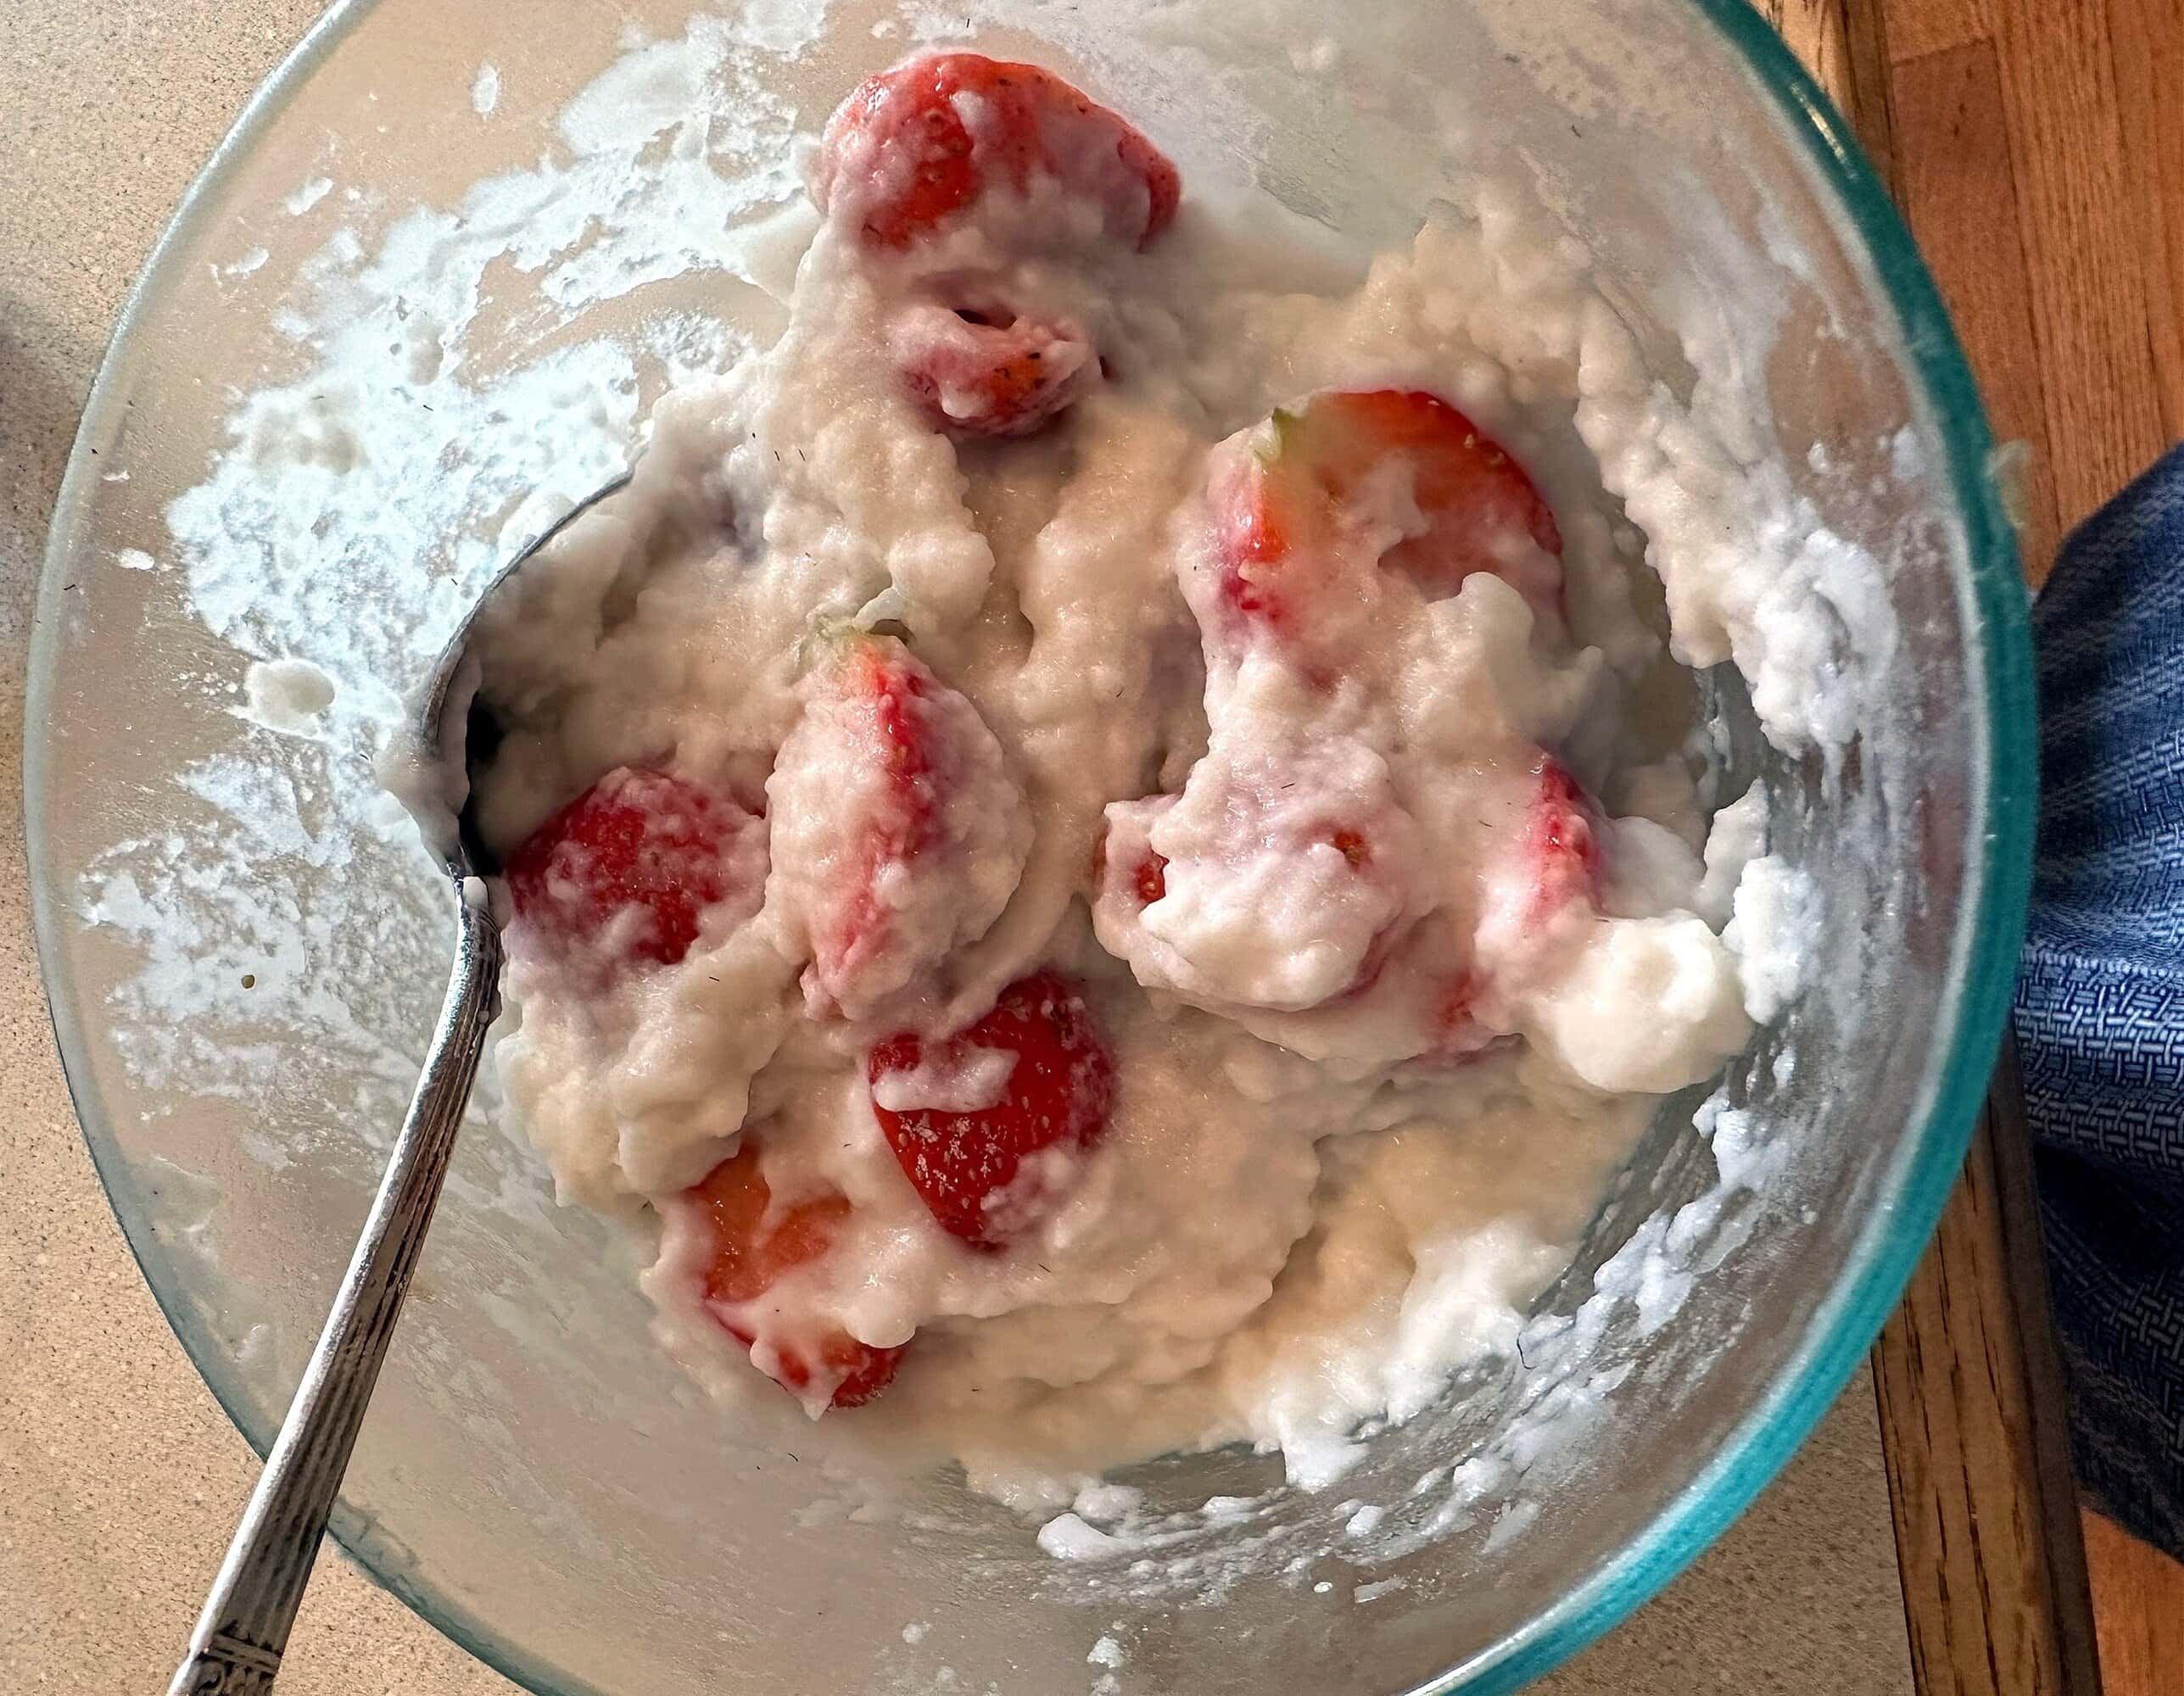
This is a piece about my recent forays into making coconut yogurt. It is not the last word; many of you, at least some of you, have more experience in this than I, and I’d love to get input from you. What I can say is that I determined a couple of weeks ago to make better-than-store-bought coconut milk yogurt, and now I have three different types in the fridge, and they’re all lovely, and when I finish here, I’m going to have some, with strawberries. But first a little history:
At its soul, making yogurt is dead simple: Take a bit of mature yogurt, combine it with five or ten times as much warm fresh milk (milk straight from the udder would work), keep it in a warm place, eat, repeat. You can readily imagine, then, how yogurt – more flexible, more stable, more digestible, more flavorful, than fresh milk, and much simpler to make than even the simplest cheese (of which it could be considered one) – long ago became a staple in many cow-raising countries.
The development of vegan yogurt is not so obvious but, although the oldest record I could find of yogurt made from soy milk dates to 1912, it’s hard to believe that in eastern Asia, where tofu has been common for centuries, people weren’t gently fermenting that same soy milk.
The process is the same: If you have vegan “milk” – the definition is being fought over, but let’s call it the dairy-milk-like extract of nuts (coconut, almond), beans (soy, peanut), seeds (sesame, and I’m sure others of which I’m unaware) or grains (rice, barley) – you can turn that “milk” into yogurt.
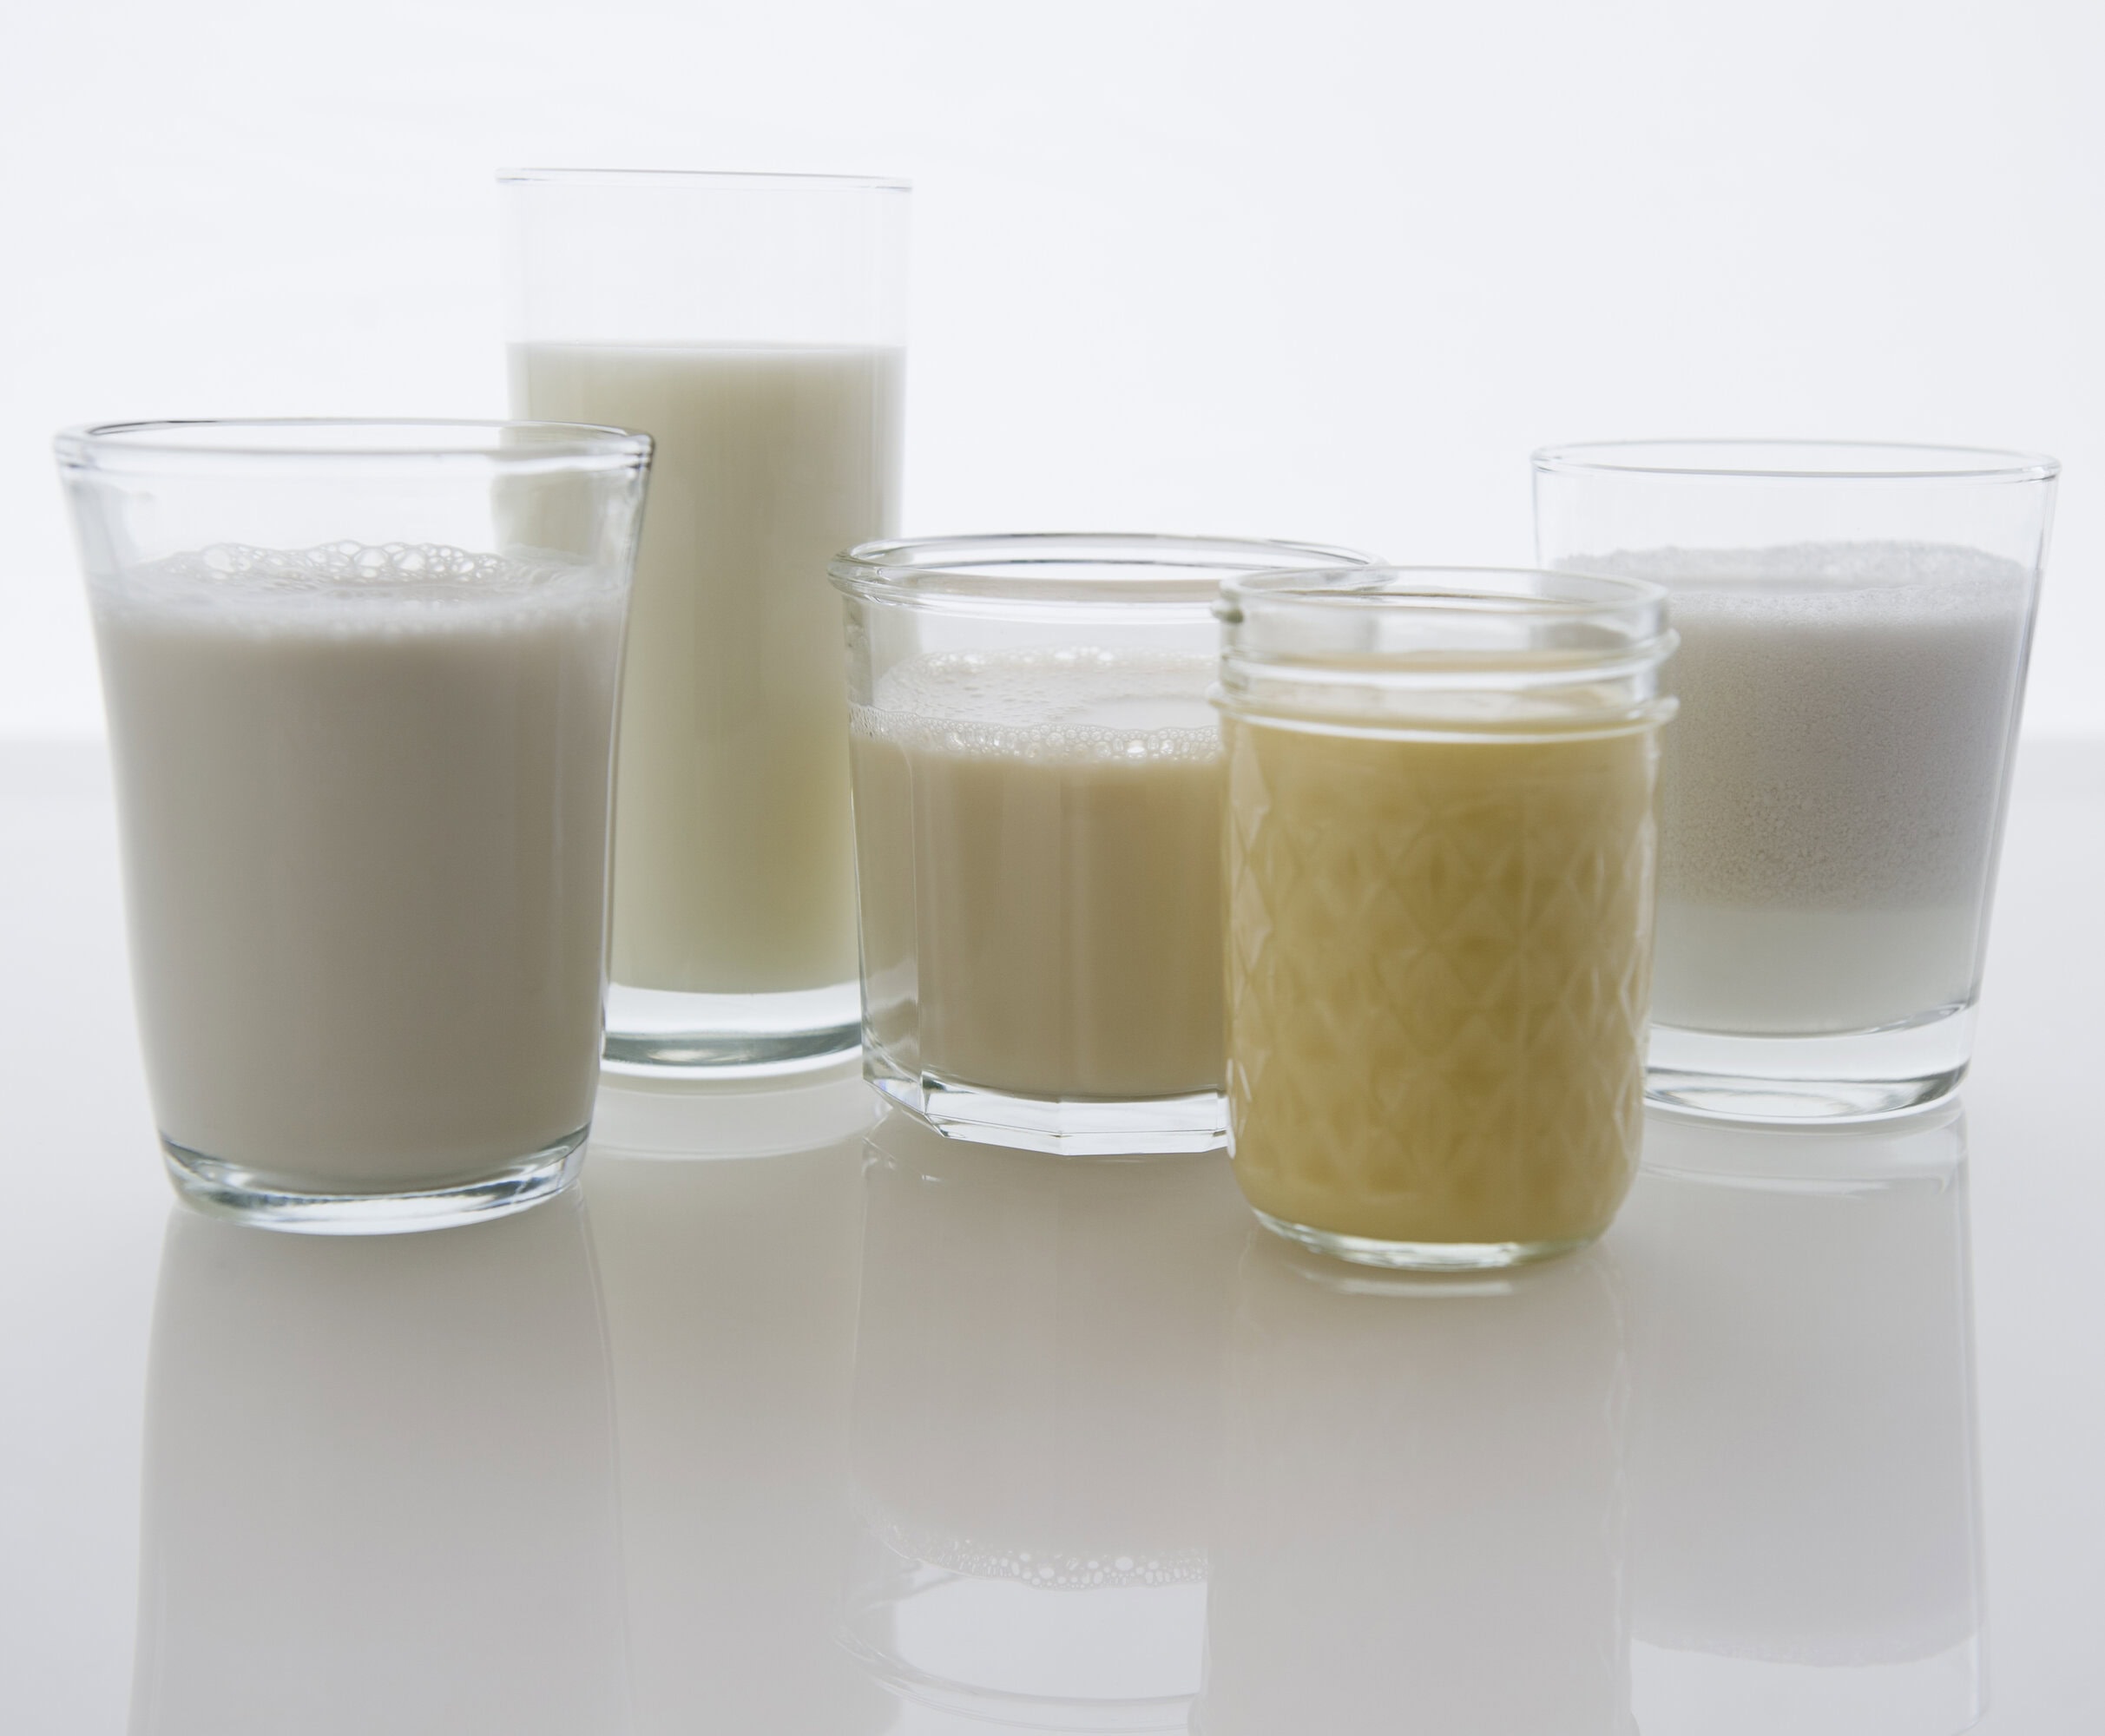
I happen to be a coconut freak; I learned how to make coconut milk at home (from a Julie Sahni cookbook) maybe 35 years ago, and I’ve never stopped. The ability to do that encouraged my experiments with south and east Asian cooking (for which I’m grateful) and, because dried, unsweetened coconut is inexpensive and lasts forever, and because the only other ingredient in homemade coconut milk is water, I don’t think I’ve bought more than three cans of coconut milk in my life, because I’m at heart a DIY-er; because store-bought is relatively expensive; and because it has additives I’d just as soon avoid.
The problem is that when I decided to make coconut milk yogurt — or let’s call it coconut yogurt; it sounds better — there were few precedents. Every online recipe, every recipe I could find, starts with canned coconut milk, which often contains sugar in addition to those additives, and is probably made by a process we don’t want to know about. Plus, not surprisingly, it tastes tinny.
So I bought a load of coconut from Bob’s Red Mill and set to work.
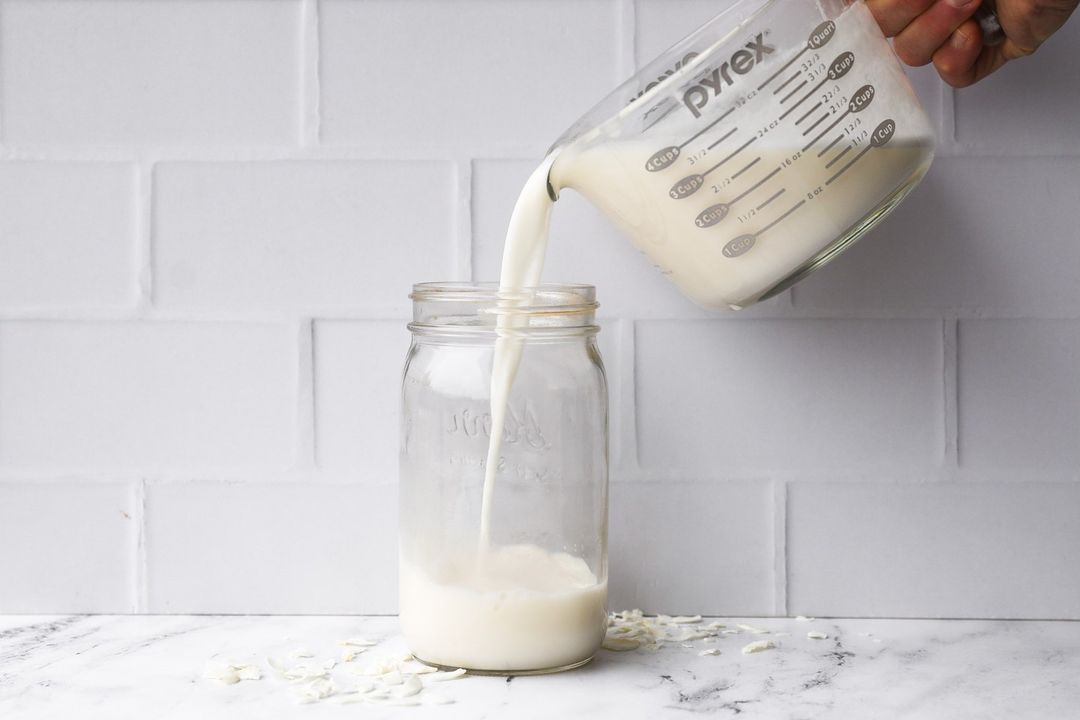
Coconut milk, as everyone who has ever used it knows, has separation issues. This is one of the reasons, I’m sure, that every coconut yogurt recipe starts with canned coconut milk, which is already stabilized, sometimes more effectively than others. So my first step was to figure how to “homogenize” my coconut milk, so it would become and remain nice and creamy as it soured.
Turns out that that’s a bit of a challenge (maybe it’s easier with polysorbate 60, etc; where’d I put that?). But after a bit of playing around I have a handle on it, and in fact can say I’ve resolved it. Here’s the process:
Make coconut milk by combining about 200g (it’s a good starting number, but you may wind up using less, or more, depending on your preferences) of unsweetened dried coconut flakes in a blender with 5 cups of boiling or at least very hot water; that’s about 5 to 1 by weight. (Four cups weighs a bit over 800g, but you can never get all the water back out of the blended coconut, so you need more water to make a quart.)
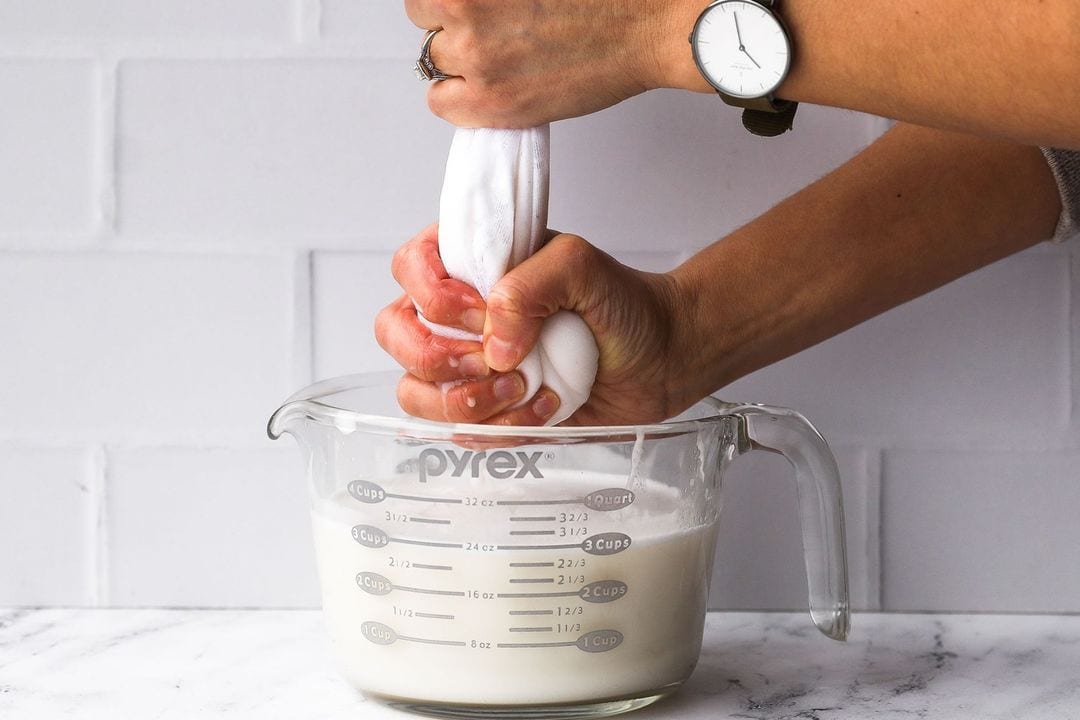
Blend the water-coconut mixture carefully, starting at low speed and working your way up to high, for about a minute, then let it steep for a few minutes; it’s tea, after all. Use a fine sieve or cheesecloth to strain it, pressing to extract as much of the liquid as you can into a saucepan. (You can make a secondary, more watery milk with the residue, or cook or bake with it, or feed it to the pigs or chickens, or at least compost it.)
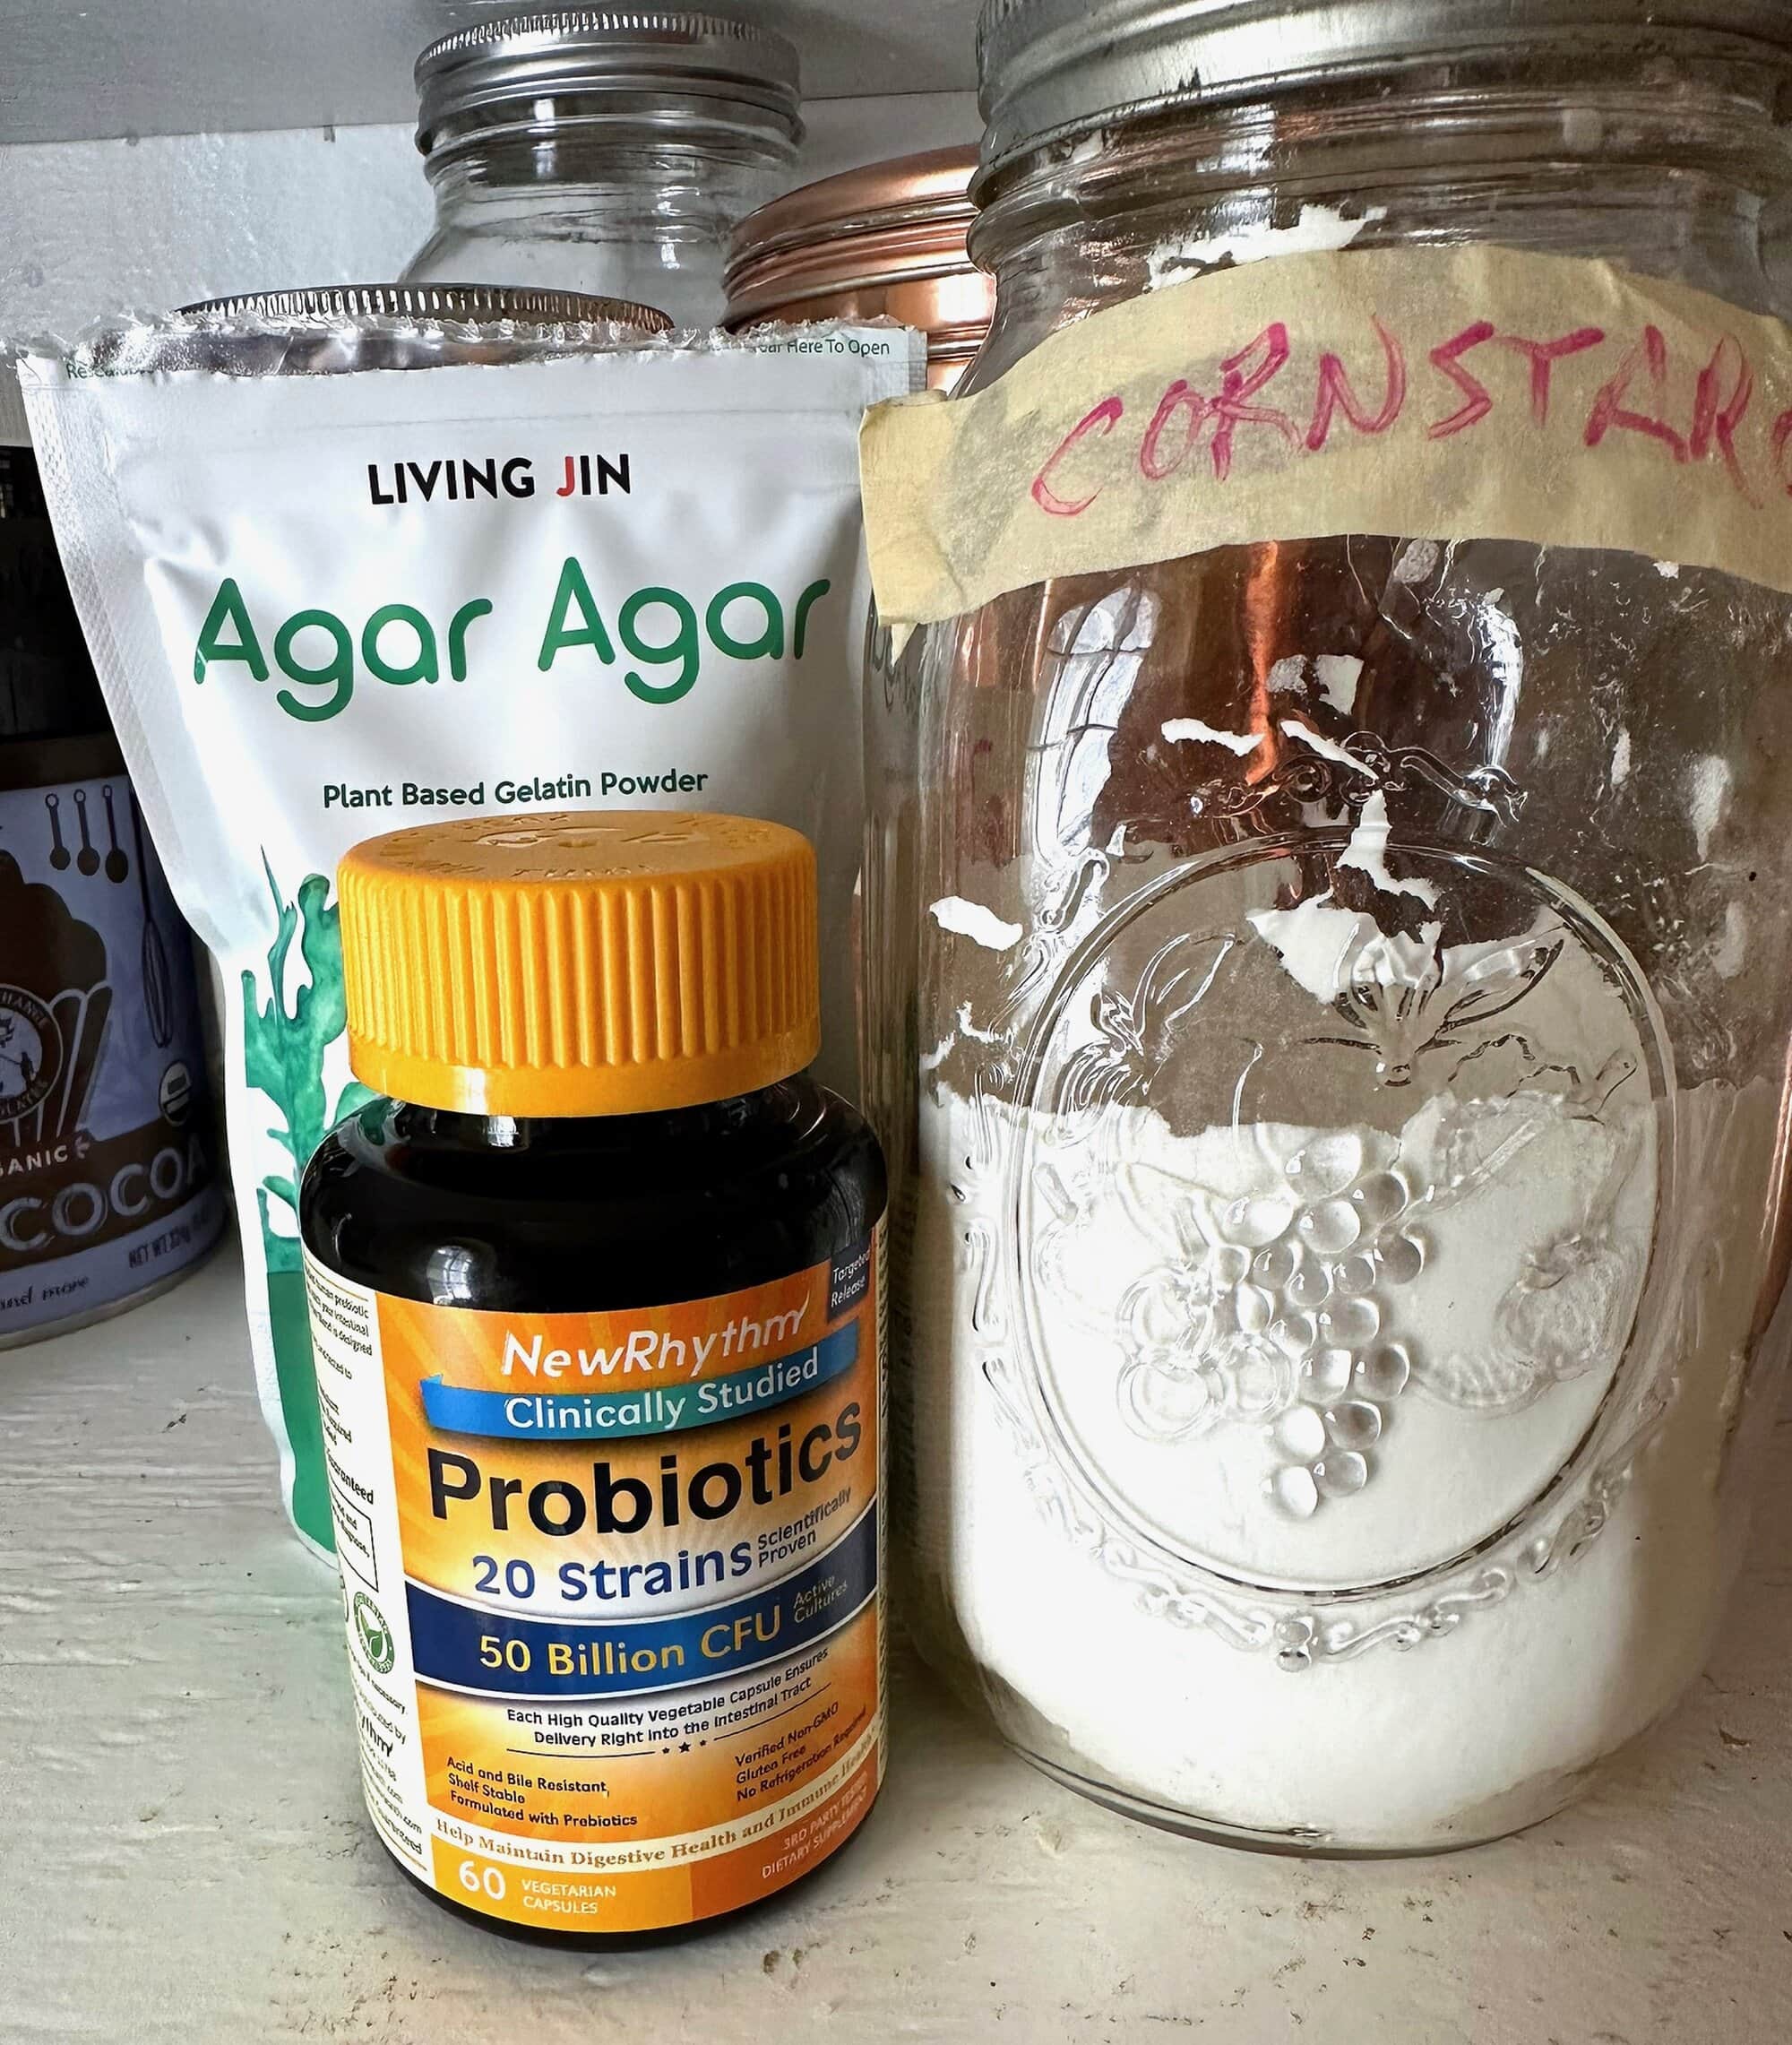
The next step is to thicken the mixture over heat — and now you have choices, which will evolve, as mine are still doing. I think I prefer cornstarch to agar agar, the two stabilizing/thickening agents I’ve worked with, but I’m not sure.* The agar (a teaspoon or so) you just sprinkle on the milk’s surface; then you turn the heat to medium-low. When the mixture simmers and the agar dissolves, you stir until it thickens a bit and then turn the heat off.
If you’re using cornstarch, you bring the milk to a low boil and simmer it; stir in a mixture of 2 tablespoons of cold water and 2 tablespoons cornstarch (again, play with 1, play with 3, and see what you like); the milk will thicken almost instantly. You can use tapioca starch, or potato starch, or guar gum, or probably five other things, but this is as far as I’ve gotten.
You now have a fairly stable mixture; it might take a little stirring now and then in early stages, but you’re not going to get that crazy separation that happens with untreated coconut milk, and your yogurt probably won’t separate at all. The amount of either thickener determines the ultimate texture: I’ve made yogurt with both cornstarch and agar that is jello-like, and I’ve made some that’s like, well, thin yogurt. You can control that easily. (Don’t worry if the mixture isn’t super-thick at this stage; it will thicken more as it sours, and after it cools.)
Now you have to walk away, and let the thing cool to below 115° F, which takes a little while. You can use this time for whatever you want, but many people suggest sterilizing your ultimate container, and why not? Or go for a walk or prep some veggies for dinner, or watch a few minutes of James Acaster, or do your homework.
Anyway, when the milk reaches 115°F, throw in the contents of two probiotic capsules, each of which contains 20 strains (you only need 2 or 3 of them to make yogurt, but it’s hard to look for the exact ones, and probiotic capsules with lots of strains are guaranteed to have them) and lots of critters, like 50 billion. I’m using this brand, and it works; it may well be that twenty other brands work as well, but this one is on Amazon and is inexpensive. I mix that up a bit – it dissolves easily – and pour it into the presumably sterilized quart jar, which it should just about fill. You can also use a serving bowl if that’s your preference. Cover, in any case.
Now you just have to keep it warm, warmer than body temperature but just: You can wrap it in an electric heating pad (not much accuracy or adjustability there, but you might get lucky), or put it in the oven with the light on (if your oven holds at around 110°F with the light on, you’re in business), but in any case you want a steady temperature of over 105°F and under 115°F (lower and it won’t work, higher and the cultures die). The Instant Pot does this for you without thinking, holding 107°F like it’s getting paid to do it. I put an inch of water in the bottom of the pot (don’t ask me why, but it seems prudent and it takes five seconds), hit the “yogurt” button, set the time – which seems to be about 24 hours, but this is another variable you have to play with, and will determine how sour your yogurt is – and it’s done. “Done” is really “to taste,” and if it’s not sour enough for you, just keep going.
You might be disappointed in the texture when it’s ready, but the fridge will firm it up. At that point, it’s ready to eat. Obviously sweeten or otherwise flavor it at will; I like it straight, but it’s to be admitted I like it straight with sweet fruit or, like, granola.
All of this should work with cashew milk and soy milk and whatever other concoction you’d like to call “milk,” but I repeat that it all bears further experimentation. I have not, for example, tried using yogurt from a previous batch as a starter but if that doesn’t work then I understand nothing; it certainly should. But I’m trying to reduce variables at the moment, and simply enjoy my yogurt.
* By the way, there’s an excellent explainer on cornstarch at Serious Eats.
Comment