


We’re still at it. Almost five years after we began work on Bittman Bread, armed with our trusty whole wheat, naturally fermented starters (the ones that live in the fridge) we’re both baking something at least once a week. Maybe you’ve been using the book too, and have participated in this community discussion or one of the other bread-related conversations. (Apparently many of you have, based on everything you’ve posted on Instagram to #bittmanbread.) Or perhaps you’re thinking about trying your hand at whole grain baking for the first time. Either way, consider this post an invitation.
The importance of eating whole grains has been confirmed once again with a study that was picked up by the New York Times, among others. We are True Believers in this as much as in anything else—after all, the difference between whole grain bread and white bread, nutritionally, is the difference between a cookie and a bowl of unsweetened oatmeal—and we know among the best ways to get whole grains into your diet is to bake with them.
Read on to find tons of useful information about all the ins and outs of the Bittman Bread method, plus some ideas for fun new recipes not found in the book. Thank you for your support of Bittman Bread, the journey, and each other. We hope you know how much we appreciate your enthusiasm.
Whether you’re a first time baker or more experienced: We’ve got you. First timers will want to start with the basic Bittman Bread. If you want to get the most out of our live discussion next week, you’ll want to start over the weekend, leaving time to make the yeasted “Beginner Loaf” and get your starter going.
For the more experienced among us: Mark and I, along with our colleague Holly Haines, have some of the Bittman Bread spins we’ve tried in the year since the book came out:
Kerri’s King Cake, here
A gardenscape focaccia, here
Holly’s Black Sesame Sticky Buns, here
A savory pancake, here
A whole wheat lemon torte, here
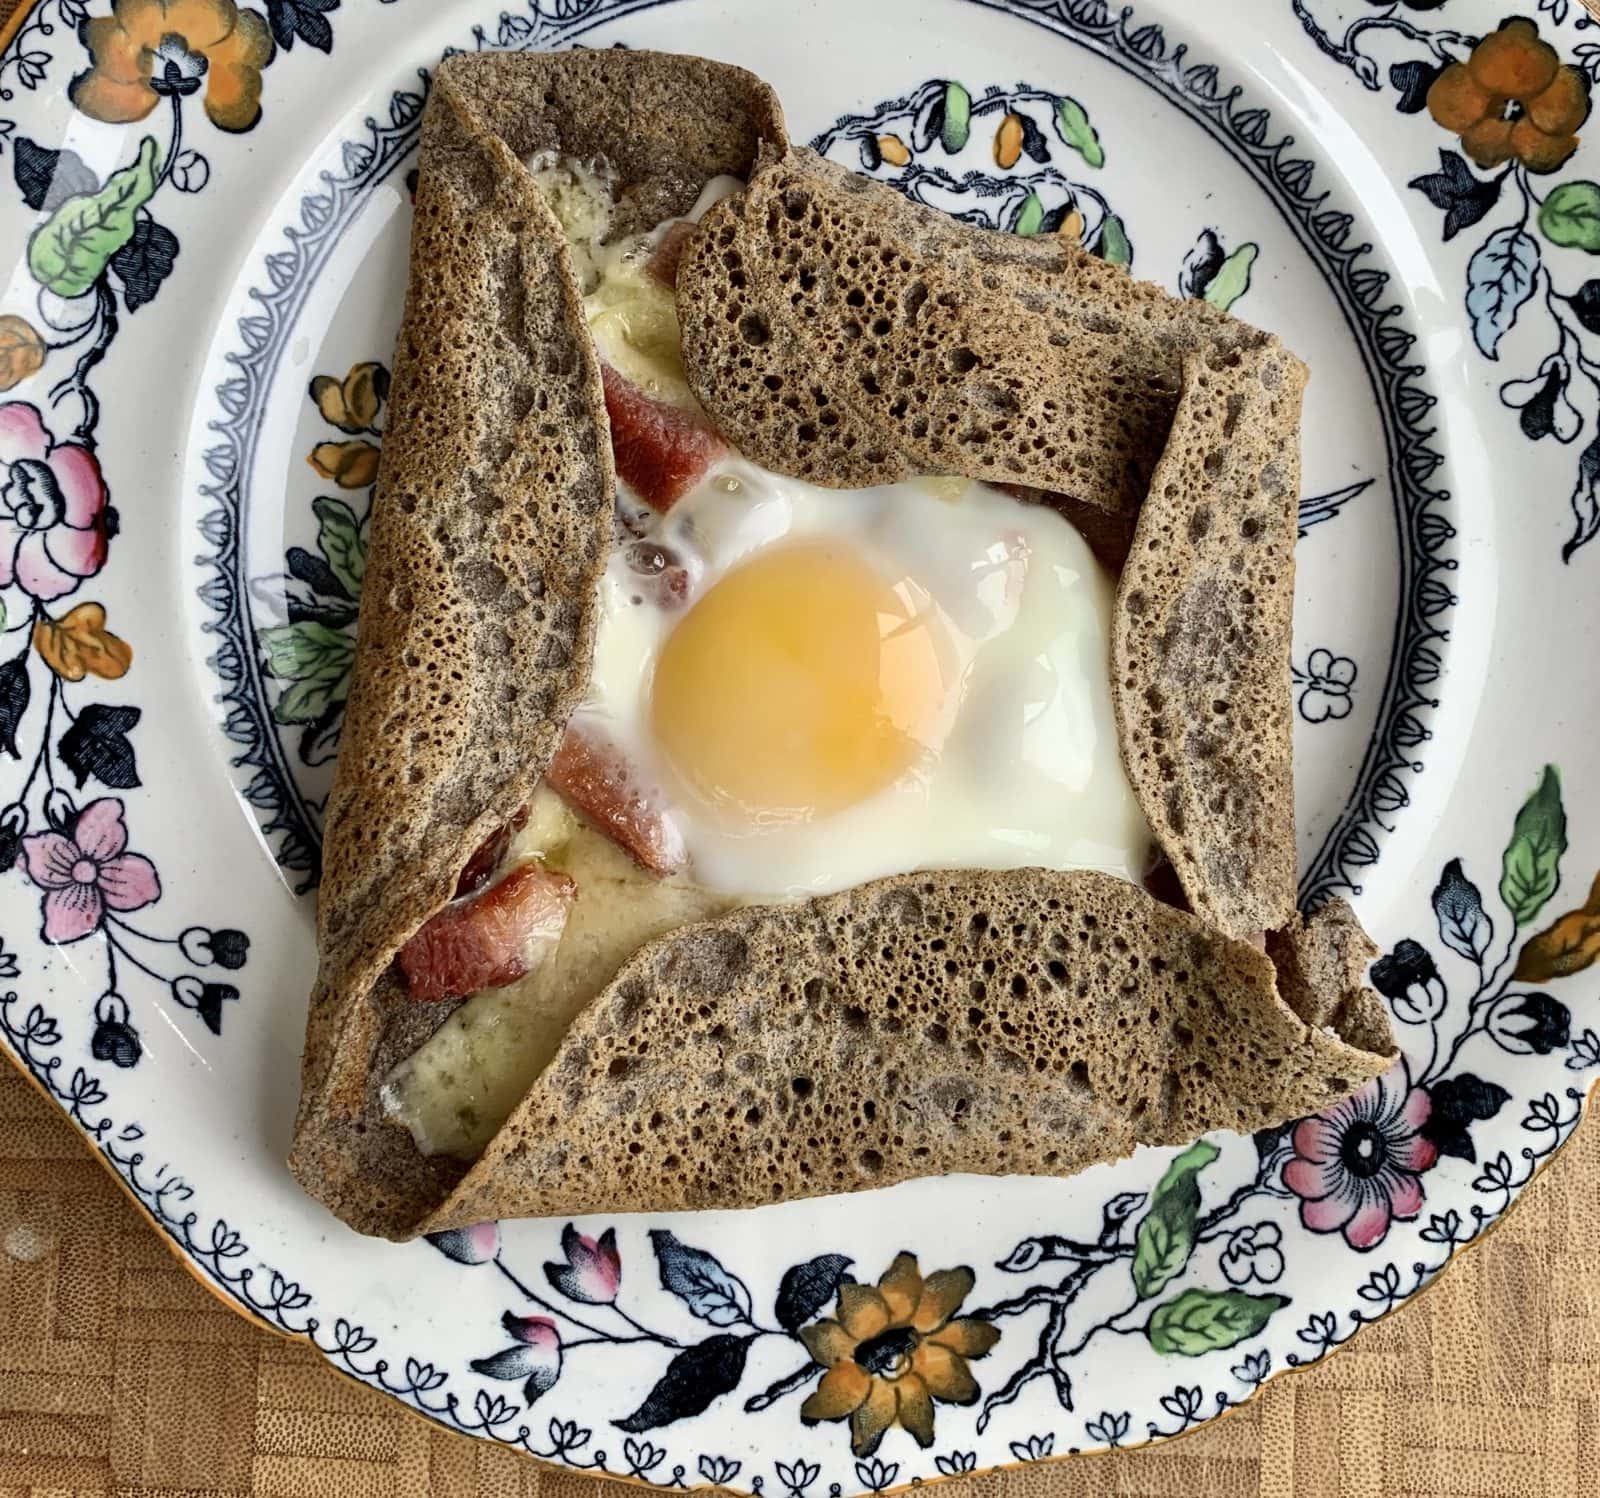
There are more photos and descriptions below, as well as a full recipe for Galette Bretonne, a buckwheat crepe Kerri has been experimenting with to great effect. It’s perfect for a winter brunch.
Here are the subjects you’ve asked the most questions about over the past year, along with our answers.
About the pot, 100% wheat flour, and process:

Are you using a 2-quart pot or something larger and fitting it with a foil ring as described in Chapter 2? The size of the pot is important; if it’s too large your dough will spread before it rises in the cold oven.
If you don’t know the size of your pot, just use a liquid measuring cup to fill it to the brim with water, keeping track of how much it takes and remembering there’s 4 cups in a quart.
What flour are you using? Did you read Chapter 2 about the challenges of working with specialty flours? Some whole wheat varieties simply aren’t suited for bread, so for beginners having problems we suggest a few 100% whole wheat flours we’ve worked with over the years. This choice impacts the starter of course, meaning that if you’re feeding your starter a flour that can’t absorb much water, it’s going to ferment and develop differently than one that can.
Einkorn is often being sold as a substitute for 100% whole wheat flour. And though it’s an ancient grain, it’s quite different from the wheats we use for leavened breads today. It’s best to treat it like rye, barley, or other whole-grain additions described in the Bittman Bread variations and Mark’s Rye and its variations. (There’s more on working with non-wheat flours in Chapter 2.)
Do your starter and jumpstarter look bubbly and active like the photos in the book? Be sure to read the big section called “All About Feeding Your Starter.” It’s important that you remove what you need to make the jumpstarter to begin your bake before feeding. Otherwise, if you feed the starter and then remove some for the bake, the action is delayed and “diluted.”
Is your starter living in the fridge all the time except when you pull it out to bake and feed it? Leaving it at room temperature for too long can cause it to ferment quickly, and if you’re not feeding it every day then it won’t be active when you need it. To use a room temperature starter, reduce the fermentation of the jumpstarter to 3 to 8 hours, depending on when you last fed it, how active it is, and the ambient temperature. Keeping it refrigerated slows the fermentation down drastically so you don’t need to discard anything or feed it more than every week or 10 days.
For using a refrigerated starter: How long in the 8-to-12 hour range are you letting your jumpstarter ferment before starting the dough? About what temperature is your kitchen? How does your jumpstarter compare to the photos in the book right before you mix the dough? A sluggish or struggling starter or a hot or cold room will require that you pay a little more attention to the activity of the jumpstarter during that first fermentation window. You will learn how your process should be managed under your unique conditions. There’s some detail about our own experiences testing in “Time, Temperature, and Measurements” on page 54.
The question of how much water to add during folds to develop strength and elasticity depends on many factors—mostly flour choice but also fermentation activity—and is crucial to getting the dough to rise properly. We discuss dough development in other places besides the recipe itself—the conversation called “Is Wetter Better?” and also in the section on “Reading Your Dough.” We’ve also layered details into the sidenotes next to all the steps in Chapter 3 and the captions that accompany the folding photos. It’s a lot to digest and our hope is that with each loaf you dive a little deeper. (You’re probably already doing this, but just in case.)
How long does it take your oven to come to 485°F? A couple readers have written that their oven takes way longer than 15 minutes to heat, so the dough is settling and baking before benefitting from oven lift. If that’s the case, we’re suggesting you give the oven a head start—whatever it takes over 15 minutes—so you’re putting the cold covered pot with the dough into a partially heated oven.
The crumb: We want your photos to look like the ones in the book. The Beginner Bread will have a more open crumb than the whole grain loaves and sweets, but the interior of the whole grain bakes should be light and springy, even if not as full of holes as foods made with white flours.
About baking at high altitude:
Every increase in elevation brings a decrease in air pressure, which affects all the chemical processes that happen during baking. Leavenings take effect more quickly, as does evaporation in the dry climate, which can lead to dry texture and concentrated sweetness. (From How to Bake Everything.)
Families who have been living in the mountains for years have already discovered, through trial and error, the best ways to adjust. Newcomers to high altitudes must be patient and experiment to discover what works best at their elevation and specific conditions. But here are some general tips:
Assume that yeast-raised batters and doughs will rise faster than at sea level. To compensate, decrease the yeast by about one-quarter, refrigerate the dough to slow its rise, or punch it down and give it a second rise.
Over 3,000 feet, increase baking temperatures by 25°F.
Over 3,000 feet, reduce chemical leavening by about 1/8 teaspoon for every 1 teaspoon called for; increase liquid in baked goods by 2 to 4 tablespoons per 1 cup called for; reduce the amount of sugar by about 2 tablespoons per 1 cup.
For every 1,000-foot increase in altitude above 3,000 feet, increase baking temperatures by an additional 15°F; reduce leavening by an additional 1/8 teaspoon per 1 teaspoon; increase liquid by an additional 1 tablespoon per 1 cup; and reduce sugar by an additional 1 tablespoon per 1 cup.
About using rye:
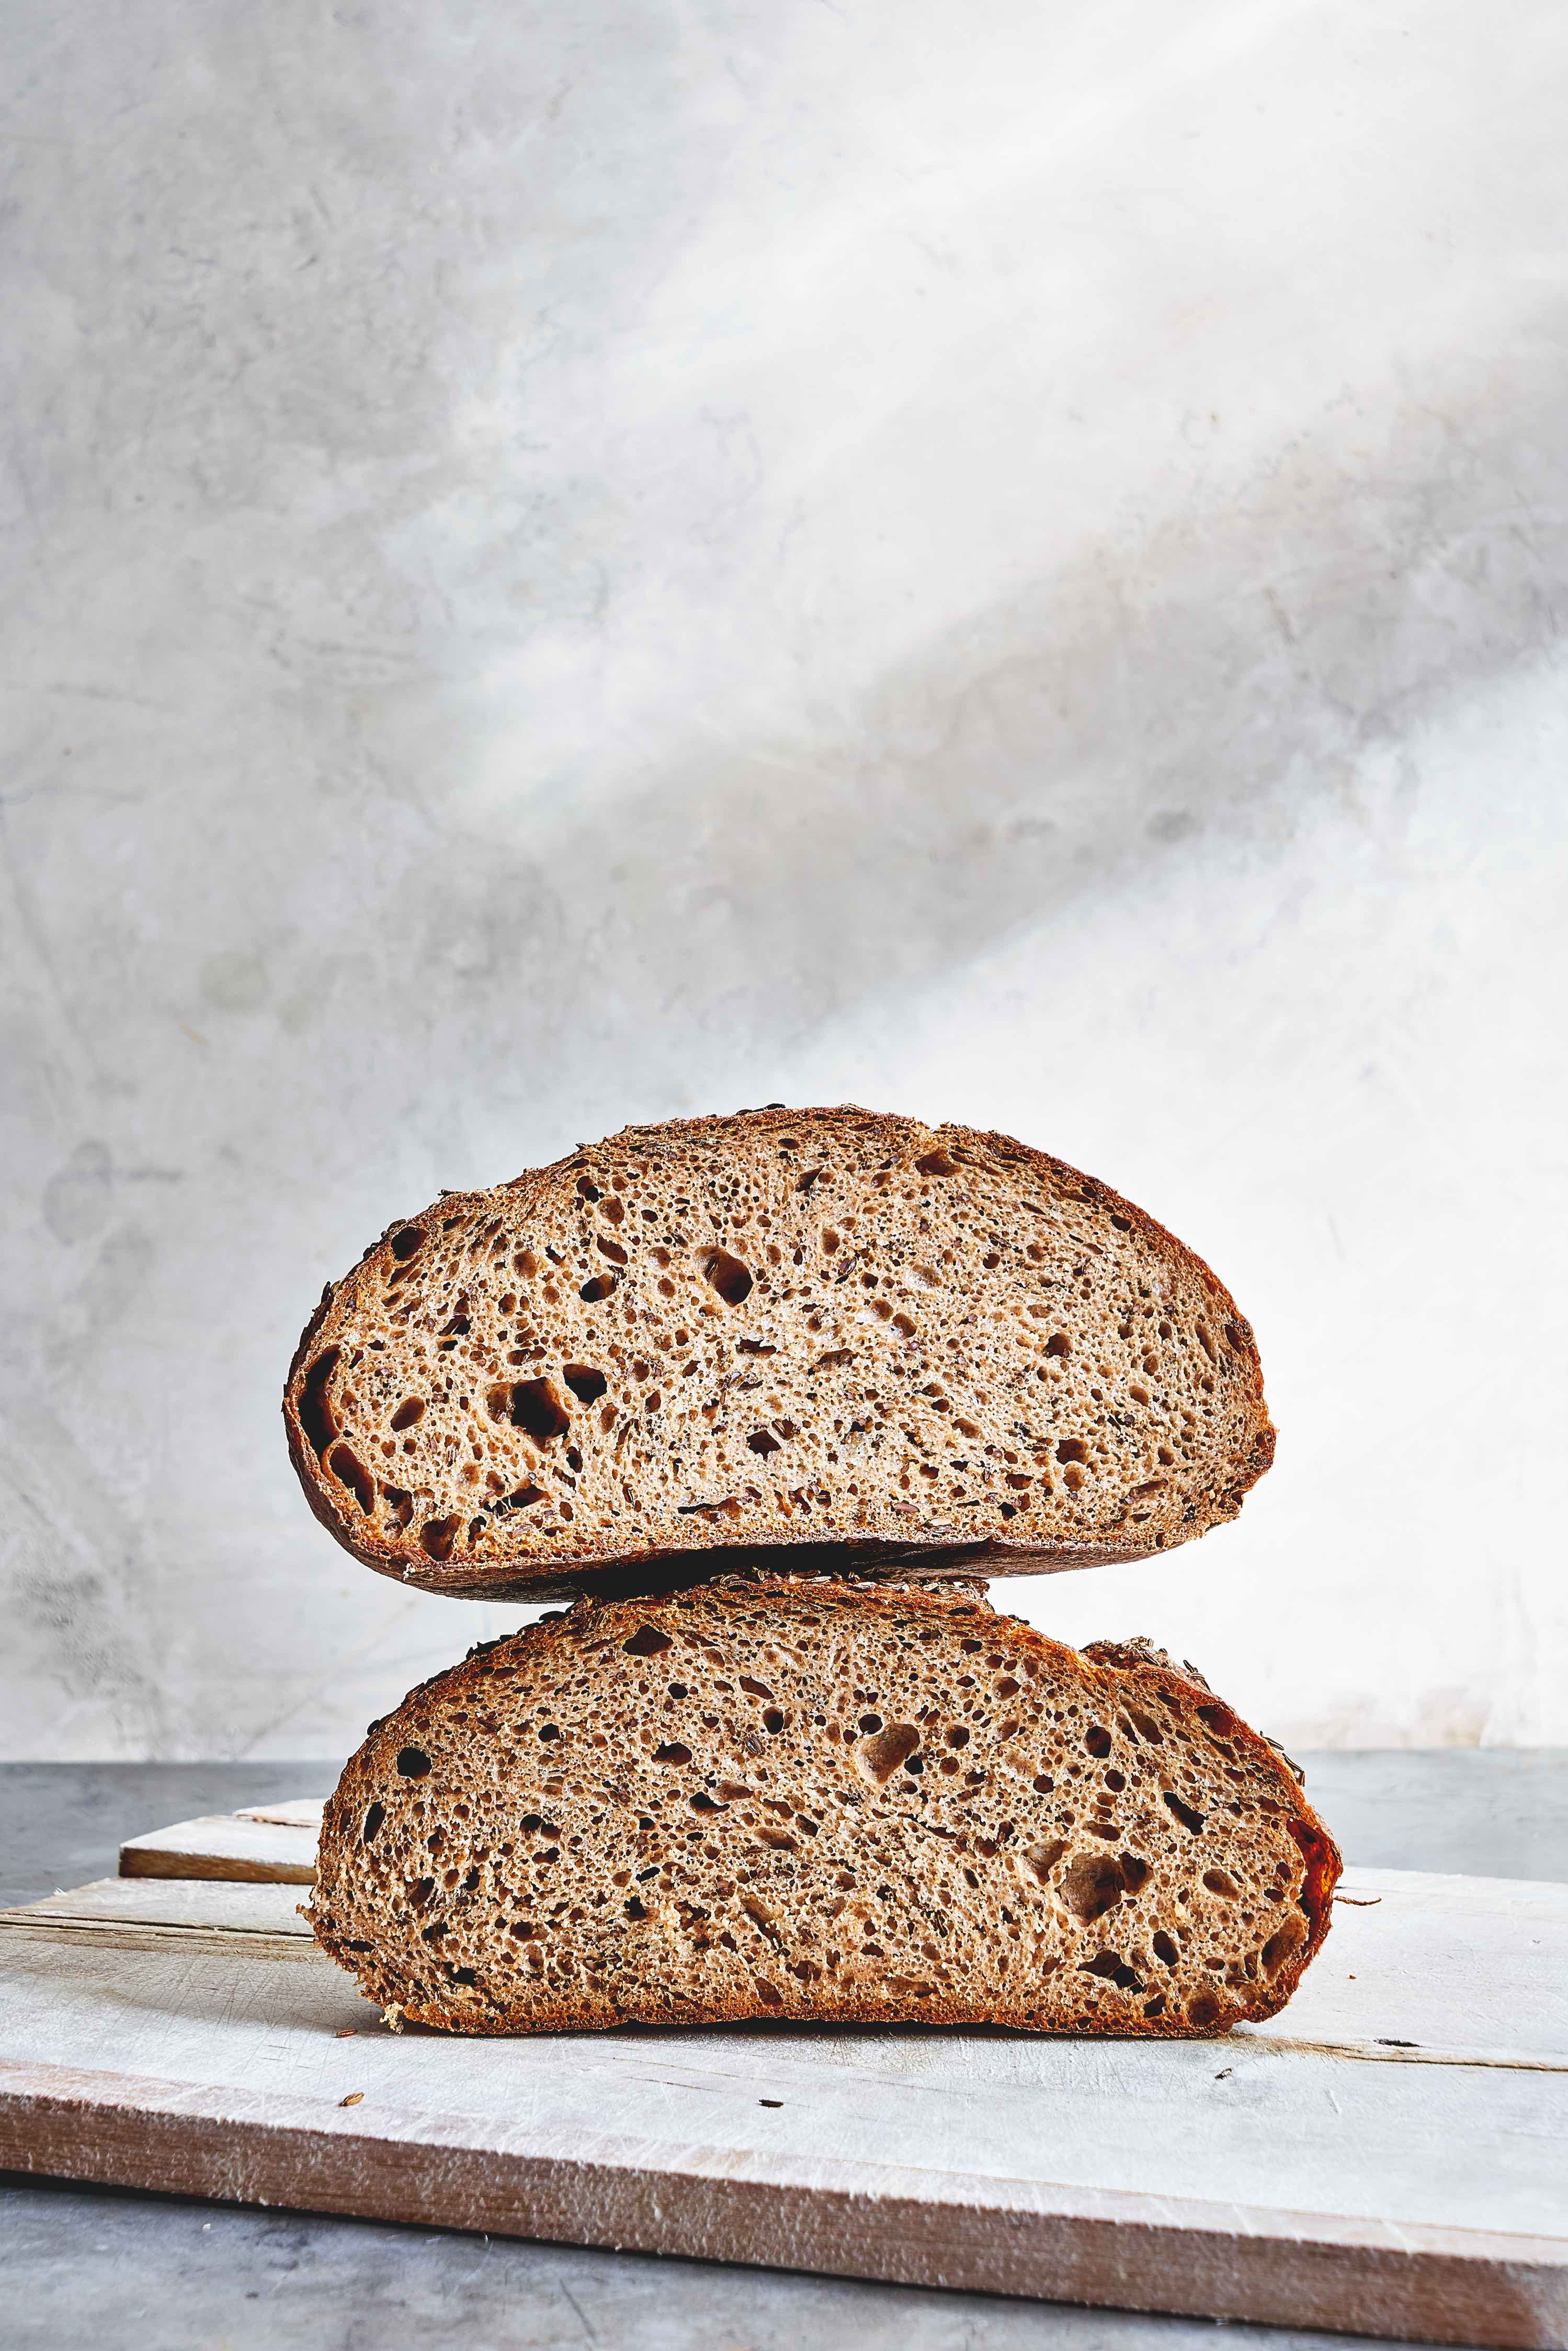
We suggest you start with all whole wheat, then separate out some established starter and start feeding it rye. (Other flours with even less gluten are even more challenging.) Then see what you think. Some people prefer rye starter; we’ve concluded that most cooks are better off sticking to wheat, as we do.
Baking is another story: You can easily use 10 or 20 percent of rye in any whole grain bread recipe, and it won’t be challenging; more than that is doable, but it gets quite sticky, and it won’t rise as beautifully. Hydration is about the same but will vary among rye varieties. There are photos and notes about adjusting the hydration of starters in that same section described above.
Try some of the variations after the main Bittman Bread recipe. And check out Mark’s Rye and the Travel Bread recipes. The dough itself will hold all kinds of different flours in moderate quantities.
About Mark’s slicer:
From Mark: It’s a Chef’s Choice 645 and is now discontinued. There are a lot of terrible slicers out there and this one is among the better ones, sadly. The 615 is its replacement but I don’t know how good that is. I’d read up before I bought it or anything else, and we’d dearly love a discussion about this from any of you who have experience.
Beyond Bittman Bread: Photos, ideas, and a recipe

Yule Boule and King Cake
We’re between the Holidays and carnival season, but both of these festive loaves are good year-round. For the boule: Use the Bittman Bread main recipe for dough and baking directions, but reduce the salt to 3 grams and at the same time, add: 100 grams finely chopped candied fruit; 50 grams raisins; 2 tablespoons turbinado sugar; 1 teaspoon cinnamon; 1/2 teaspoon allspice; 1/2 teaspoon ginger; 1/4 teaspoon each cloves and nutmeg. Since the fruit will absorb water, add at least 20 grams more water than usual, too. After the bread cools, glaze it with a mixture of bourbon and/or water and powdered sugar, whisked until smooth.

And for Bittman Bread King Cake, check out this post from last year.
Bumplings
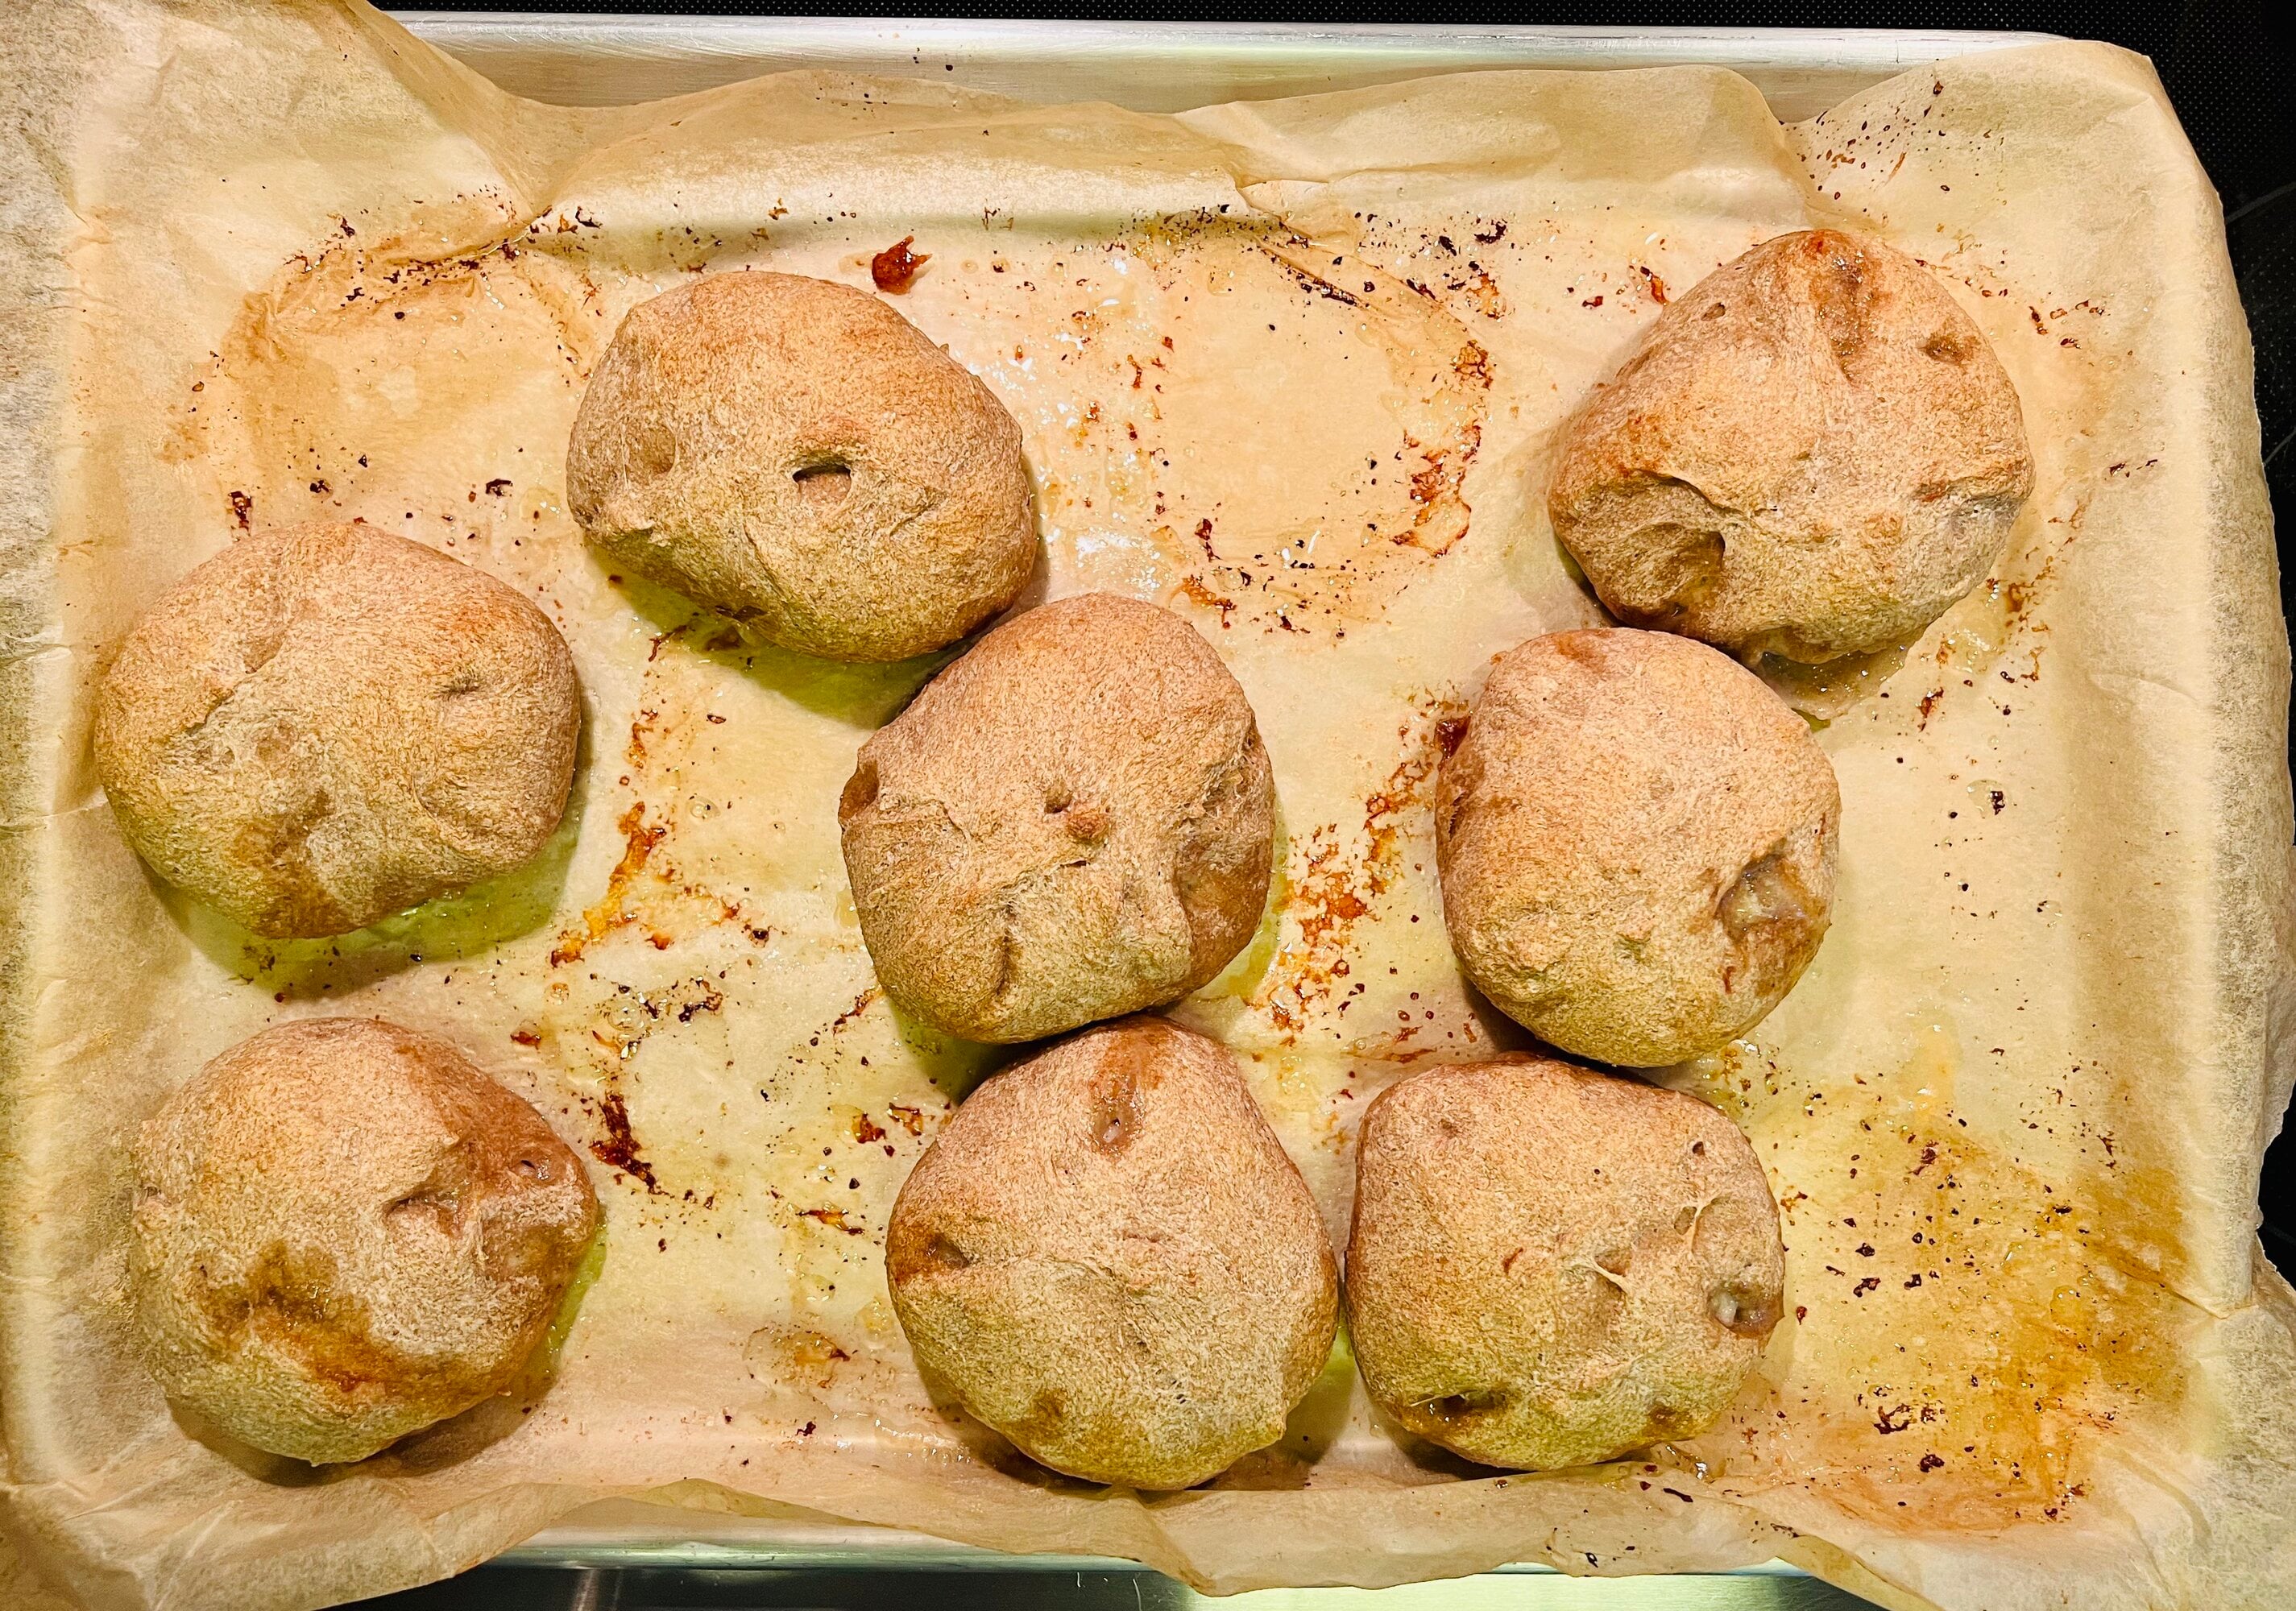
A cross between a dumpling and Chinese bao. Kerri has worked on both steamed and baked versions. Both are super easy with the basic Bittman Bread dough: After the 4th fold use wet hands to press the dough into a rectangle on a wet surface; it should be about 1/4 inch thick. Cut it into 12 or 16 squares. Scoop a couple tablespoons of filling into the middle of each. This is an excellent vehicle for leftovers, or you can make a quick stirfry and use that. Chopped kimchi is an easy solution. And Kerri has even made a batch with raw, heavily seasoned ground chicken. To seal the dumplings simply stretch the corners of the squares over the filling and pinch to seal; it’s okay if there are small holes in the top. Transfer the bumplings to a steamer or a baking sheet lined with parchment. Steam until the wrapper registers about 205°F with an instant-read thermometer and the filling is over 160°F, 15 to 20 minutes after the water boils. Or bake at 425°F for about 30 minutes.
Galette Bretonne (Sourdough Buckwheat Crepes with Ham, Cheese, and Egg)
Comment