

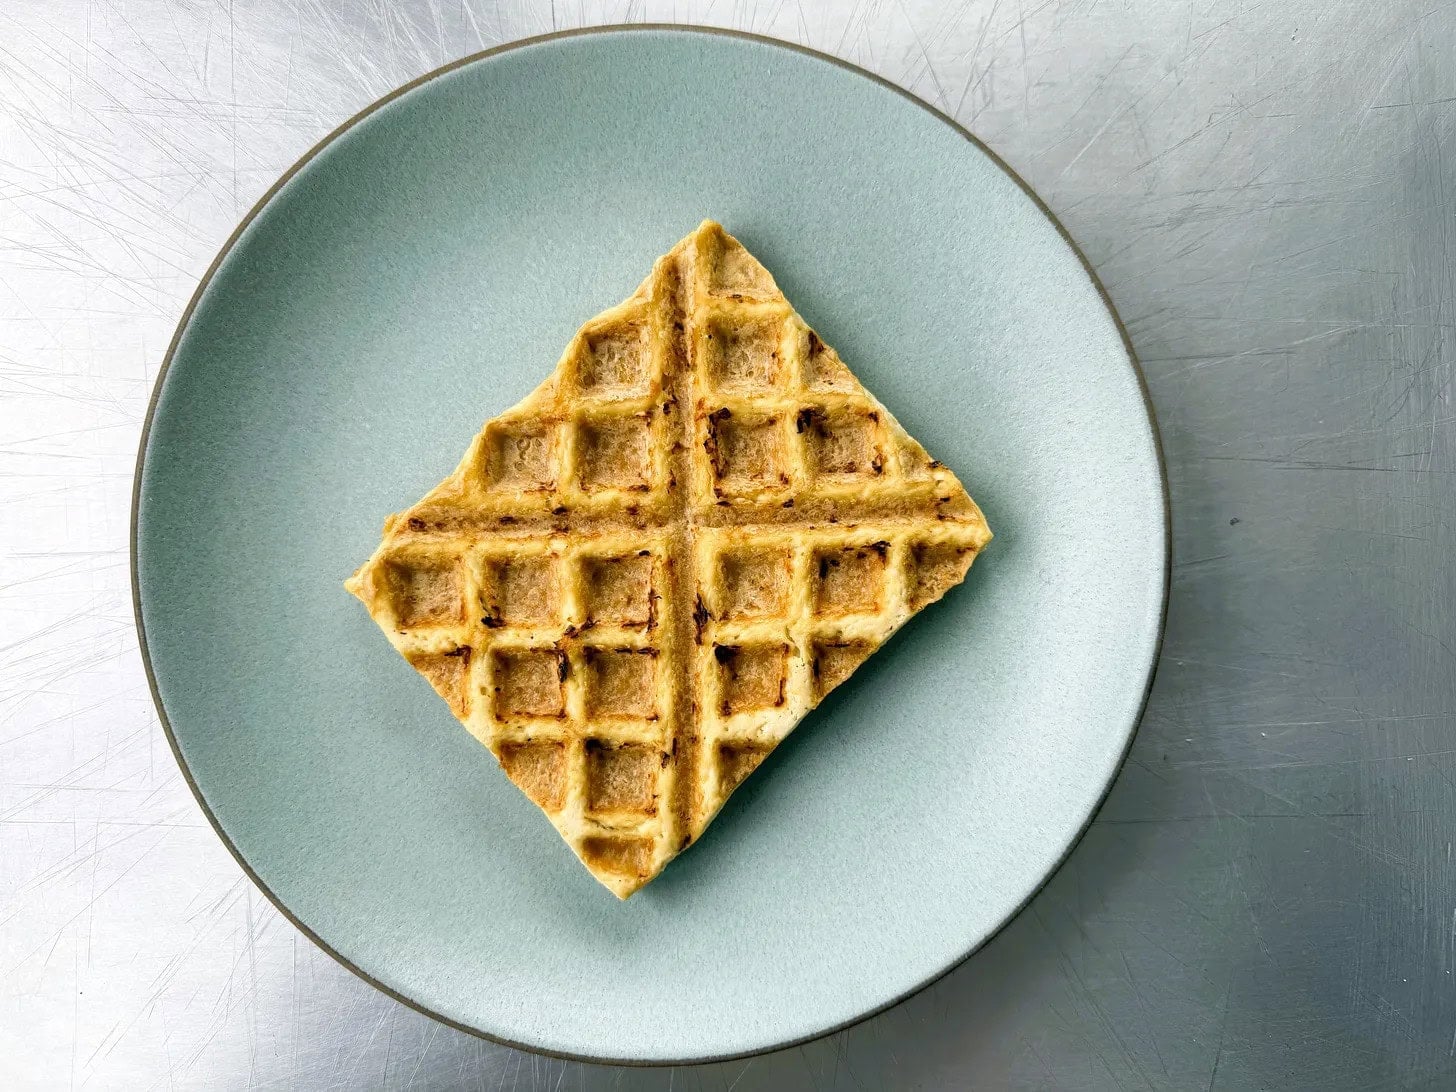
The ancient Romans get credit for being the first to cook dough between two hot irons. Which makes sense, since until recently it had been a couple thousand years since I made waffles. Not anymore, baby. Over the past month or so, I’ve waged enough batter battles, suffered enough grain explosions and smashed enough sandwiches to expand my kitchen empire into bold new territory.
Now it’s time to share the victories.
I’ll start by anticipating your general questions with the “Rules of Waffling.” Then let’s dive into “Will it waffle?” — a film strip of successes and recipe sketches. Feel free to jump and skip around this story as you like. The idea is to give you all the tools you need to strike out on your own and have some fun.
I’m not the first to embark on this quest. (Google the phrase “Will it Waffle?” to reveal a few early explorers.) But I’m hoping this piece inspires you to grease up your neglected waffle iron, grab something languishing in your fridge or pantry, and crush it.
The rules of waffling
In general, dry or dry-ish ingredients, doughs, and batters work better than wet ones.
Choose wisely. Despite all the waffled bacon on TikTok, I proclaim no raw meat, fish, poultry, or eggs. There are pots and pans to cook that stuff. And in general, dry or dry-ish ingredients, doughs, and batters work better than wet ones.
Know your iron. Is it truly non-stick? How many heat settings do you have? Is the top weighted or do you have to press down manually? Can you opt for a crisp exterior? (I set mine to “uniform texture” to control for irons that have no choice of texture settings.) The answers will help you adjust the directions here to your machine and preferences.
Size up as necessary. There are two standard sizes and shapes: The 7″ circle (like mine) and the 10″ square (with its four square waffles). Both include a 1/2-inch “gutter” around the perimeter for overflow. Based on surface area, the small circle holds 1 to 2 cups of food, while the big square has slightly more than double that capacity, maxing out at 2 1/2 to 3 1/2 cups of “stuff” it can handle comfortably. In both waffle irons, spreading food into a relatively even layer within an inch or 2 from the edges before closing will give you a better result than a pile in the middle. And just because you have a large waffle iron doesn’t mean you have to use the whole thing.
Grease while the iron is cold. Safer, less smoky, and easier to get in between those little squares. I almost always use a neutral-tasting vegetable oil refined for moderate to high heat (like sunflower or grapeseed). That said, there are definitely times you’ll want the flavor of melted butter or olive oil. Use a silicone brush or small clean towel to smear the fat on both the top and bottom plates. And it’s always best to make waffles as soon as the iron is heated so the fat doesn’t burn.
Judge doneness with your senses. Take the waffle iron’s beeper as a suggestion. Better signs of doneness are diminishing steam (a signal that moisture has evaporated); a toasty toast rather than a burned toast smell; and easy opening with the slightest effort (if you have to tug, the waffle isn’t ready).
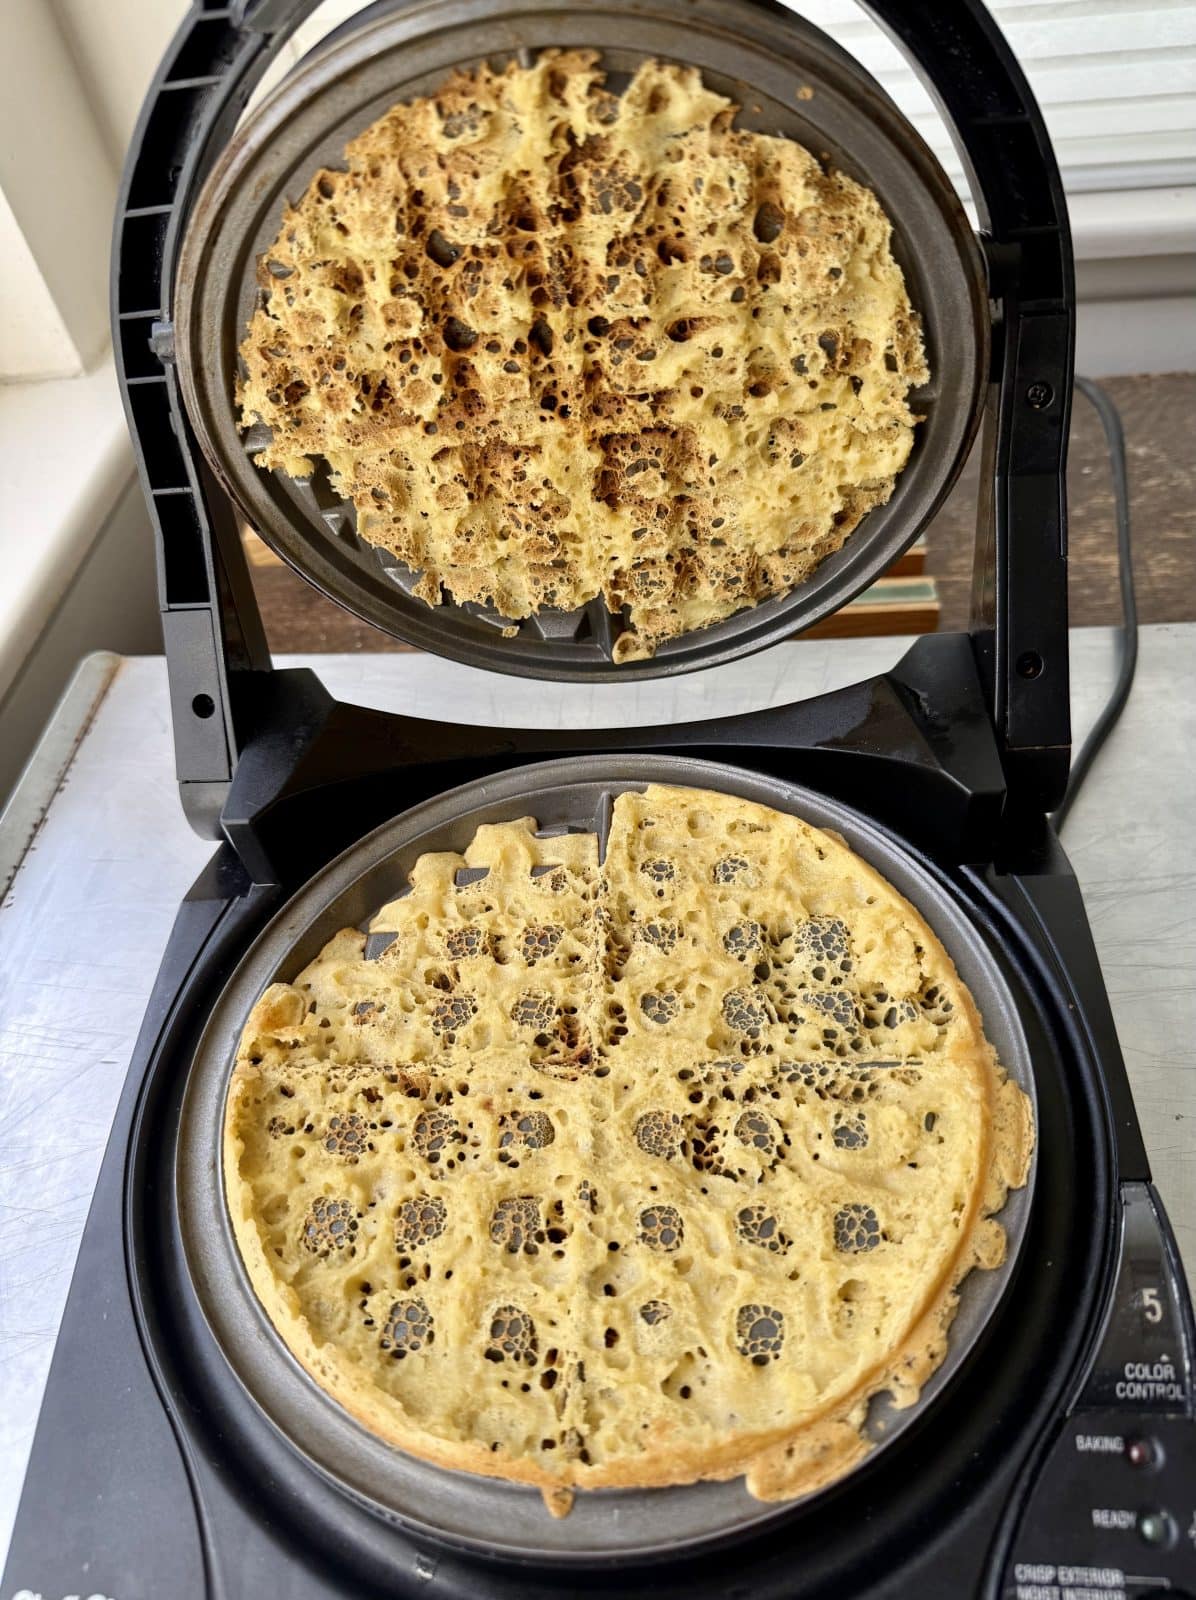
Fear of mess is no excuse for only making waffles every couple thousand years.
Try this cleaning hack. I have to admit, mistakes were made in the process of developing these recipes. So I’m a bit of an expert on cleaning a waffle iron. I discovered a shockingly easy way: After unplugging the machine, pour a little hot tap water into the bottom—just enough to coat it with a thin film. Use a combination of a clean towel, a toothpick, and a Q-tip to wipe out the water and grime without hurting the non-stick finish. Then tip the iron on its side to repeat with the top. (It never seems to get quite as messy.) You might have to repeat this soaking technique a couple times but take it from me, fear of mess is no excuse for only making waffles every couple thousand years.
And now for…the winning waffles
Croissant and Cake Waffles
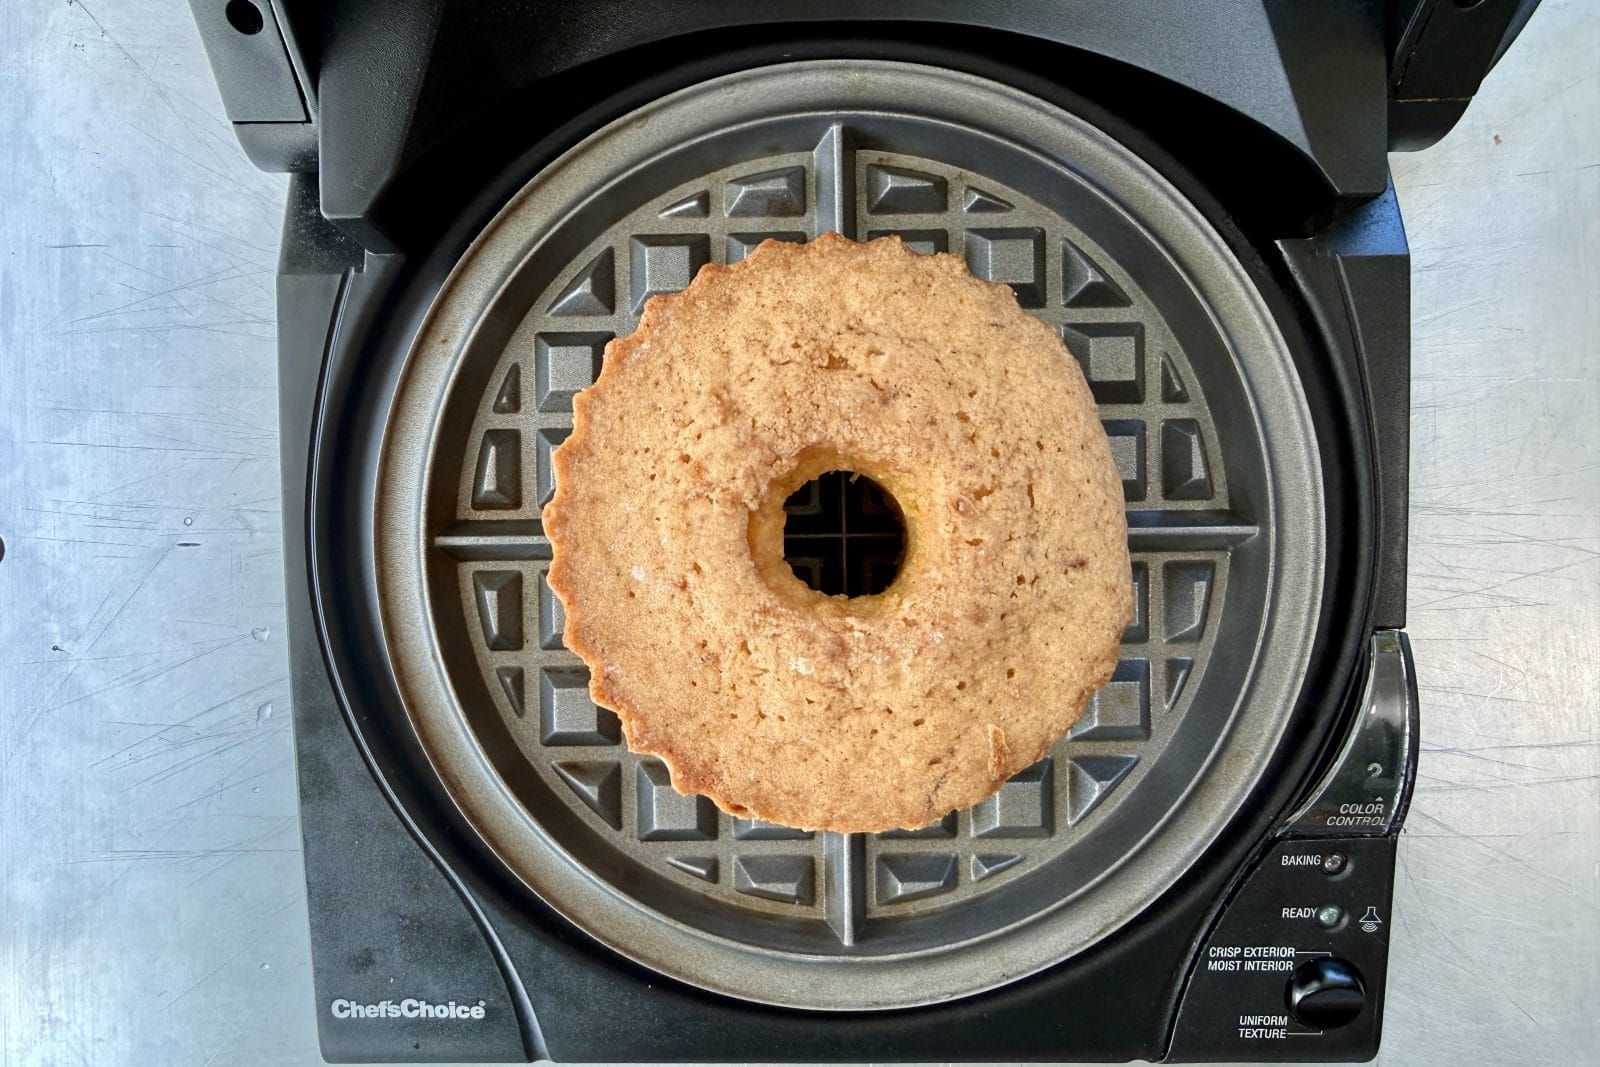
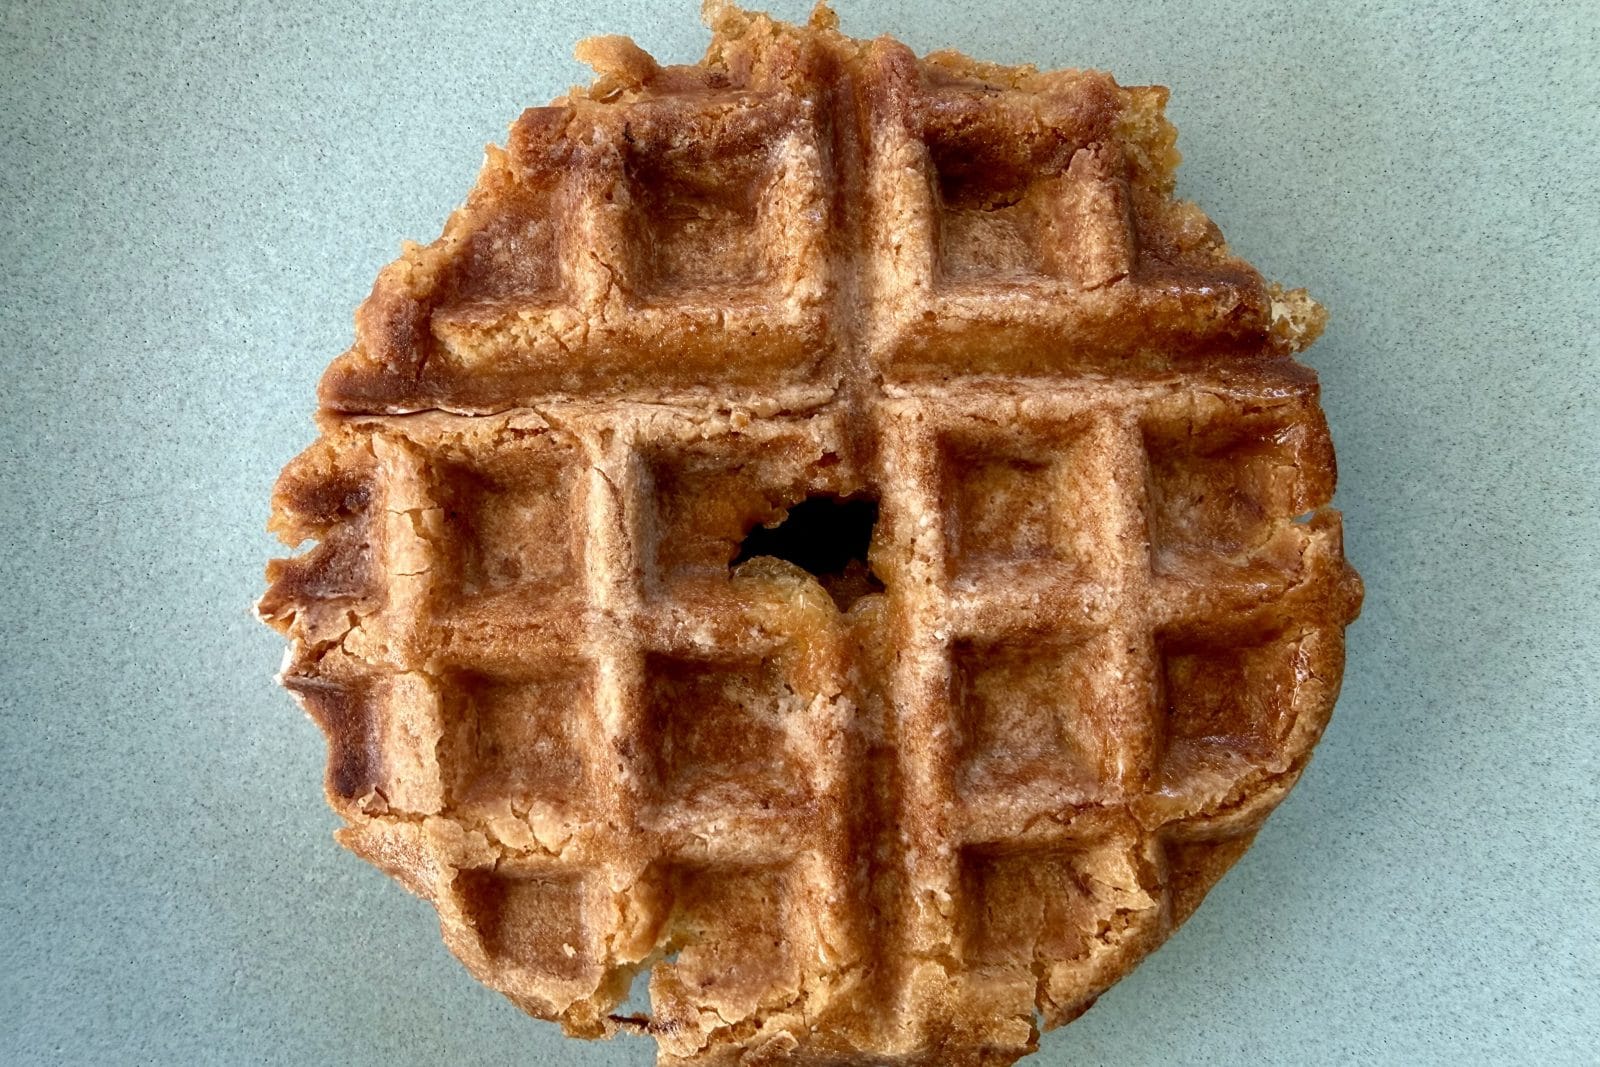
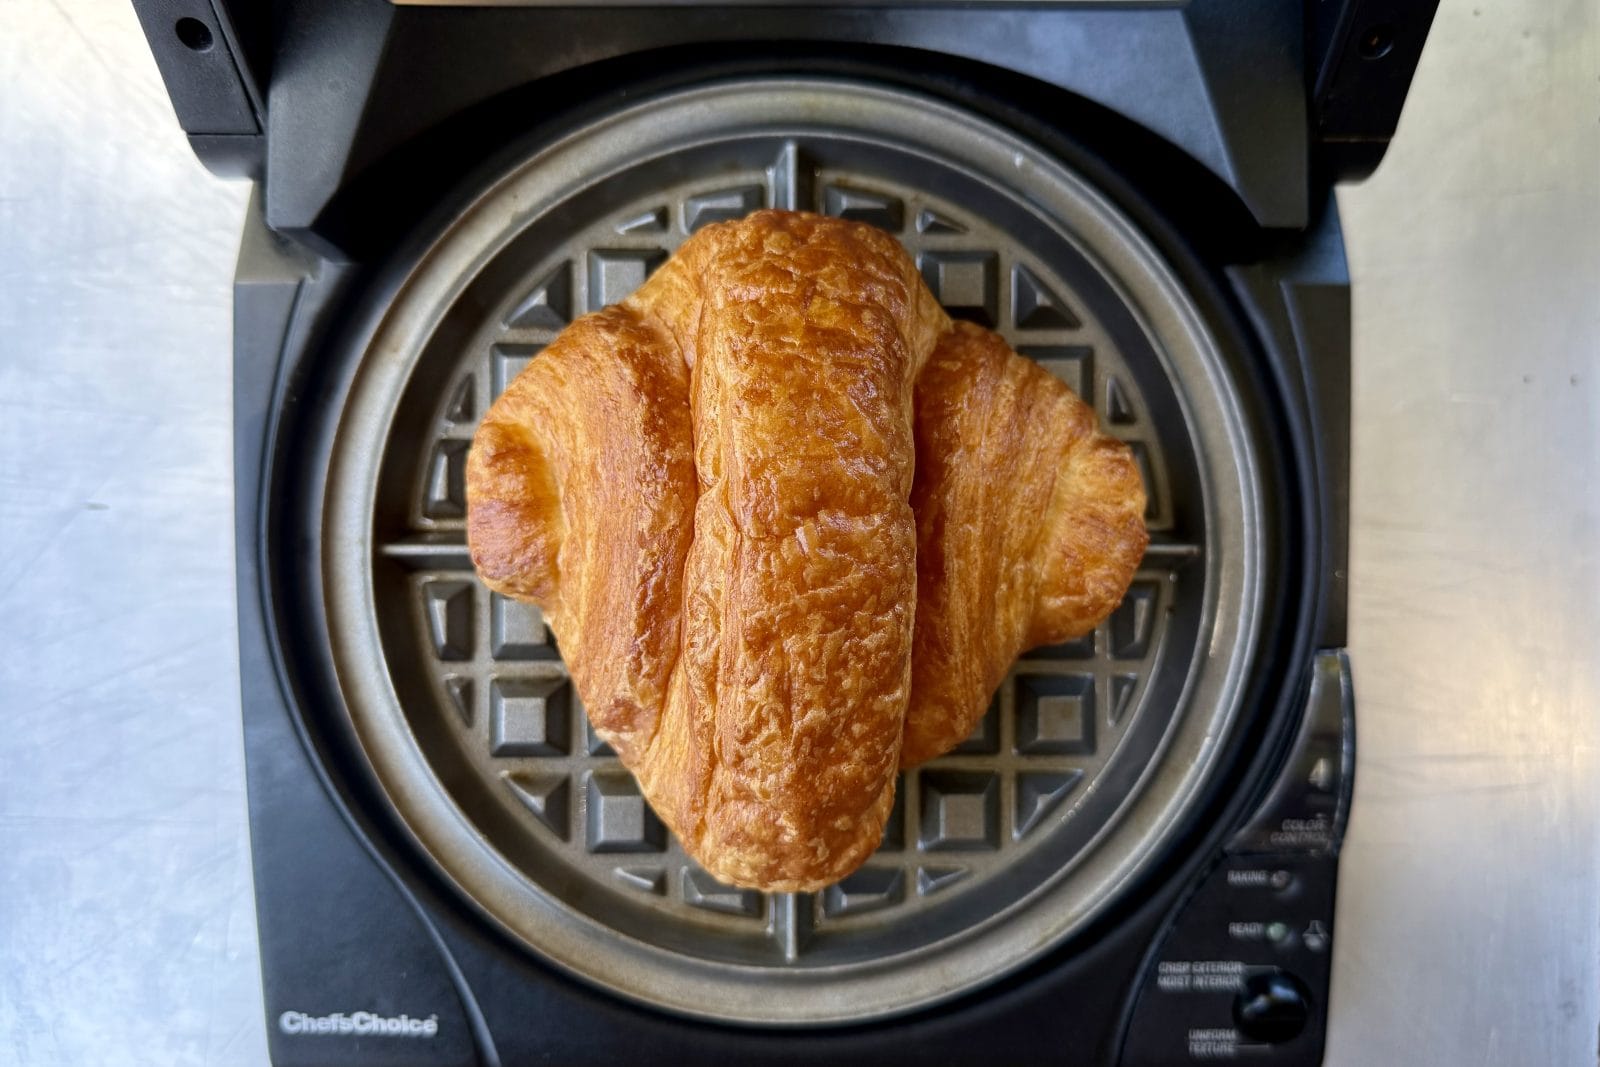
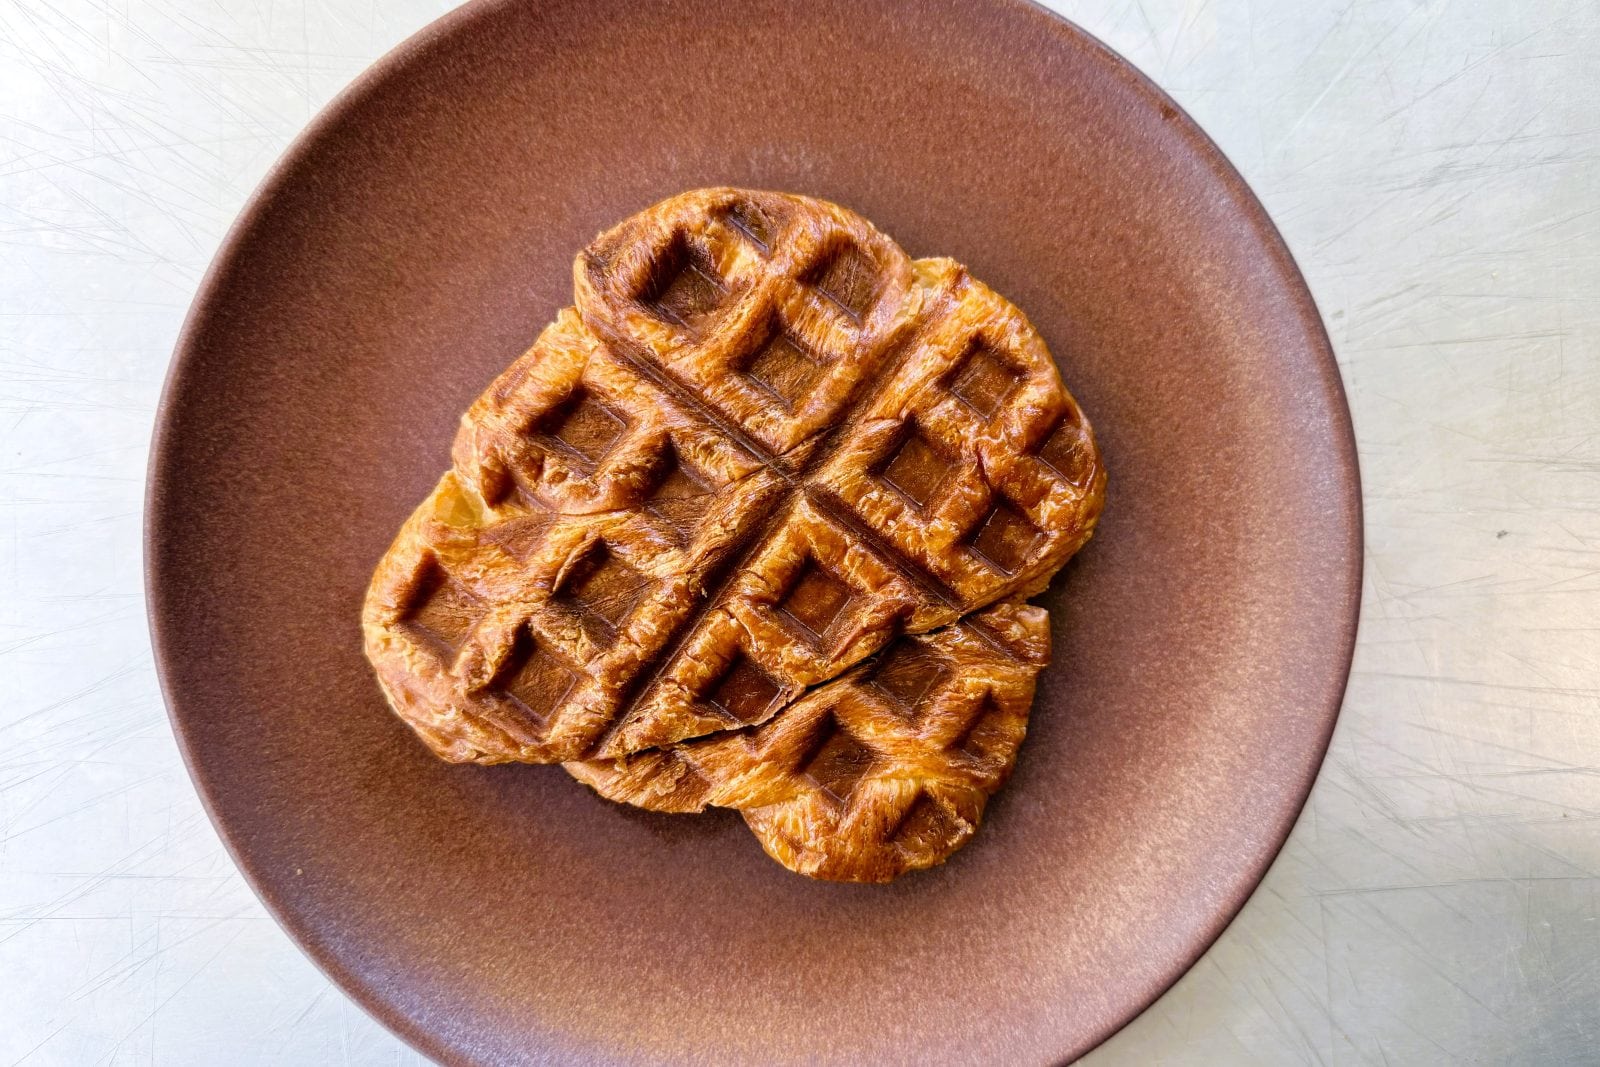
Whether you’re wowing guests or transforming day-old baked foods (or both!), waffling unglazed, unfrosted pastries and simple desserts is easy. Grease the cold waffle iron very lightly with melted butter or a neutral-tasting oil; set the machine to medium-high. When it’s hot, center the treat (or treats) in the iron so that there’s at least an inch of elbow room on all sides. Close and press down a little or a lot, depending on the thinness you want. Waffle until crisp, about a minute, depending on how dark the pastry was to begin with and how dark you want it. Inside will be gooey in the best way. Both were so good, I’m planning to waffle my next buttermilk donut.
Waffled Tofu
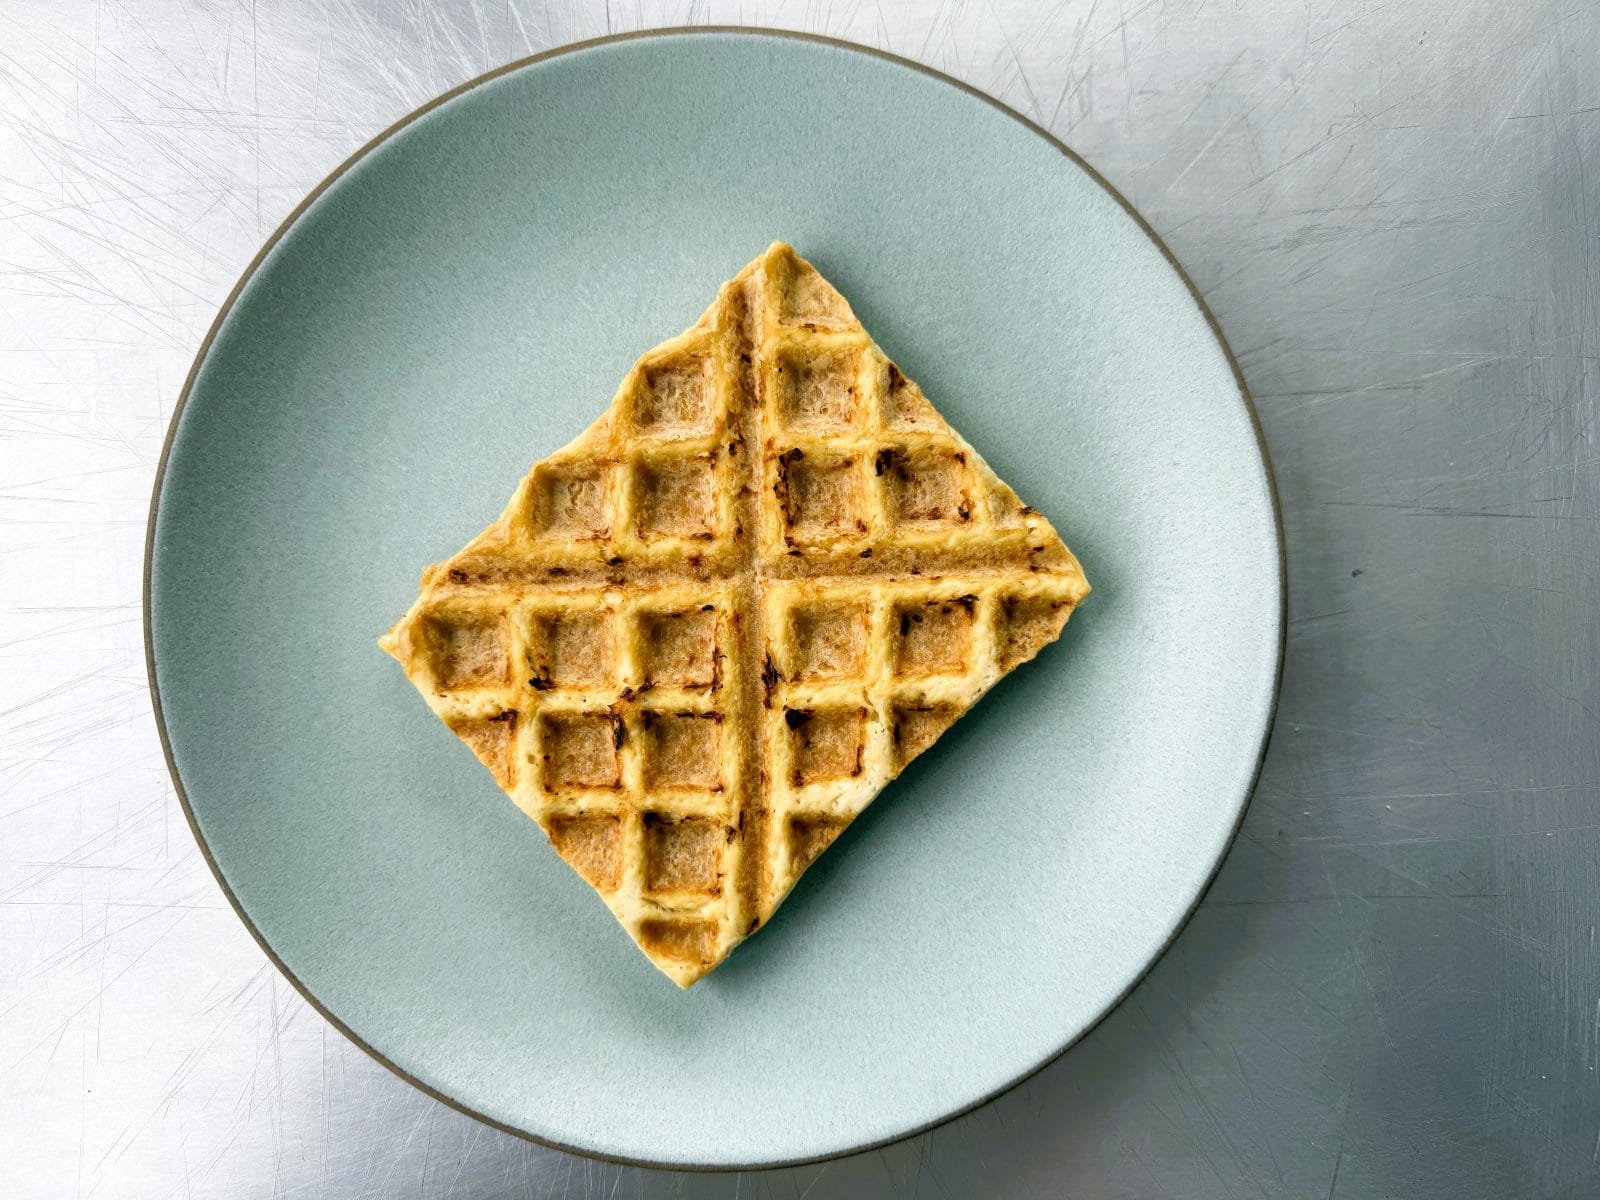
With a crisp crust, thick custardy parts, and nooks and crannies for cradling sauces or stir-fries, no one can accuse waffled tofu of being boring. Grease the cold waffle iron generously with a neutral-tasting oil; set the machine to medium-high. Halve a firm or extra firm block of tofu in half so you have two 1-inch slabs. Press each between layers of a clean towel to remove excess moisture, sprinkle one side generously with salt, and smear all over with a little more oil. Waffle one or both (whichever your iron will hold), pressing down firmly but slowly until the tofu doesn’t spring back. Cook until both sides brown and release easily from the iron, 3 to 5 minutes.
Waffled S’mores (and Waffled Pocket Sandwiches)
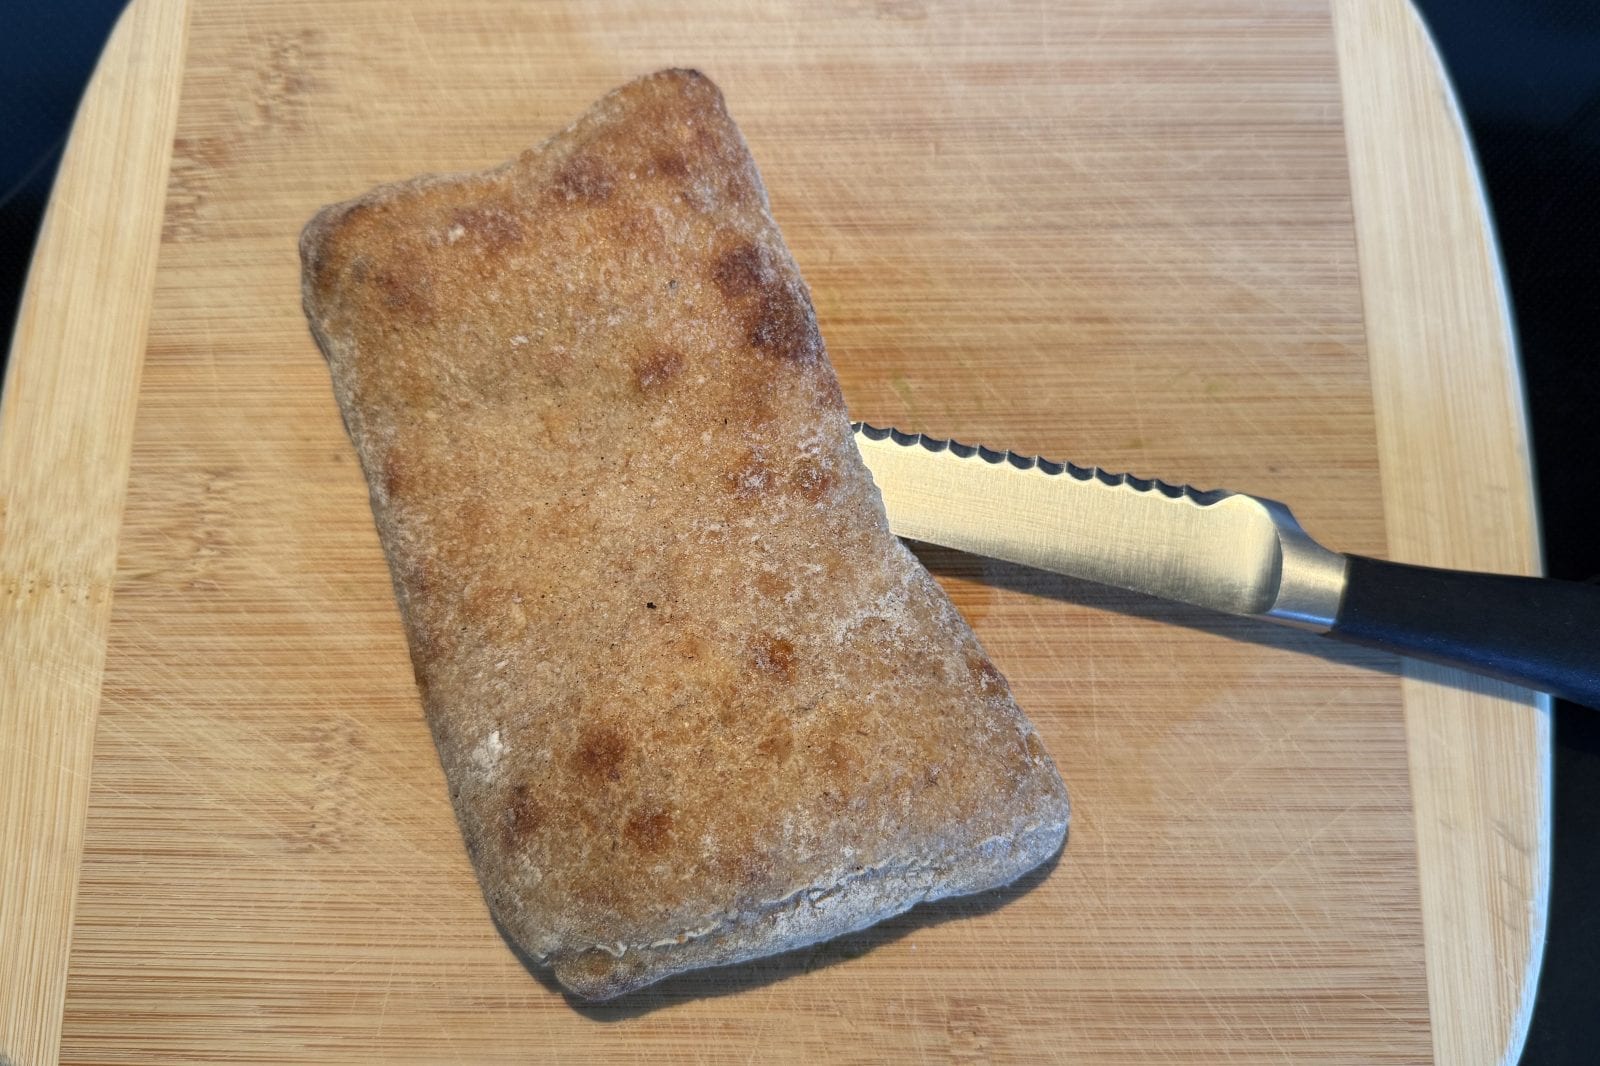
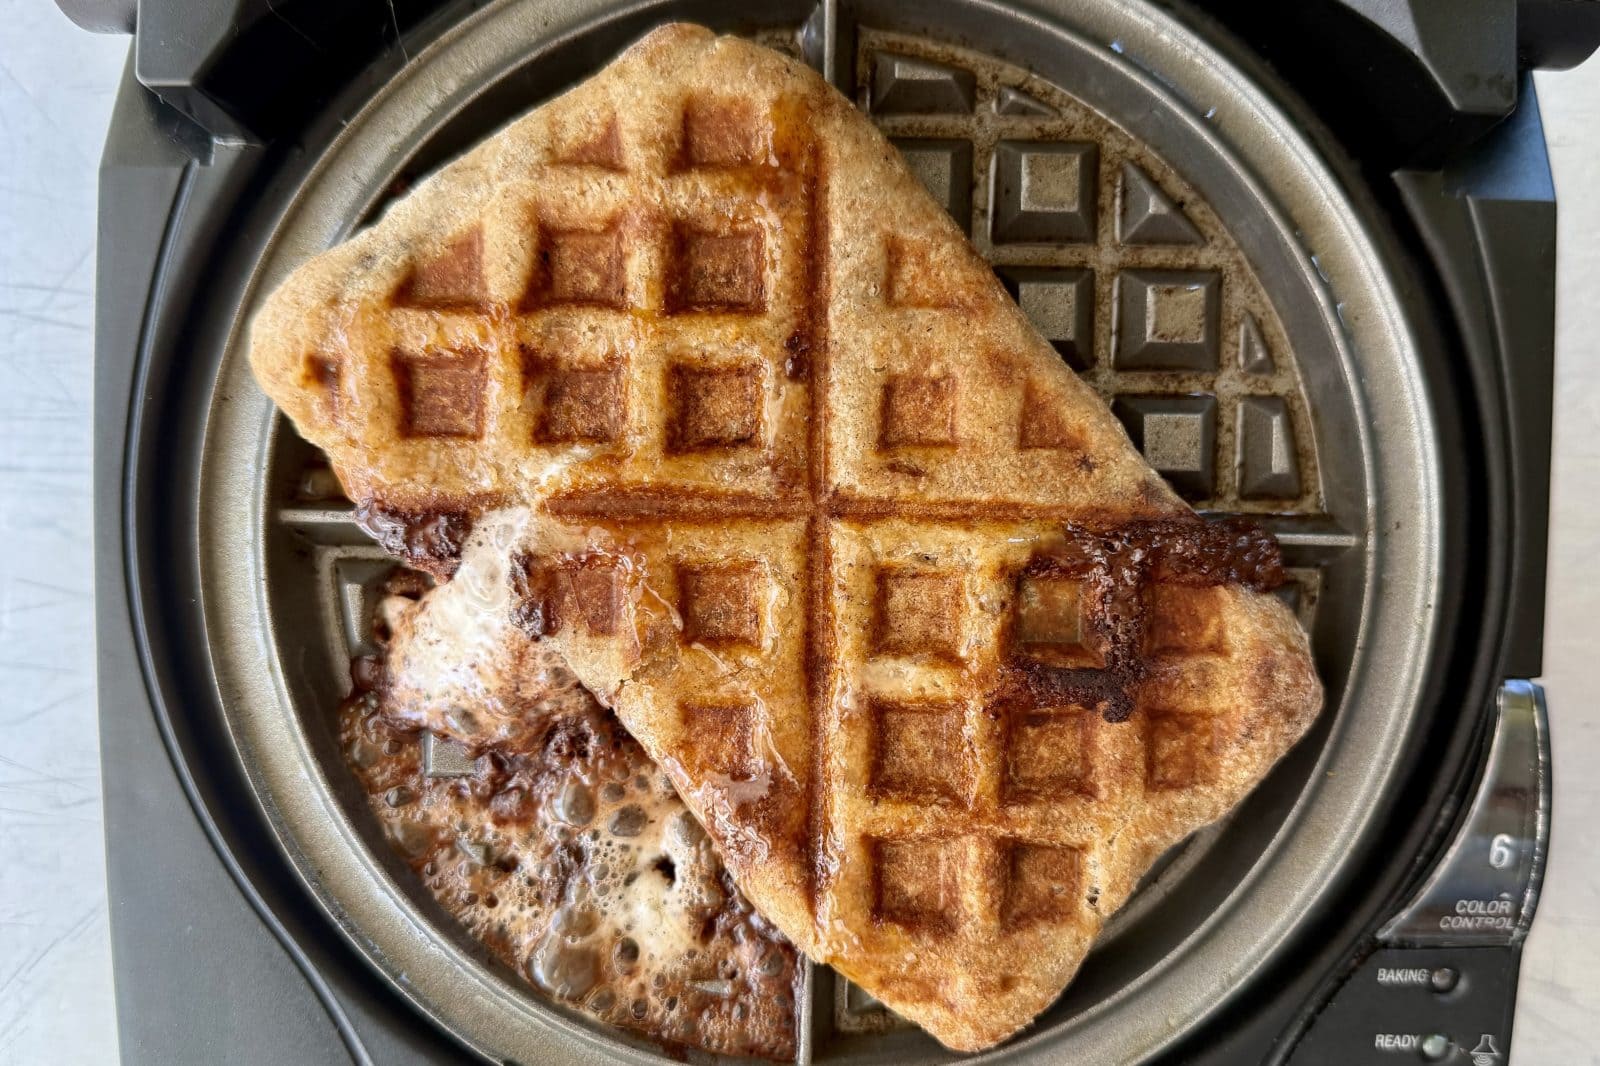
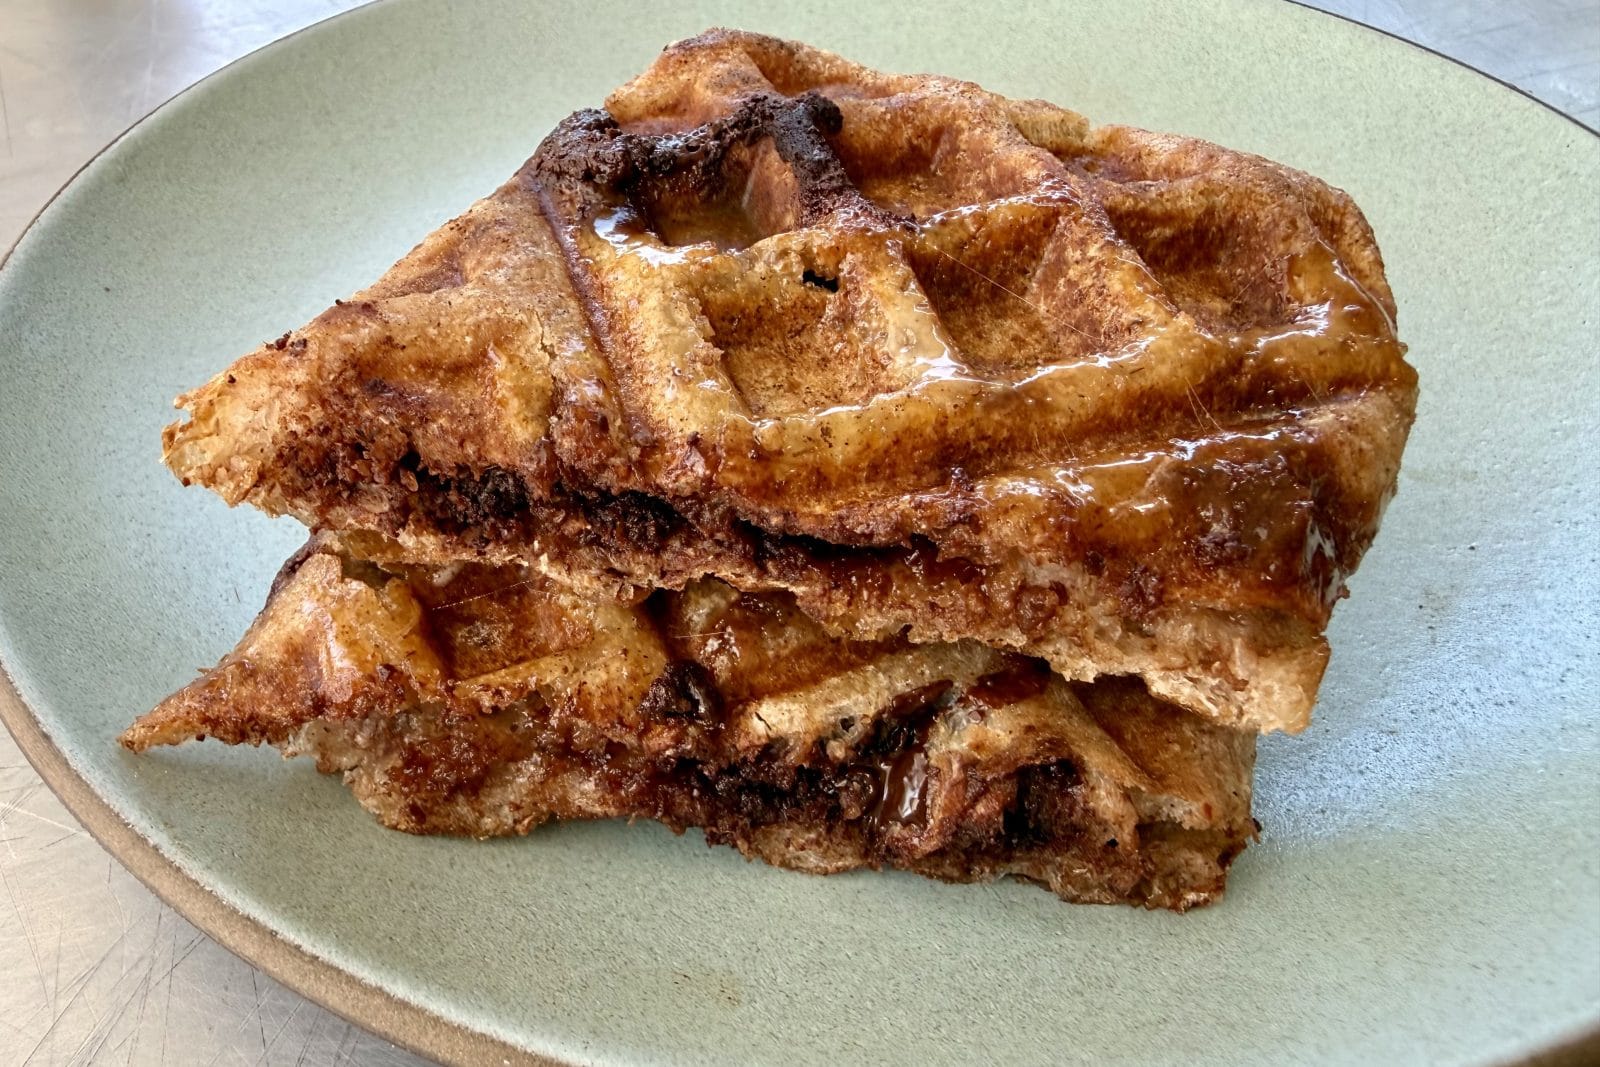
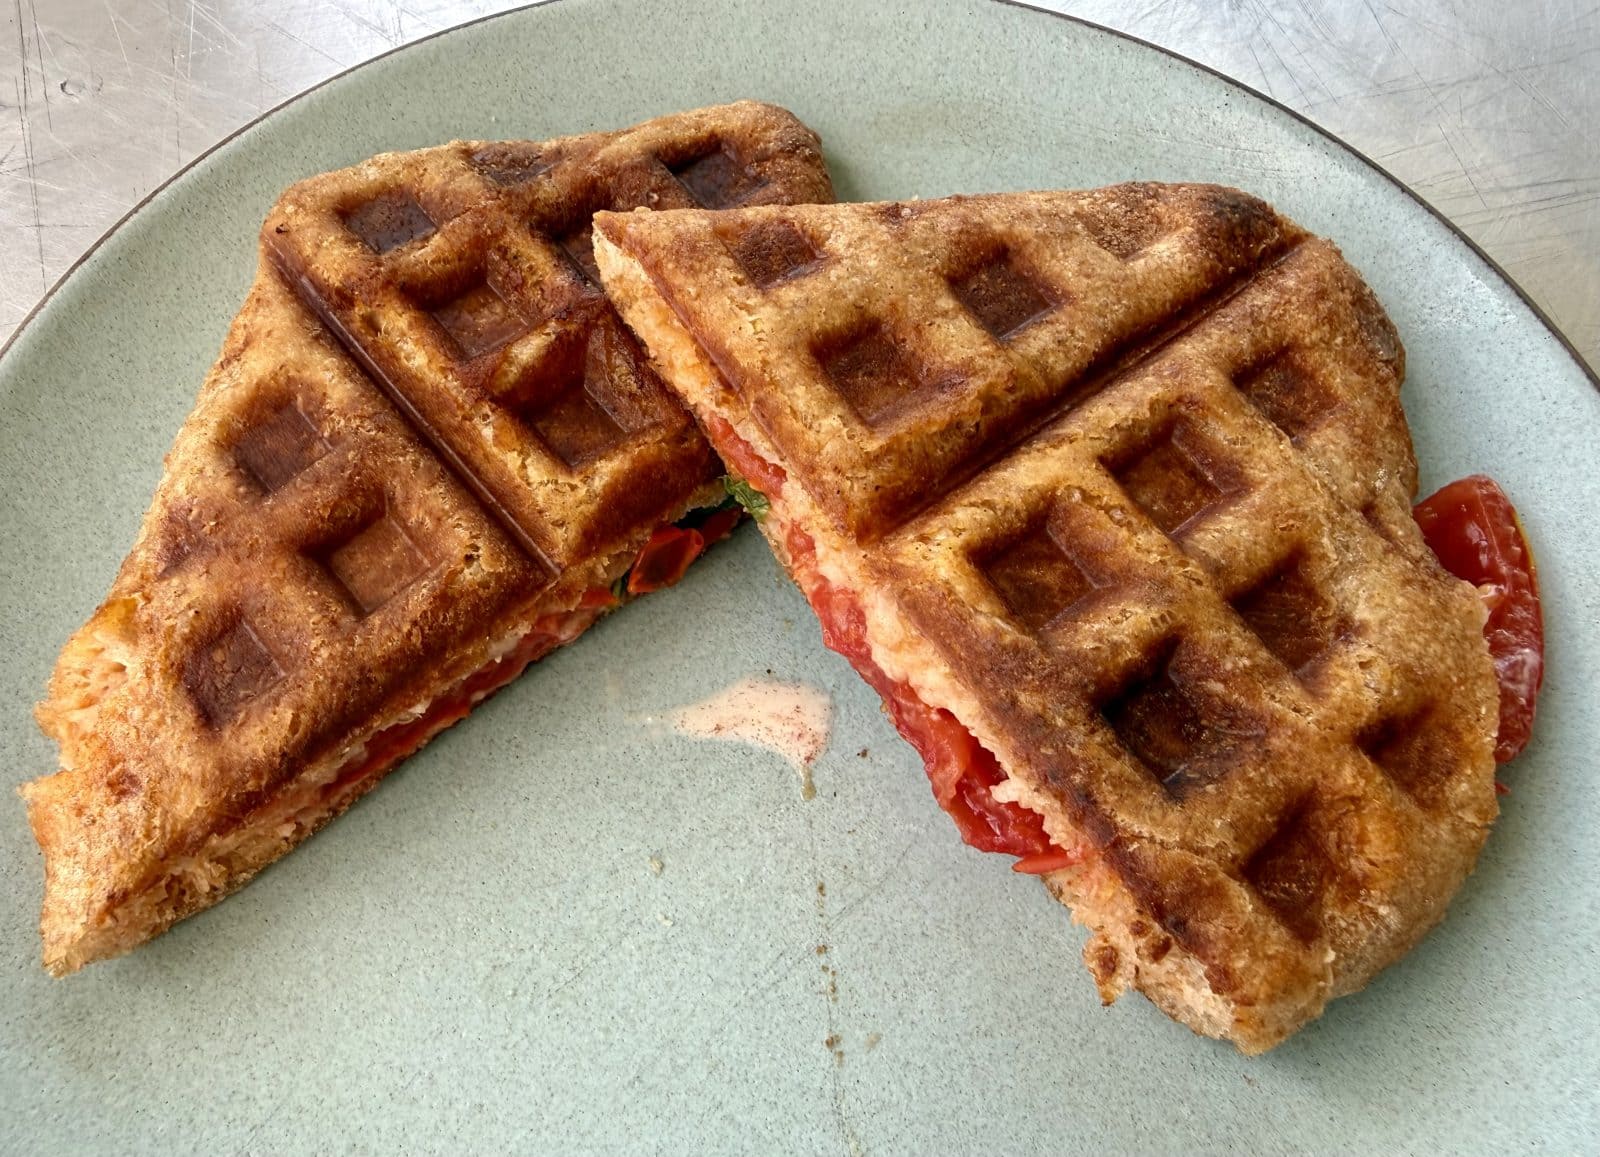
You may never panini again. Brush the cold waffle iron with melted butter or an oil that holds up to high heat (like grapeseed or sunflower); set the machine to high. To mimic the flavor of graham crackers, start with a whole wheat roll. (Anything on the thin side works fine; Bittman’s ciabatta flats are perfect for waffling.) Use a serrated knife to cut a slit on one side into the center of the roll then carefully saw around the inside to create a pocket almost to the edges. For s’mores, stuff the pocket with about 1 ounce chocolate chunks and 2 torn marshmallows. The wee bit of oozing above is my bad: I crammed in 3, which isn’t that hard to clean up (see the section below) and may have been worth it. I also made a yummy savory waffled pocket, smeared with mayo and filled with sliced tomato and whole basil and shiso leaves. Once the pocket is filled and in the iron, press down gradually, then cook until browned, 1 to 2 minutes.
Waffled Brown Rice Cake
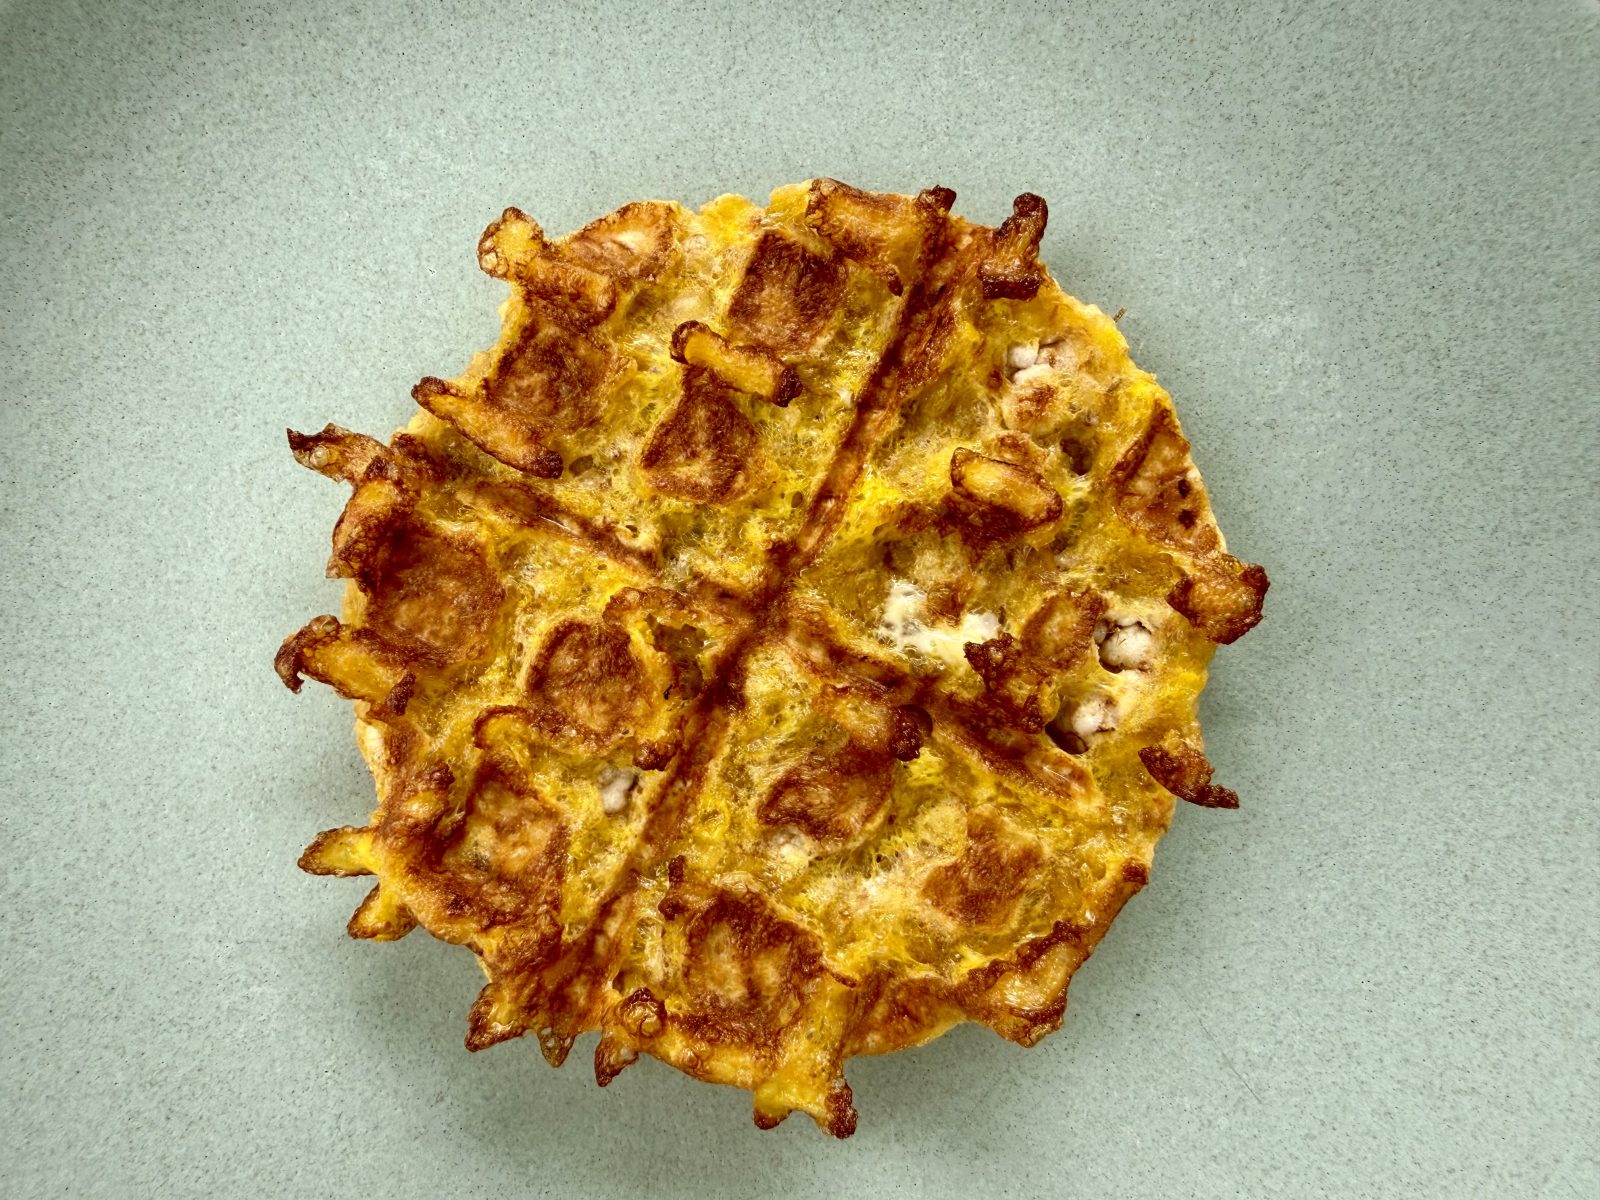
Many thanks to Lundberg for inspiring my waffle odyssey and sharing some different rice cakes for me to try. Taking a cue from Ironed Toast, start by whisking together 1 egg with 2 tablespoons milk and a pinch of salt. That should be enough to waffle 3 brown rice cakes. Only soak as many as will fit in your iron at one time. Turn each once or twice in the custard, until you can easily poke the rice cake with a fork but it’s not yet soggy, 1 to 2 minutes. Brush the cold waffle iron with melted butter or an oil that holds up to high heat; set the machine to medium-high. Press down on the waffle gently to get it sizzling, and cook until it’s as dark and crisp as you like, 2 to 3 minutes. For a vegan version, replace the custard with 3/4 cup full-fat coconut milk; the waffle will be thin and caramelized and take a couple minutes longer to cook, but both are equally delicious. Eat like waffles with sweet or savory toppings. Or fill, fold, and eat like tacos.
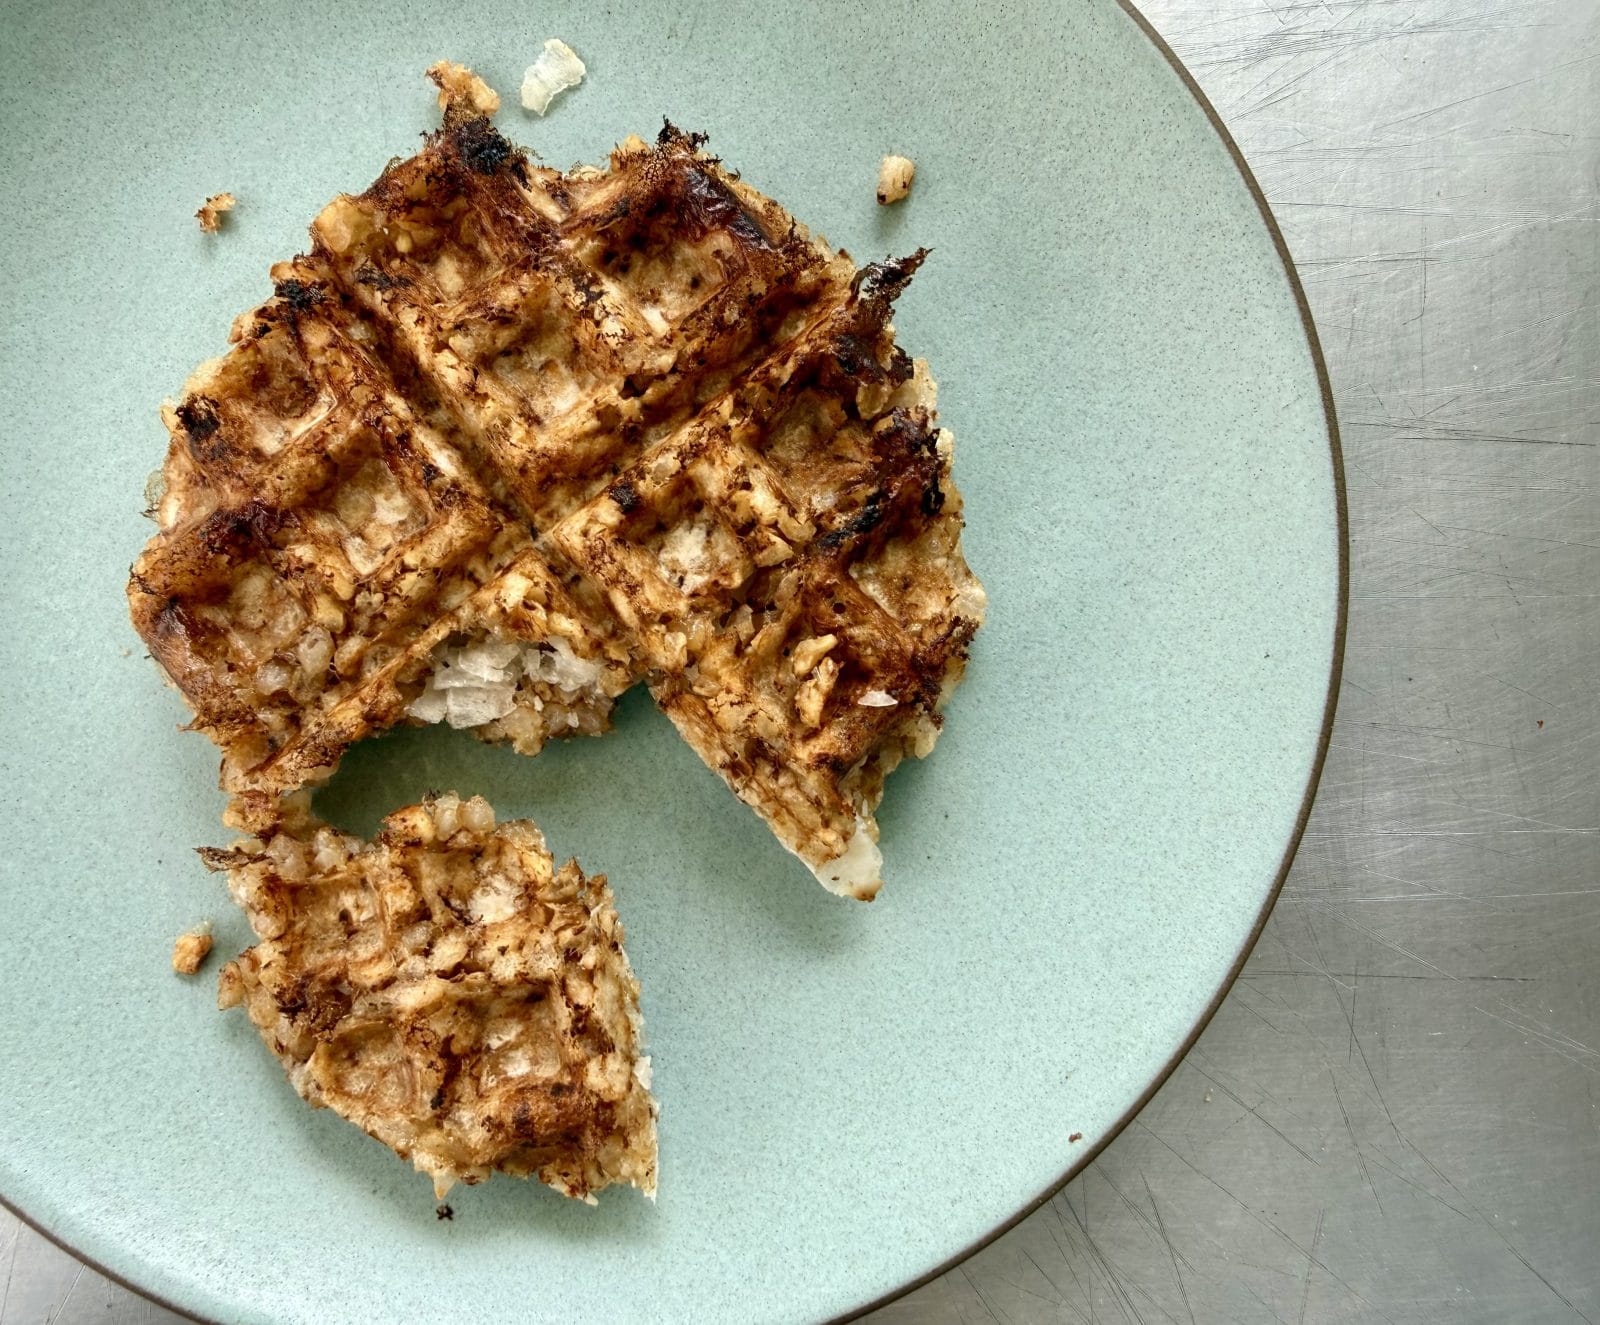
Socca Waffles
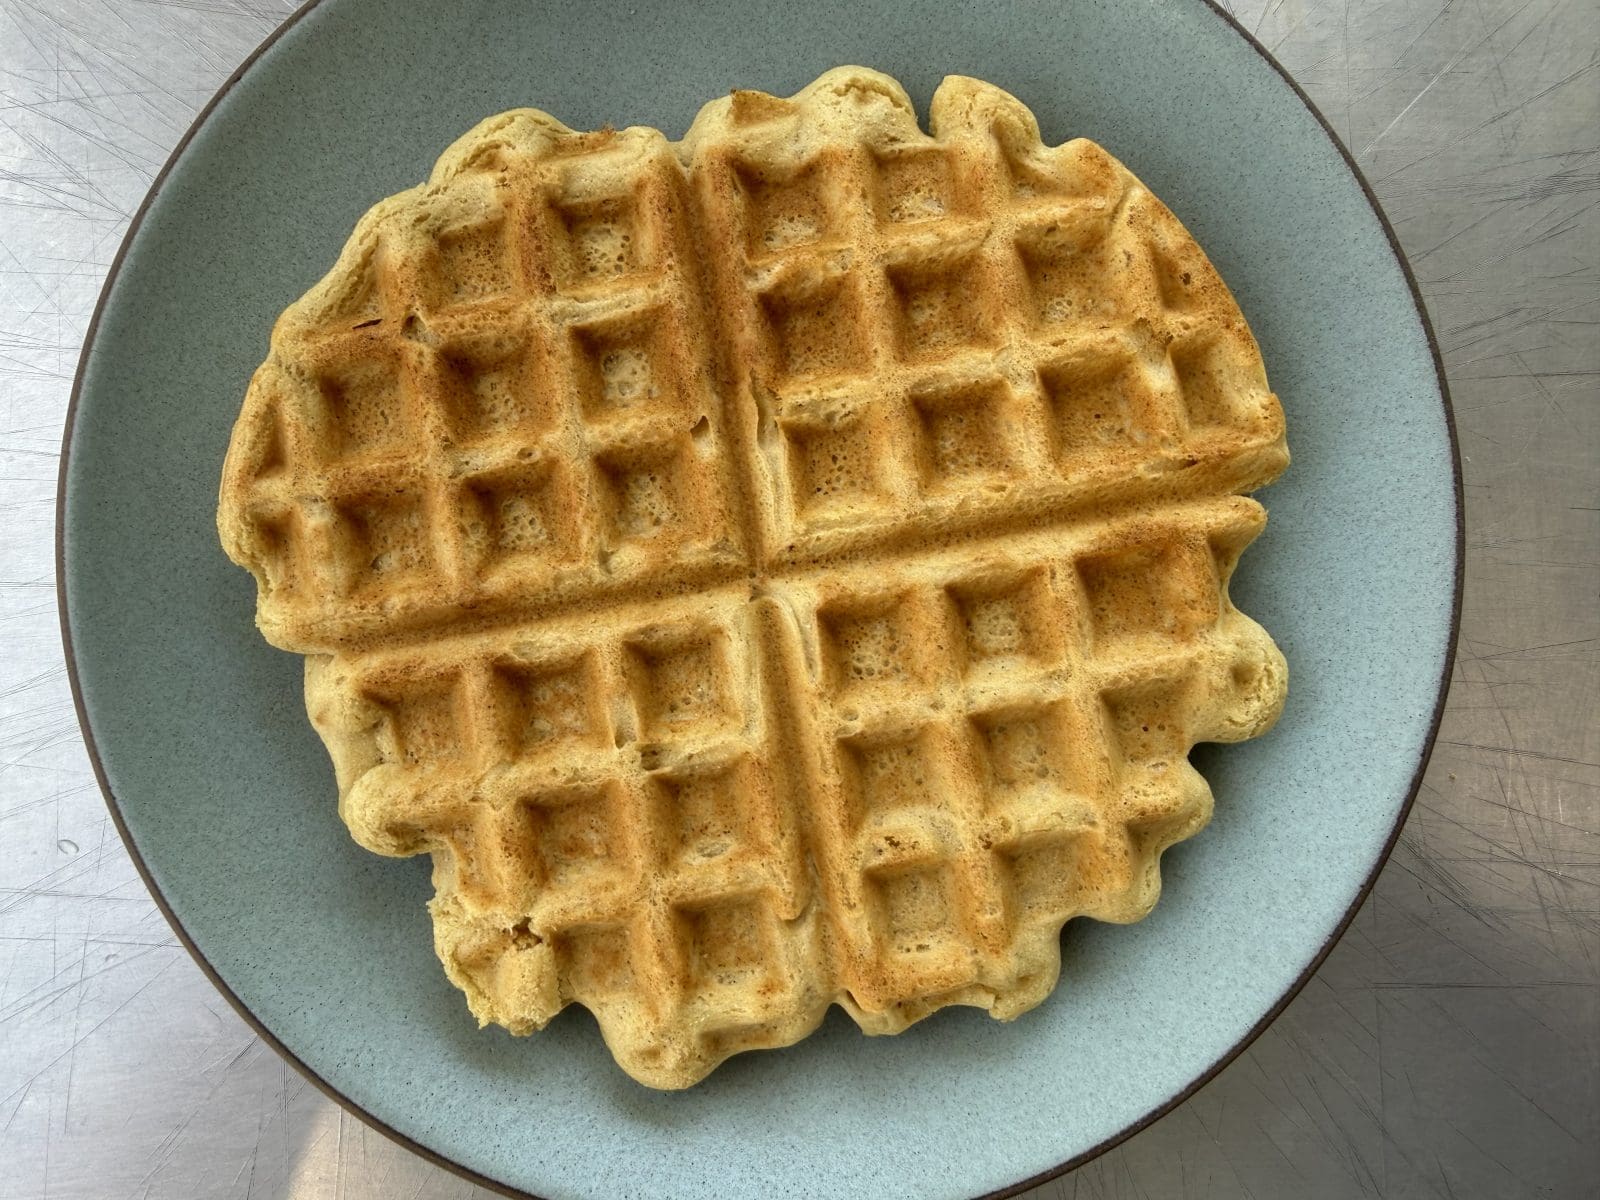
We know how Mark feels about socca, so naturally I took the simple chickpea batter for a spin in the waffle iron, with only minor adjustments. The results are flaky inside, crisp outside, and vegan to boot. In a medium bowl, combine 1 cup chickpea flour, 1 teaspoon baking powder, and 1/2 teaspoon salt. Add 2/3 cup warm water and 2 tablespoons olive oil and whisk until smooth. When you lift the whisk, thick ribbons should form in the batter. If not, add more water or flour, 1 tablespoon at a time. Let the batter sit until you’re ready to cook. Brush the cold waffle iron with more olive oil; set the machine to medium-high. Cook until the waffle is golden brown and releases easily from the iron. Serve topped with a ratatouille, peach compote, or chicken stew. Or just eat it like table bread.
Waffled Pasta or Noodles
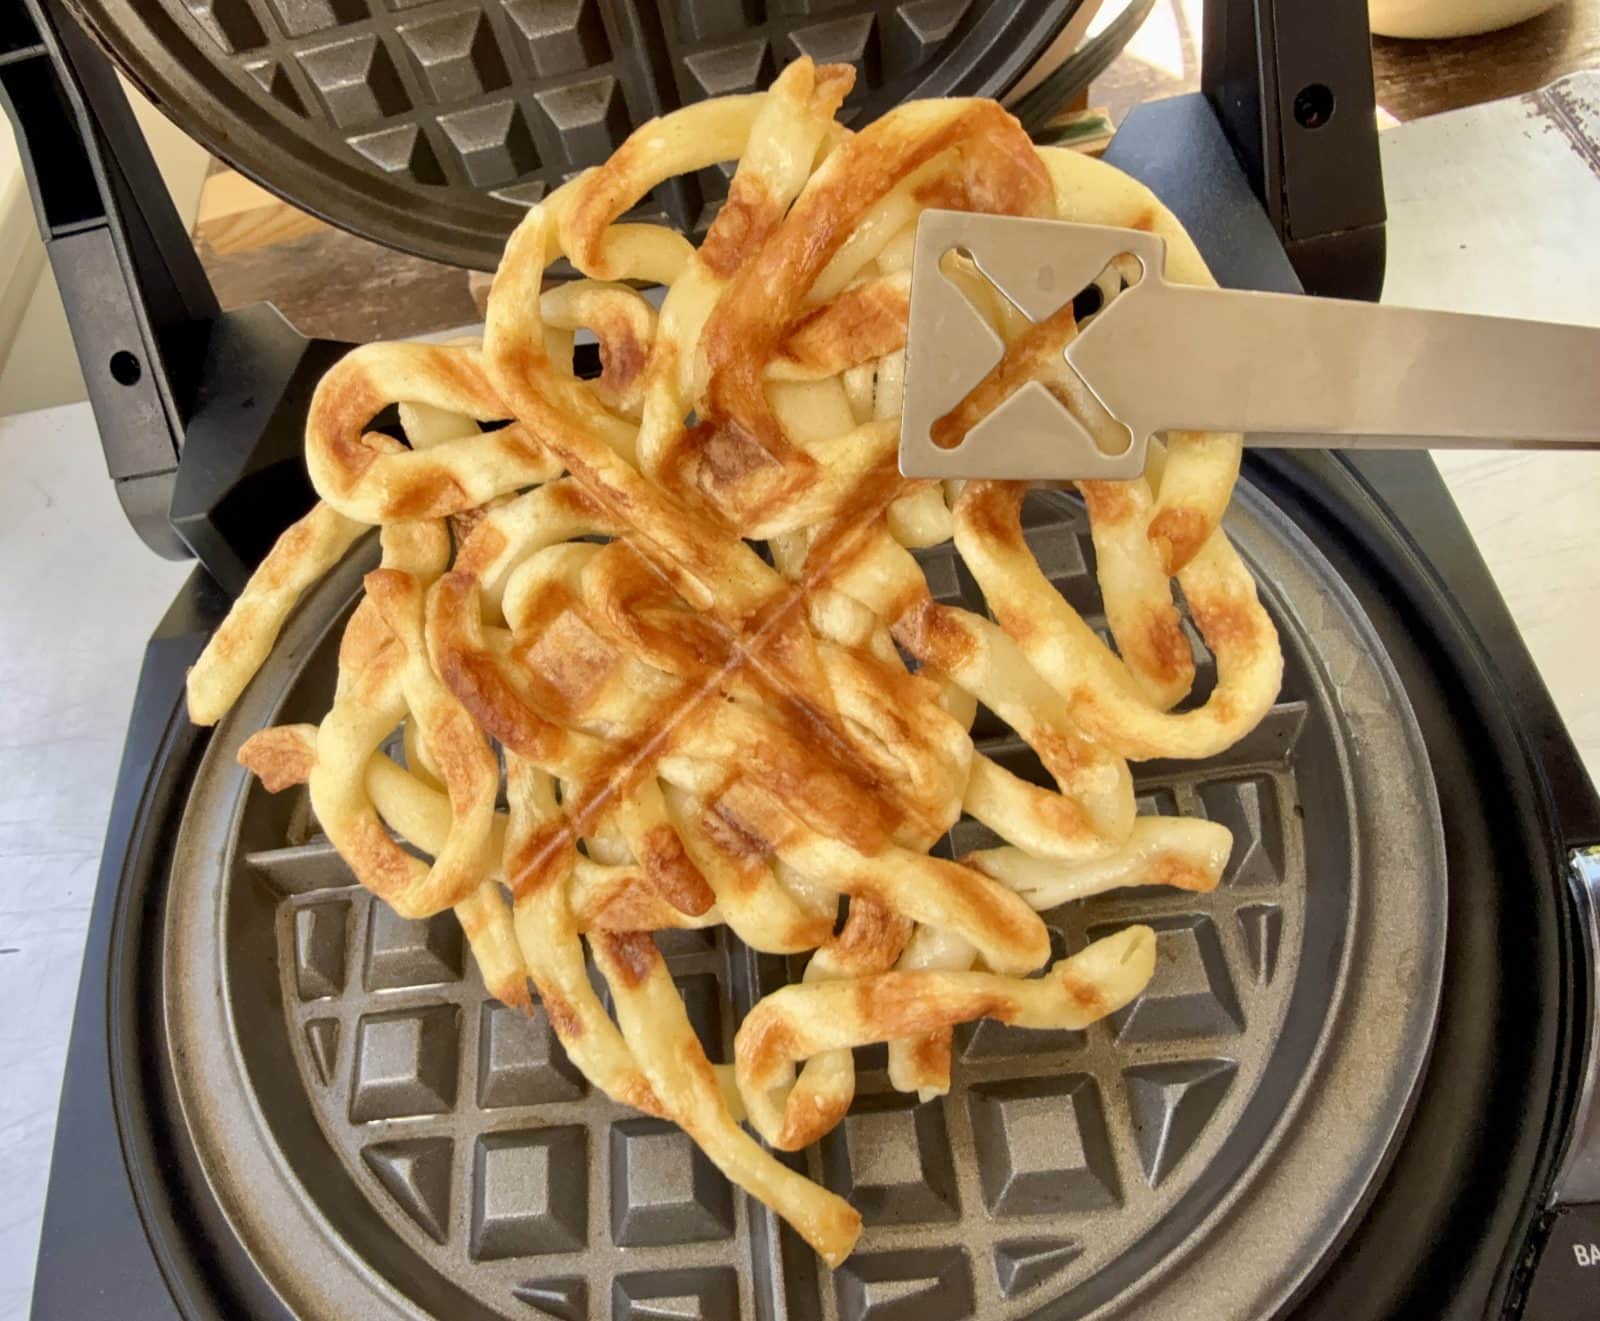
Turn leftover cooked noodles into a multi-textured snack or side, or top with sauces or stews for a hearty meal. Start with 1 1/2 packed cups of pasta or noodles. (It’s easiest to waffle white wheat pasta strands, though I’m planning to try some noodle outliers, too.) If they still have that al dente bite, drizzle on a few drops of water and microwave them until they’re fully tender. It’s okay if they’re drizzled with oil, but you don’t want them coated in sauce. Brush the cold waffle iron with melted butter or an oil that holds up to high heat; set the machine to medium-high. Scatter the strands into the iron and press down gently. Cook until they’re browned and crisp and release easily, about 3 minutes.
Waffled Sushi Rice (White or Brown)
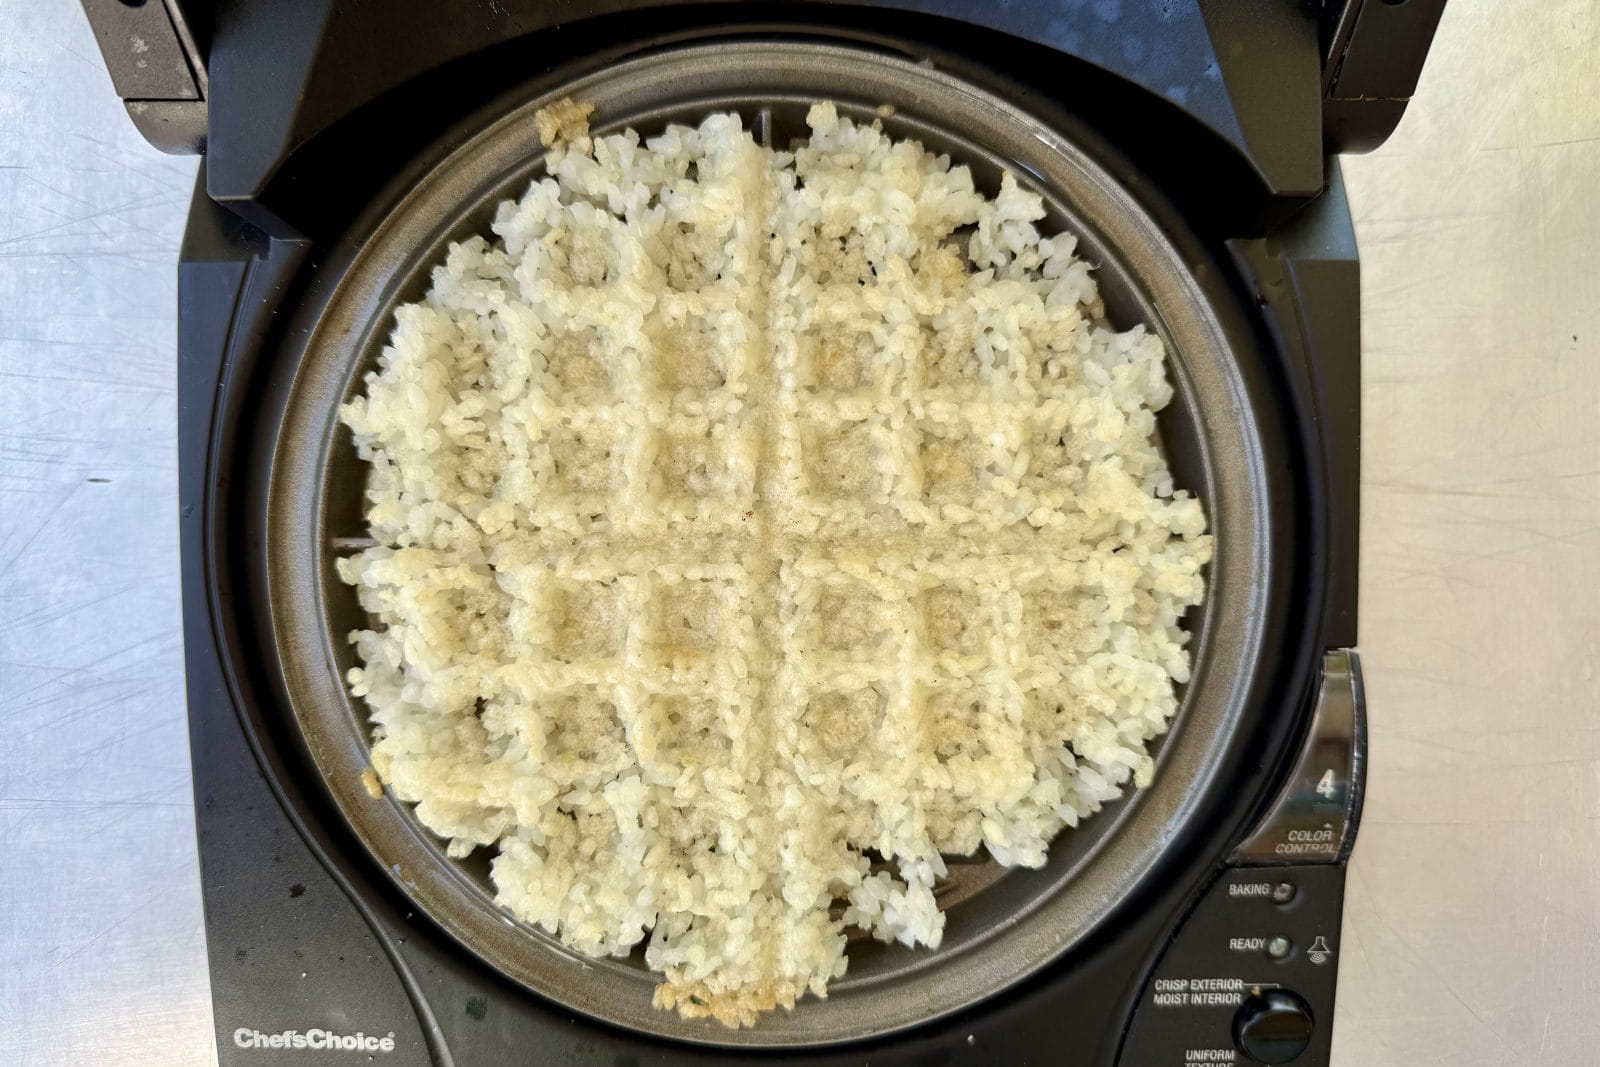
To make rice waffles without eggs, starch, or flour for binding, the kernels must be tender to the point they “explode,” meaning they absorb enough water to puff, crack, and release some starch. You can either cook rice a little longer than usual in extra water from the get go, or microwave leftover rice sprinkled with water until it steams and explodes. In either case, you want to end up with 1 1/2 cups cooked rice. When the rice is ready, brush the cold waffle iron with a neutral-tasting oil; set the machine to a medium or medium-high setting. Scatter the rice into the hot iron as evenly as possible, close, and gently press to “glue” the grains together. Both white and brown short-grain rice waffles release easily when they’re ready. Figure 5 to 10 minutes, depending on how moist the rice was when you started and how dark you want the waffle. Serve as you would noodle cake, topped with a braise or stir-fry. Or float the rice waffle in a bowl of soup.
Waffled Sushi Rice, Stuffed with Kimchi and Mozzarella
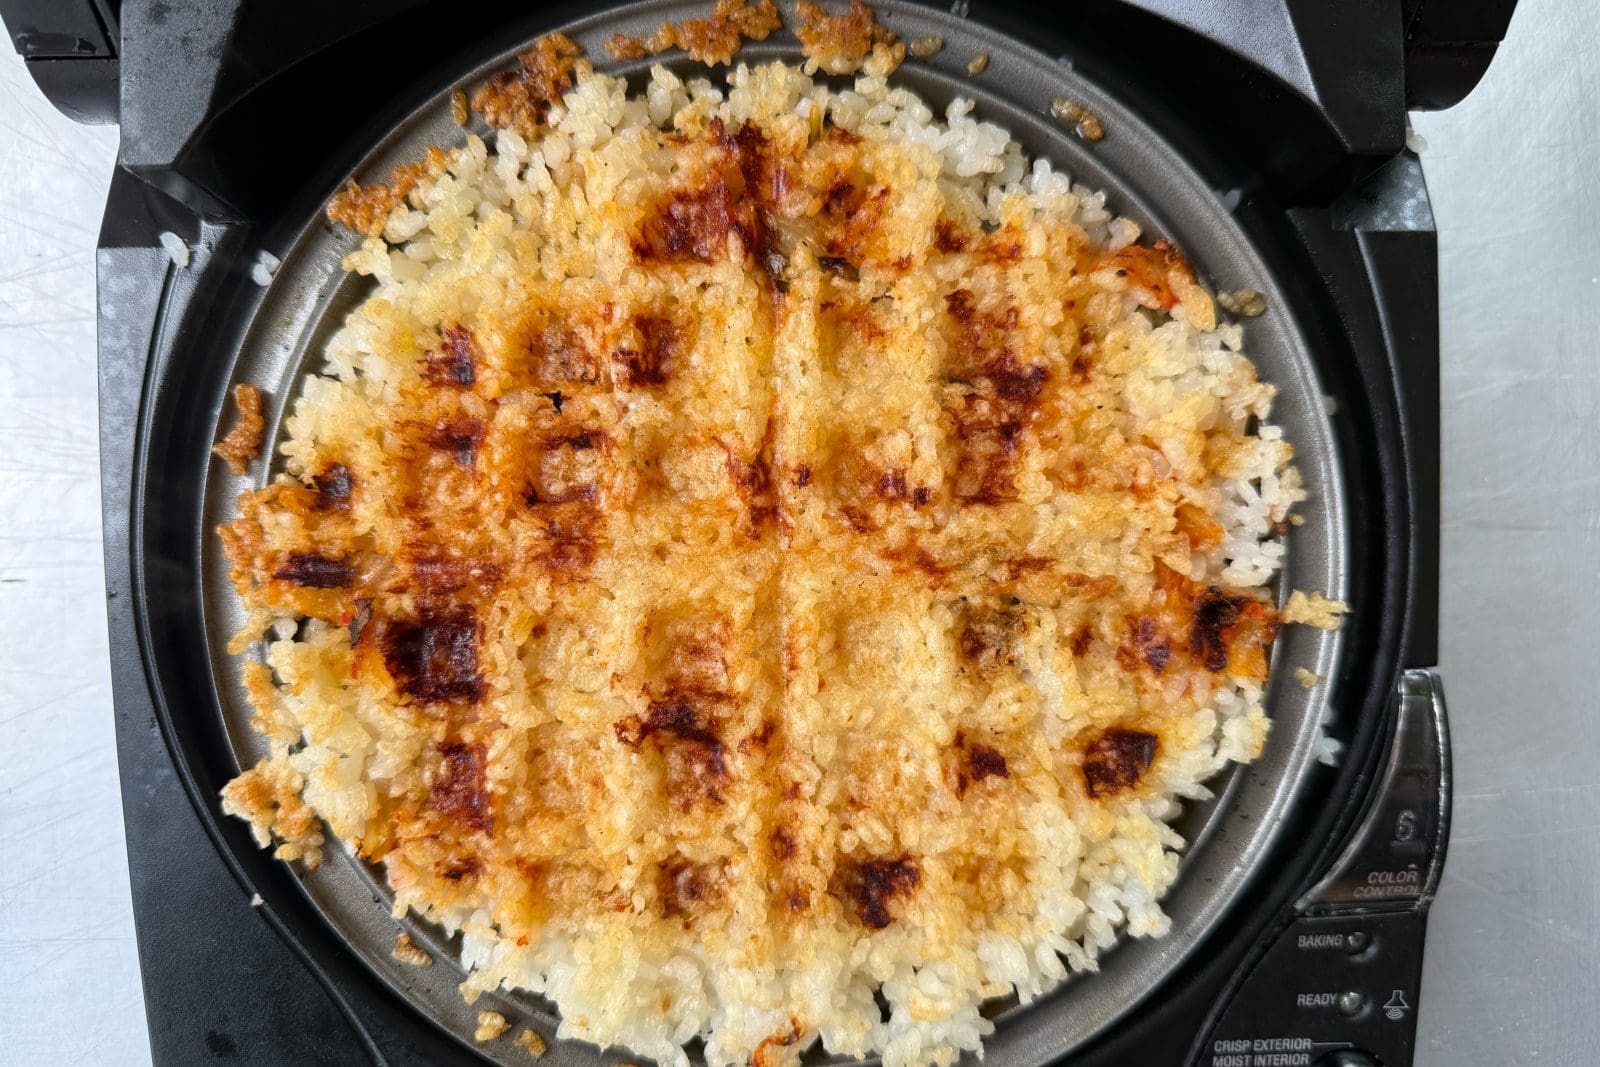
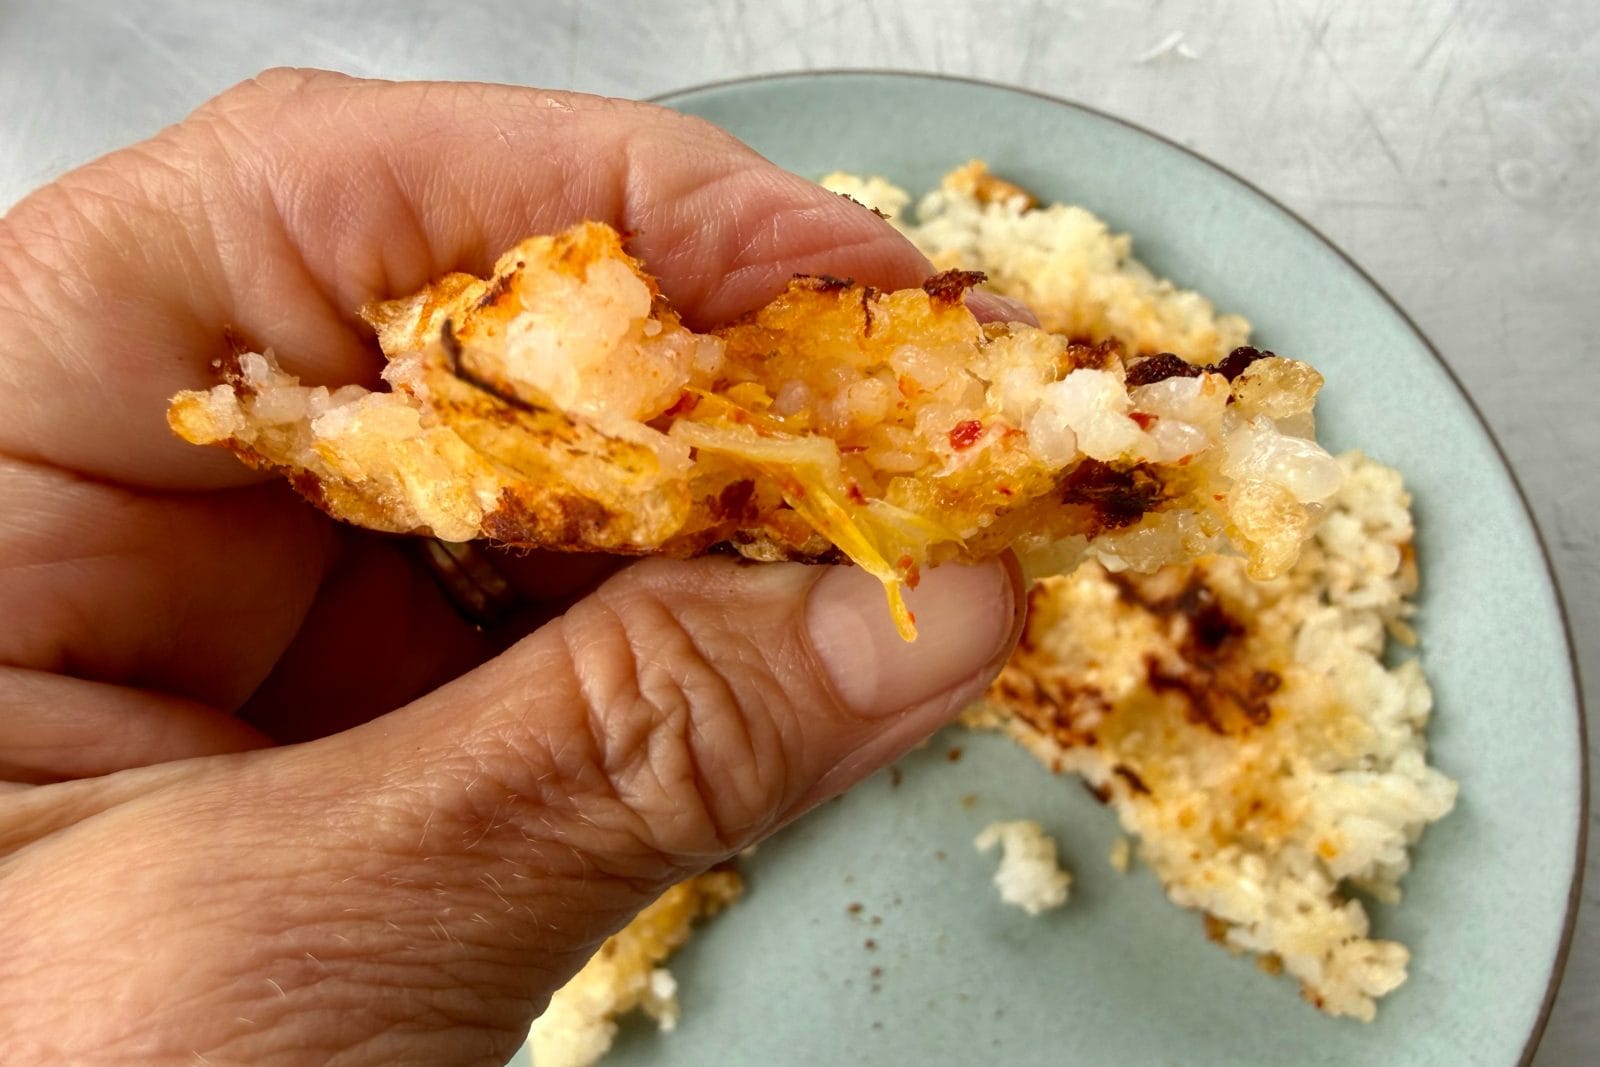
For a street-food, night-market vibe at home. Follow the directions for exploding white or brown short-grain rice in “Waffled Sushi Rice (White or Brown).” You’ll need about 2 cups cooked rice. For each stuffed waffle, grate 2 tablespoons mozzarella (not fresh) and chop 2 tablespoons kimchi. When the rice is ready, brush the cold waffle iron with a neutral-tasting oil; set the machine to medium-high. Scatter 1 cup of the rice into the hot iron as evenly as possible. Top with the kimchi and cheese and scatter the remaining rice across the top. Close, and gently press to set the waffle. Cook until golden and crisp, 10 to 15 minutes. Unplug and open the iron; let sit for a few minutes to give the rice time to fully release from the bottom. Meanwhile, make a dipping sauce, like this classic with many variations, which includes Kate’s favorite tahini spin.
Rice Paper Waffles
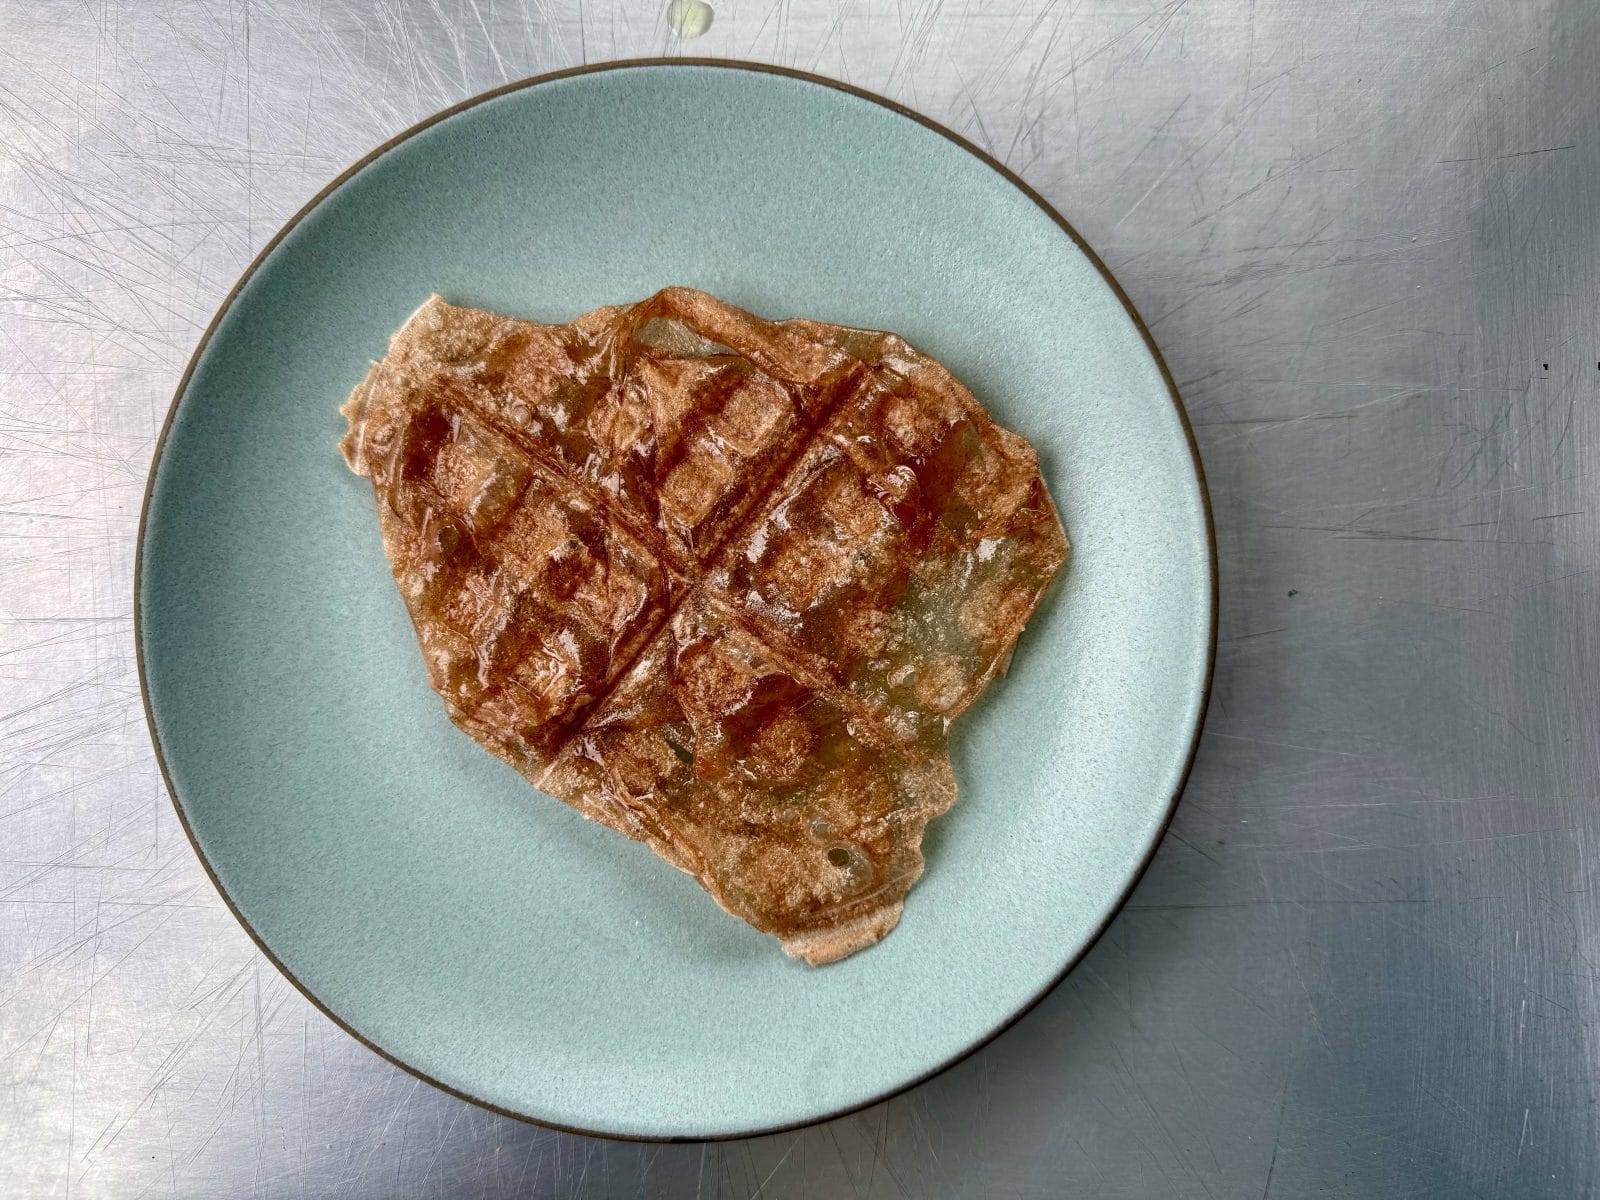
Trendy, yes. And they also happen to make incredible, low-fuss waffles. I used brown rice paper, but white cooks the same way. Brush the cold waffle iron generously with a neutral-tasting oil; set the machine to high. Put an inch of hot tap water in a broad shallow bowl and put a dinner plate next to it. One at a time, dip 2 or 3 round or square rice paper sheets into the water, submerging until pliable, about 30 seconds. Transfer the sheet to the plate (no need to spread it flat) and repeat with the others. Scrunch the softened sheets up so that you have a ragged pile of folds. Put the sheets in the hot waffle iron and close tightly. Cook until the top is crisped and the waffle releases easily, 3 to 5 minutes. Serve savory with one of these miso sauces. Or drizzle with honey or maple syrup.
Rice Paper Waffles with Stuff Inside
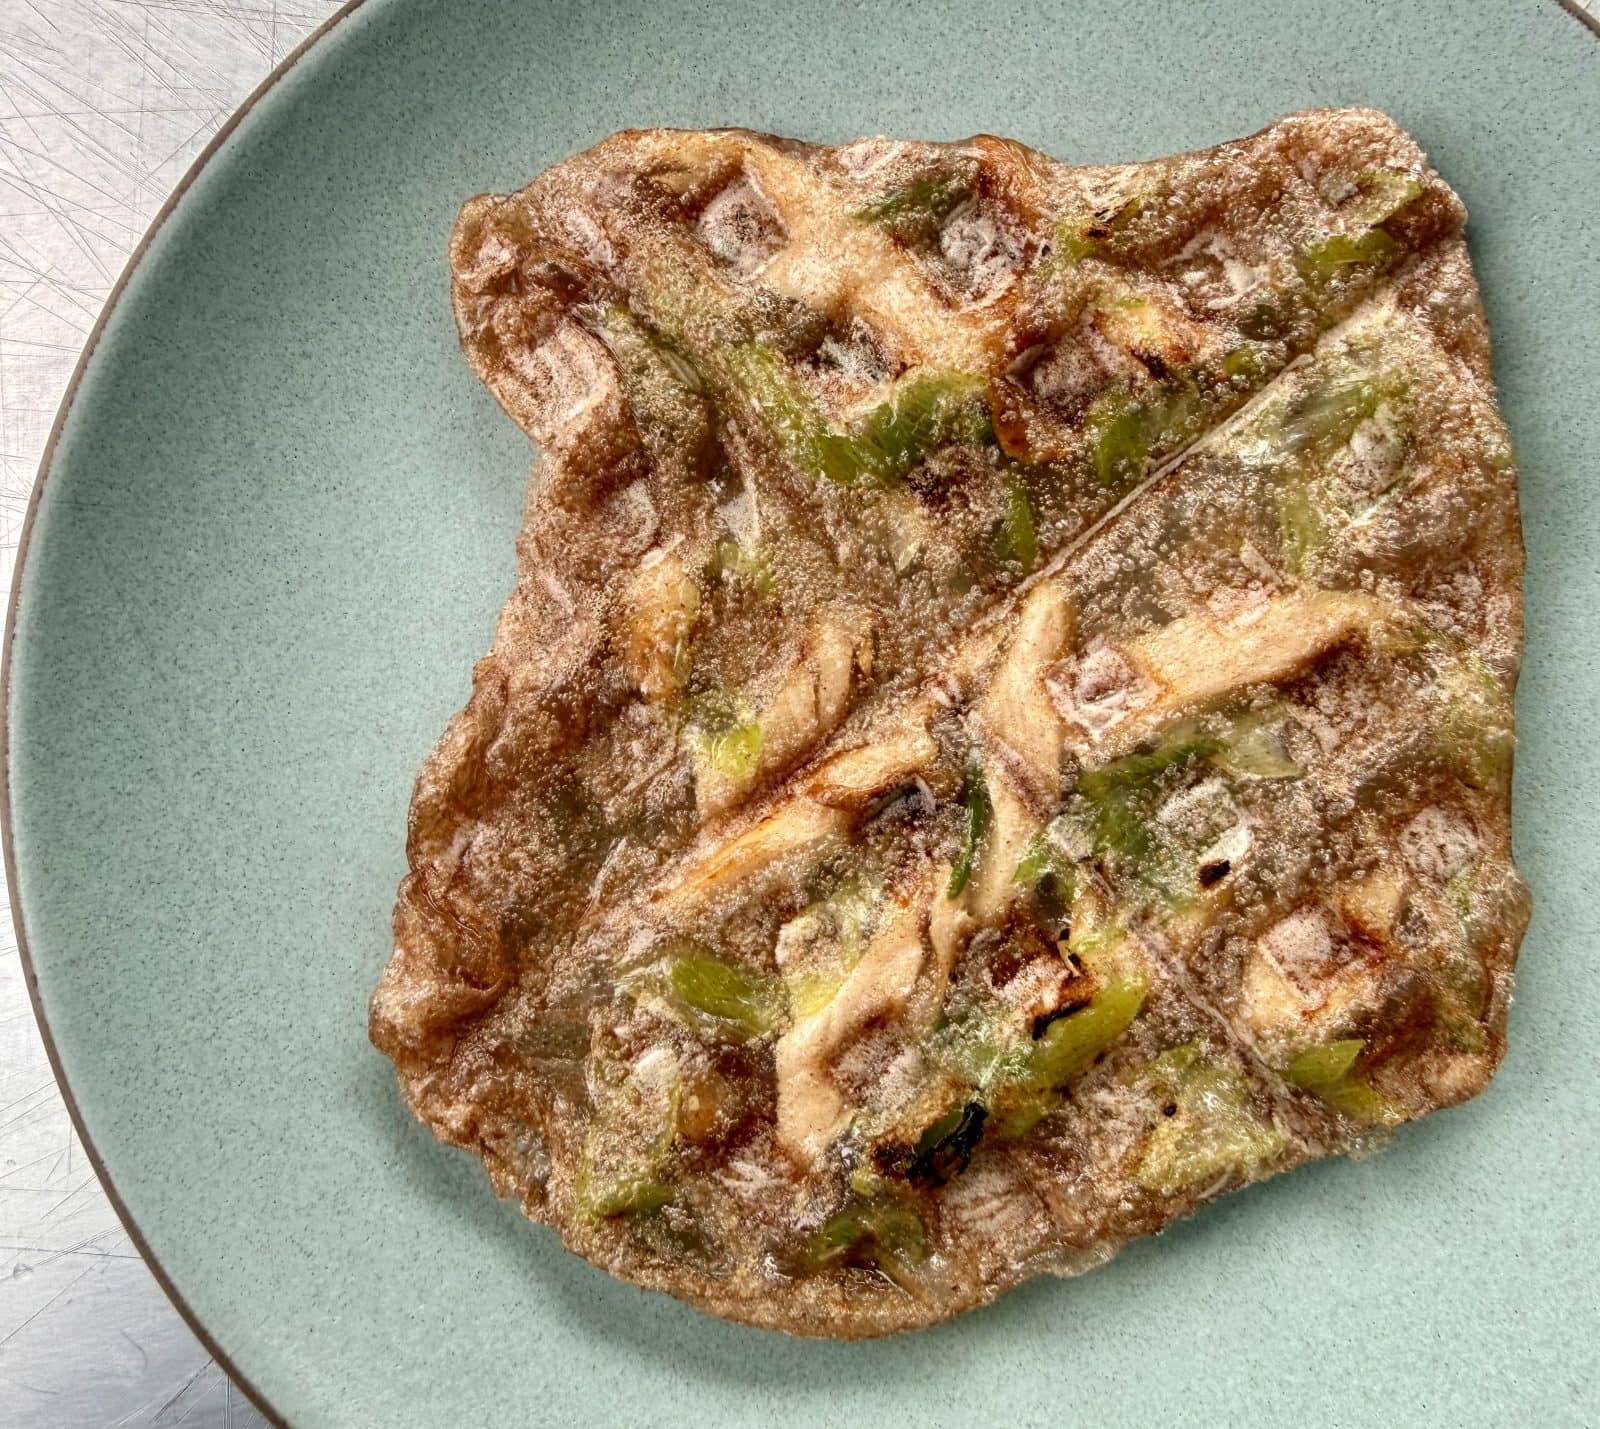
A boon for leftovers. Now take the rice paper waffle concept, and stuff it with just a little something. I used a wee bit of pulled roast chicken and scallions but any simply cooked, not-too-saucy meat, fish, or vegetables will work fine this way, too. After you get your filling together, brush the cold waffle iron generously with a neutral-tasting oil; set the machine to high. Put an inch of hot tap water in a broad shallow bowl and put a dinner plate next to it. Dip a round or square rice paper sheet into the water, submerging until pliable, about 30 seconds. Spread the sheet onto the plate in a smooth layer and scatter in the filling. Soften another rice paper and spread it across the top of the filling. Fold over the edges a little so you can transfer the whole thing to the hot waffle iron. Close tightly and cook until the top is crisped and the waffle releases easily, 3 to 5 minutes. Drizzle on a little soy sauce, rice vinegar, and/or chile crisp and away you go.
Sweet Starter Waffles
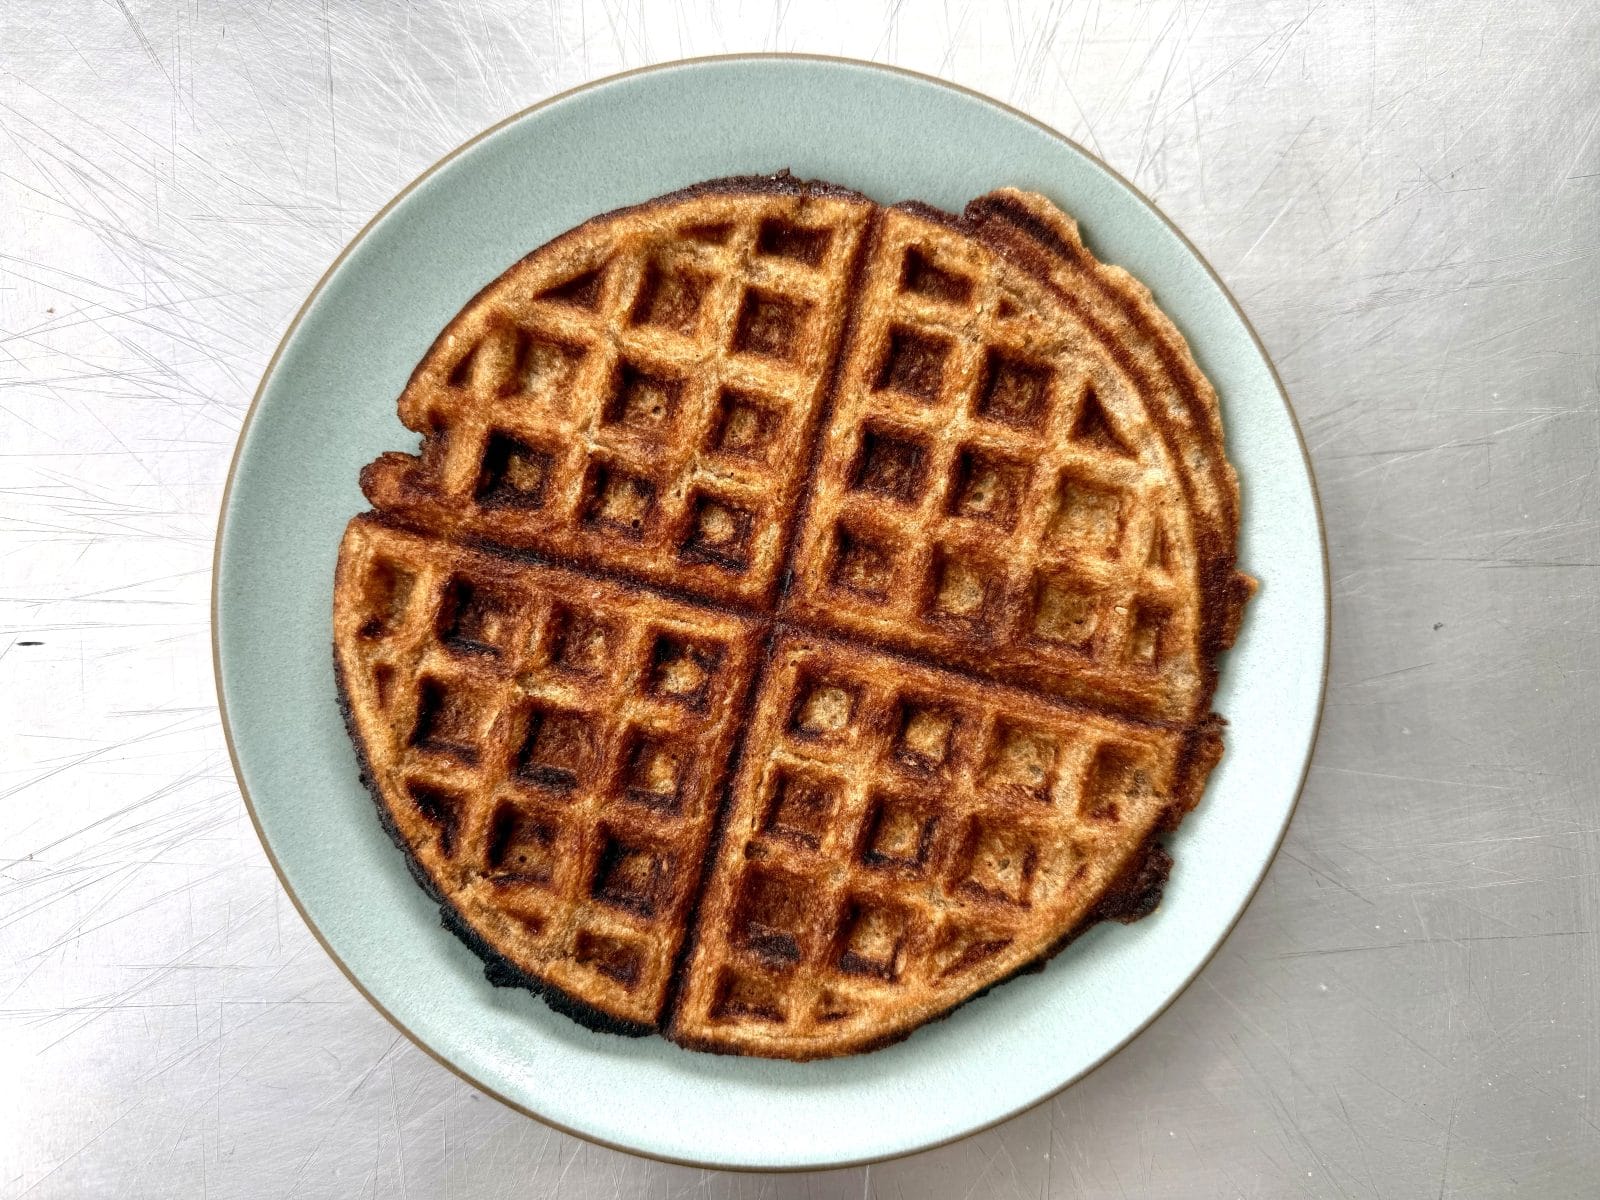
Discard is such a negative word, don’t you think? Especially when you can waffle extra sourdough starter into a vegan breakfast or snack. Or go savory and replace the sugar with a sprinkle of salt and other intensely flavored seasonings. (I’m dreaming of Parmesan and cracked black pepper in the mix). Make sure the iron is well greased with melted butter or oil; heat to medium-high. For each waffle put 1/2 cup sourdough starter (made with whole or white wheat flour) in a medium bowl. Adjust with a little flour or water so it’s the consistency of waffle batter or a little thicker. Shred 2 tablespoons cold butter over the large holes of a large box grater and add it to the bowl, along with 2 tablespoons turbinado (or granulated) sugar and 1/8 teaspoon ground cardamom. Spoon the batter into the hot iron and close. Cook until the steam coming from the waffle iron diminishes, and the waffle is browned and crisp, 8 to 10 minutes. Serve straight out of the iron or drizzle with one of these quick glazes; all are easy to adjust for single or multiple servings.
2 Comments